
RDX AWD L4-2.3L Turbo (2010)
Crankshaft Main Bearing: Service and Repair
Crankshaft Main Bearing Replacement
Main Bearing Clearance Inspection
1. Remove the lower block and bearing halves See: Crankshaft/Service and Repair/Crankshaft and Piston Removal.
2. Clean each main journal and the bearing half with a clean shop towel.
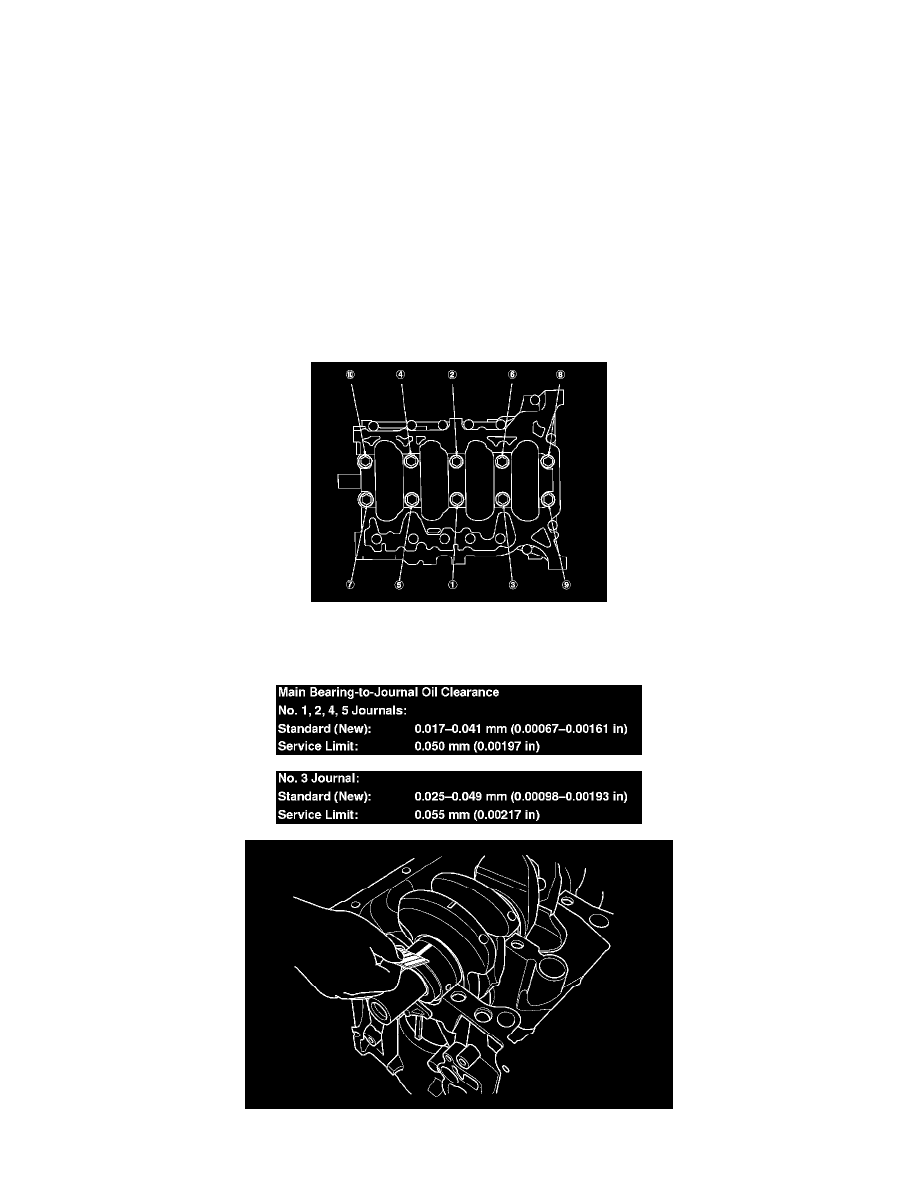
3. Place one strip of plastigage across each main journal.
4. Reinstall the bearings and the lower block, then torque the bolts to 29 Nm (3.0 kg-m, 22 lb-ft).
NOTE:
-
Apply new engine oil to the bolt threads and flanges.
-
Do not rotate the crankshaft during inspection.
5. Tighten the bearing cap bolts an additional 67 °.
6. Remove the lower block and bearings halves, and measure the widest part of the plastigage.
7. If the plastigage measures too wide or too narrow, remove the crankshaft, and remove the upper half of the bearing. Install a new, complete