
RDX AWD L4-2.3L Turbo (2010)
10. Remove the tape and adhesive residue from the camshaft journal.
11. Make sure the punch marks on the VTC actuator and the exhaust camshaft sprocket are facing up, then set the camshafts in the head See: Engine,
Cooling and Exhaust/Engine/Cylinder Head Assembly/Service and Repair/Overhaul/Rocker Arm Assembly Installation.
12. Set the camshaft holders and cam chain guide B in place See: Engine, Cooling and Exhaust/Engine/Cylinder Head Assembly/Service and
Repair/Overhaul/Rocker Arm Assembly Installation.
13. Tighten the camshaft holder bolts to the specified torque See: Engine, Cooling and Exhaust/Engine/Cylinder Head Assembly/Service and
Repair/Overhaul/Rocker Arm Assembly Installation.
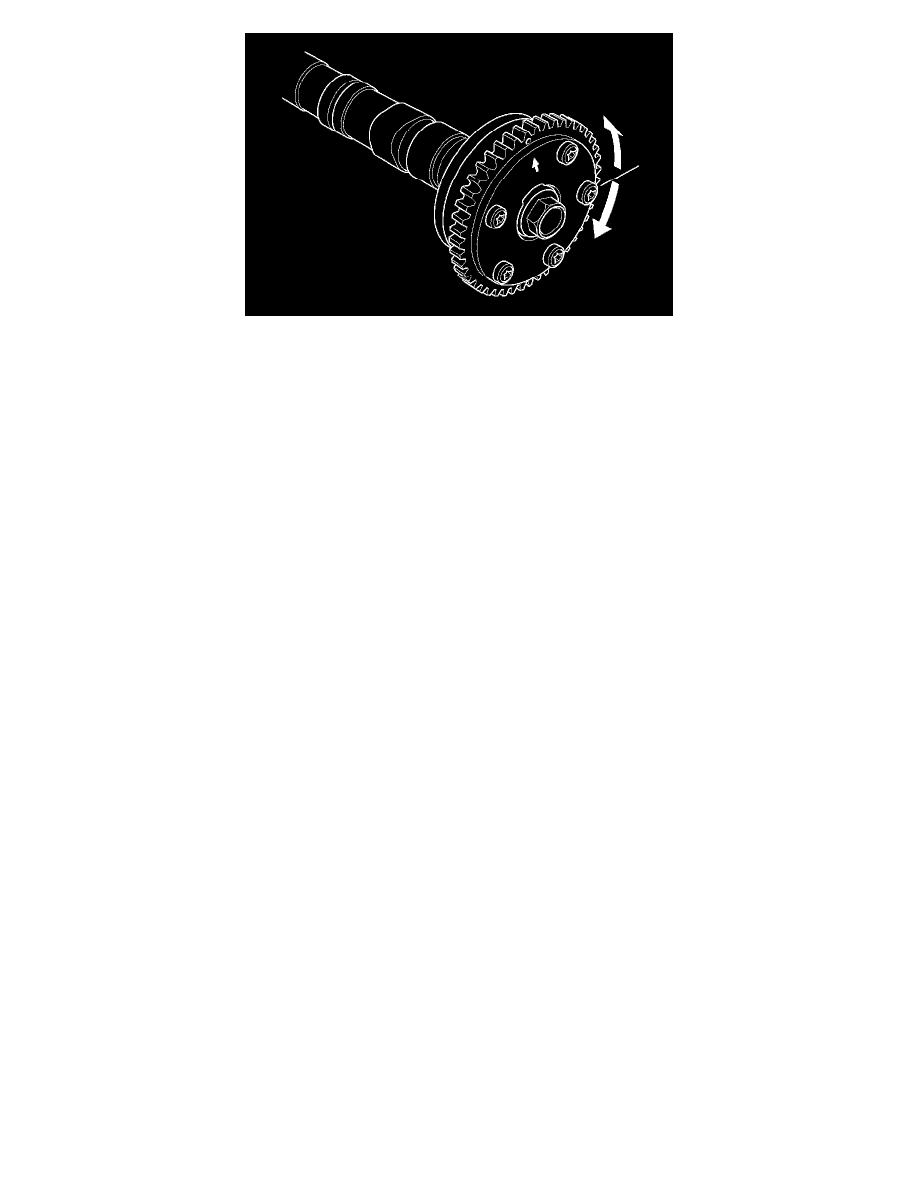
14. Hold the camshaft and turn the VTC actuator clockwise until you hear it click. Make sure to lock the VTC actuator by turning it.
15. Install the cam chain See: Engine, Cooling and Exhaust/Engine/Timing Components/Timing Chain/Service and Repair/Cam Chain Installation.
16. Adjust the valve clearance See: Tune-up and Engine Performance Checks/Valve Clearance/Adjustments.