
RDX AWD L4-2.3L Turbo (2010)
to each solenoid valve terminal individually. A clicking sound should be heard.
-
If a clicking sound is heard, go to step 21 and replace the shift solenoid wire harness.
-
If no clicking sound is heard, go to step 22 and replace the shift solenoid valve.
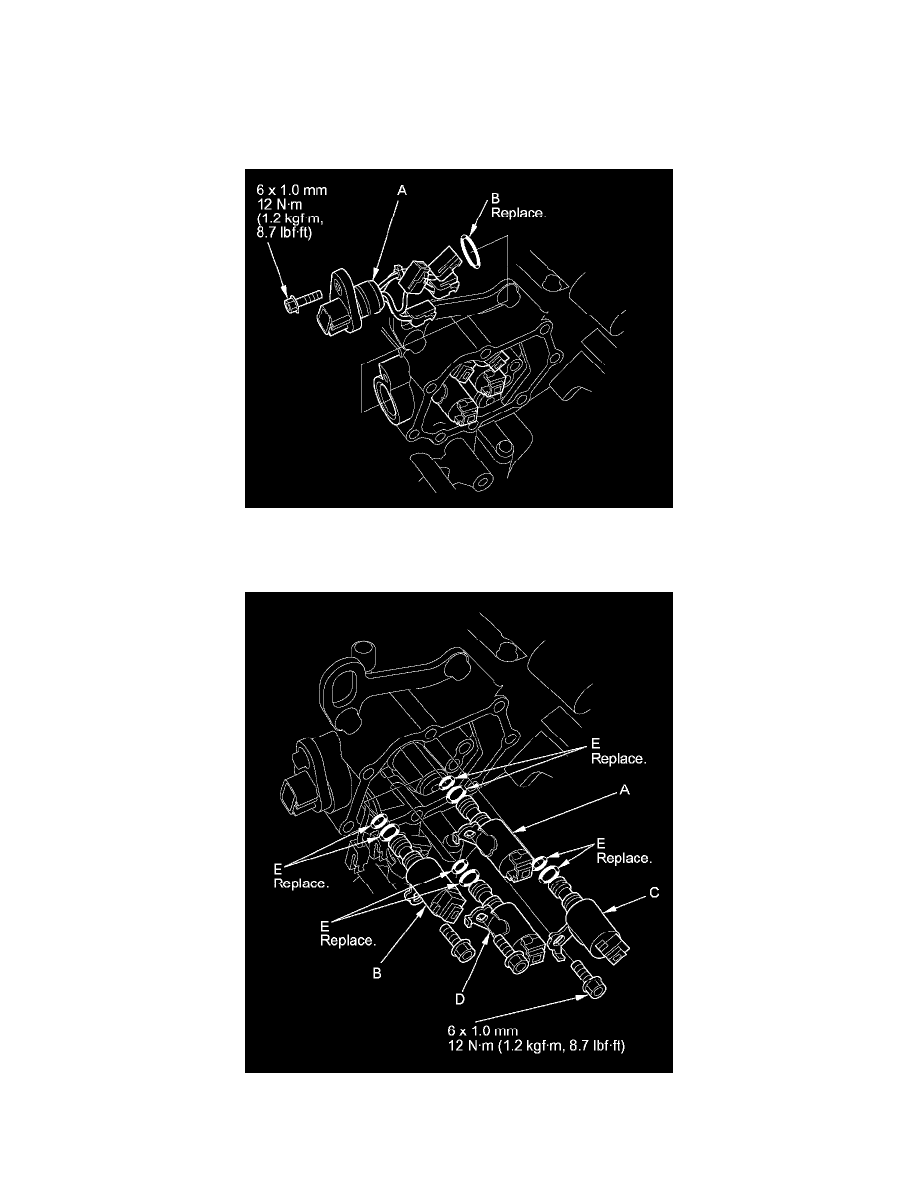
21. Remove the shift solenoid wire harness (A), and replace it. Install a new O-ring (B) on the shift solenoid wire harness, and install the shift solenoid
wire harness in the transmission housing, then go to step 30.
22. Remove the necessary shift solenoid valve mounting bolts, then remove the affected shift solenoid valves by holding the solenoid valve body.
NOTE: Shift solenoid valves A and C use the same mounting bolt. Shift solenoid valve C must be removed before shift solenoid valve A.
23. Install new O-rings (two O-rings per solenoid valve) (E) on the reused solenoid valves.
NOTE: A new solenoid valve comes with new O-rings. If you install a new solenoid valve, use the O-rings provided with it.