
RDX AWD L4-2.3L Turbo (2010)
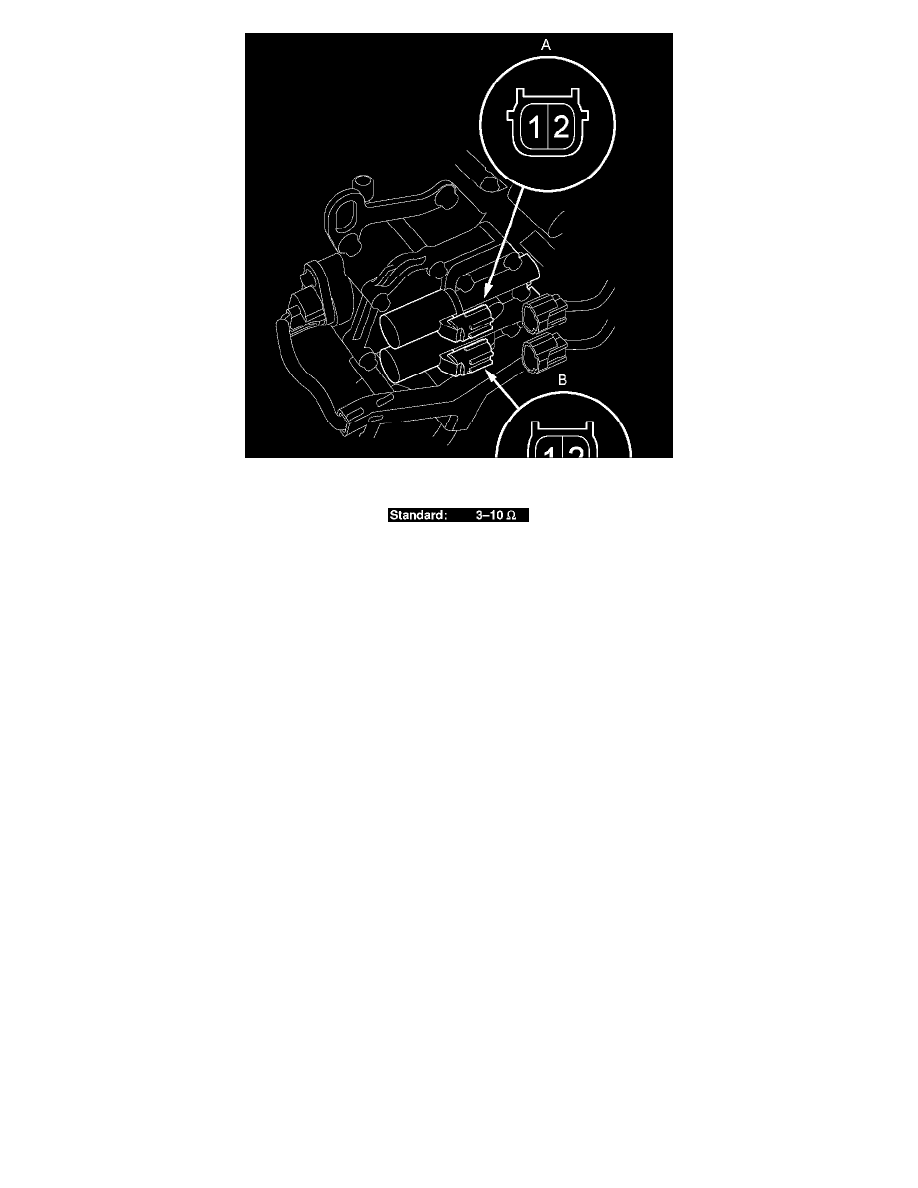
10. Measure the A/T clutch pressure control solenoid valve A or B resistance at the connector terminals.
-
If the resistance is out of standard, replace A/T clutch pressure control solenoid valve A and B See: Service and Repair/A/T Clutch Pressure
Control Solenoid Valve A and B Replacement.
-
If the resistance is within the standard, go to step 11.
11. Connect a jumper wire from the negative battery terminal to the solenoid valve A or B connector terminal No. 2, and connect another jumper wire
from the positive battery terminal to the connector terminal No. 1.
-
If a clicking sound is heard, the valve is OK. Reconnect the connector, and install all removed parts.
-
If no clicking sound is heard, go to step 12.
12. Remove the nuts securing the shift cable bracket (A).