
RDX AWD L4-2.3L Turbo (2010)
7. Carefully remove the windshield.
8. Scrape smooth the old adhesive with a knife until there is a thickness of about 2 mm (0.08 in) on the bonding surface around the entire windshield
opening flange:
-
Do not scrape down to the painted surface of the body; damaged paint will interfere with proper bonding.
-
Remove the rubber dams and the clips from the body.
9. Clean the body bonding surface with a shop towel dampened in isopropyl alcohol. After cleaning, keep oil, grease and water from getting on the
clean surface.
10. If you are reinstalling the old windshield, scrape off all of the old adhesive, the clips and the rubber dams from the windshield with a putty knife.
Clean the bonding surface on the inside face and the edge of the windshield with isopropyl alcohol. Make sure the bonding surface is kept free of
water, oil, and grease.
11. Before installing a new windshield, attach a new rearview mirror harness cover base to the inside face of the windshield See: Body and
Frame/Mirrors/Service and Repair/Rearview Mirror Harness Cover Base Replacement.
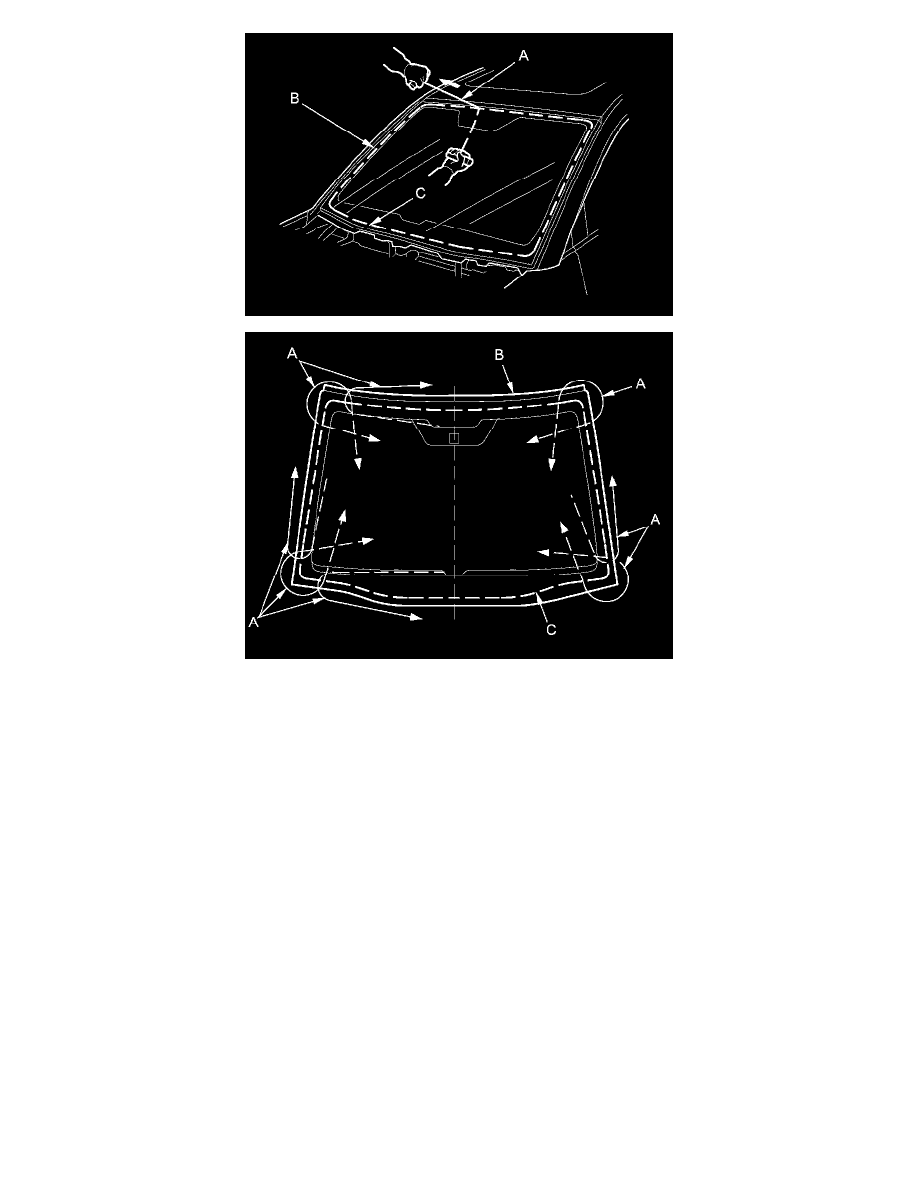
12. Apply glass primer to the upper clip mounting areas on the windshield (A), and let it dry. Remove the adhesive backing and attach the upper
rubber dam (B), the side rubber dam (C), and the upper clips (D) to the inside face of the windshield as shown:
-
Be sure the rubber dam and the clips line up with the alignment marks (E).
-
Be sure the convex portion (F) of the left and the right clips faces the left side.
-
Be careful not to touch the windshield where the adhesive will be applied.