
RL V6-3.5L (2007)
Crankshaft Main Bearing: Service and Repair
Crankshaft Main Bearing Replacement
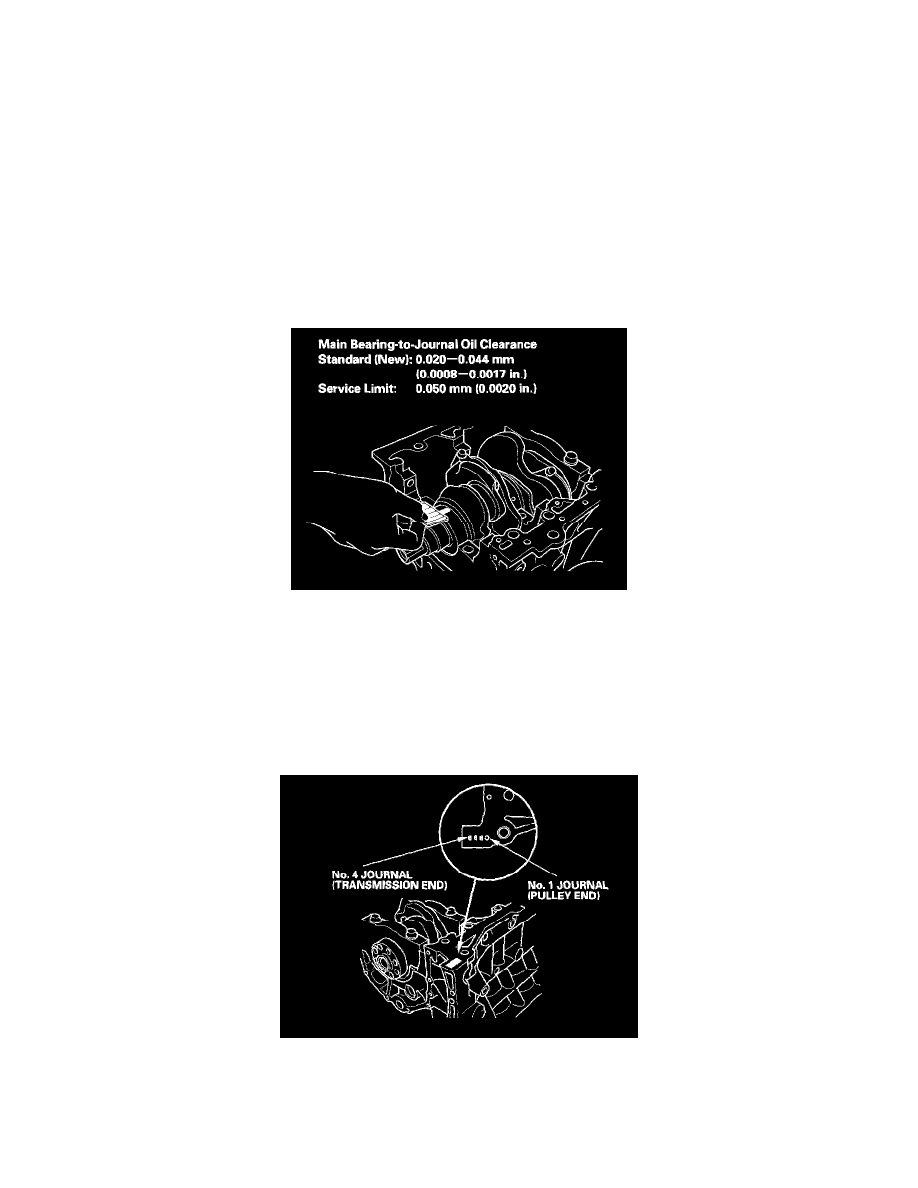
Main Bearing Clearance Inspection
1. Remove the main caps and bearing halves.
2. Clean each main journal and bearing half with a clean shop towel.
3. Place one strip of plastigage across each main journal.
NOTE: If the engine is still in the vehicle when you bolt the main cap down to check the clearance, the weight of the crankshaft and drive plate
will flatten the plastigage further than just the torque on the cap bolt, and give you an incorrect reading. For an accurate reading, support the crank
with a jack under the counterweights, and check only one bearing at a time.
4. Reinstall the bearings and caps, then torque the bearing cap bolts to 74 Nm (7.5 kgf-m, 54 ft. lbs.), and the bearing cap side bolts to 49 Nm (5.0
kgf-m, 36 ft. lbs.) in the proper sequence.
NOTE: Do not rotate the crankshaft during inspection.
5. Remove the cap and bearing half, and measure the widest part of the plastigage.
6. If the plastigage measures too wide or too narrow, remove the crankshaft, and remove the upper half of the bearing. Install a new, complete
bearing with the same color code, and recheck the clearance. Do not file, shim, or scrape the bearings or the caps to adjust clearance.
7. If the plastigage shows the clearance is still incorrect, try the next larger or smaller bearing (the color listed above or below that one), and check
again. If the proper clearance cannot be obtained by using the appropriate larger or smaller bearings, replace the crankshaft and start over.
Main Bearing Selection
Crankshaft Bore Code Location