
RL V6-3.5L (2007)
7. Disconnect the upper arm ball joint from the knuckle using the ball joint remover.
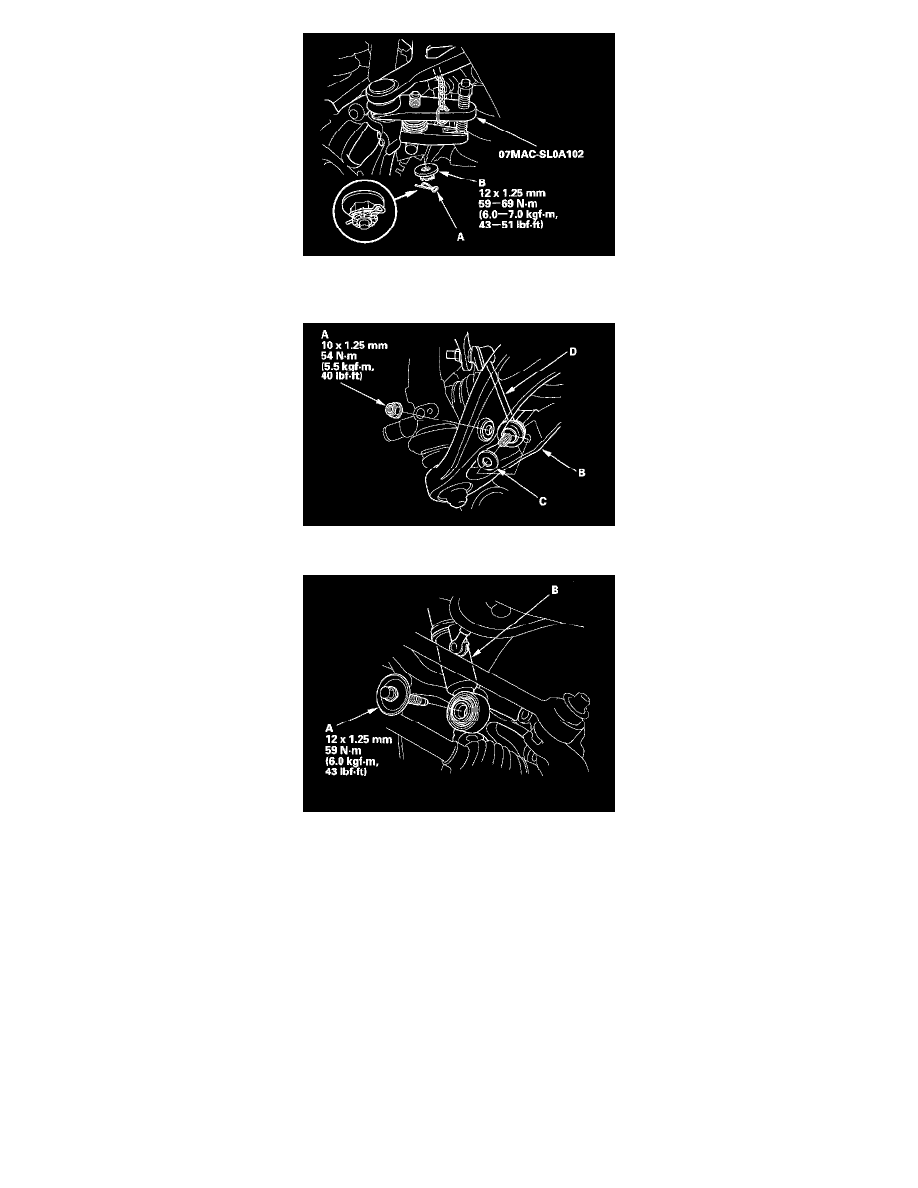
8. Remove the self-locking nut (A) and the washer (C), then disconnect the stabilize link (D) from lower arm B.
9. Remove the damper lower mounting bolt (A), and disconnect the damper (B) from the knuckle.
10. Place a floor jack at the connecting point of lower arm B and the stabilizer link.
11. Remove the cotter pin (A) from the lower arm B ball joint, and loosen the nut (C).
NOTE: During installation, insert the new cotter pin into the ball joint pin hole from the rear to the front of vehicle, and bend its end as shown.