
RL V6-3.7L (2009)
34. Grease the lip of the oil seal, and apply new engine oil to the new O-ring (A).
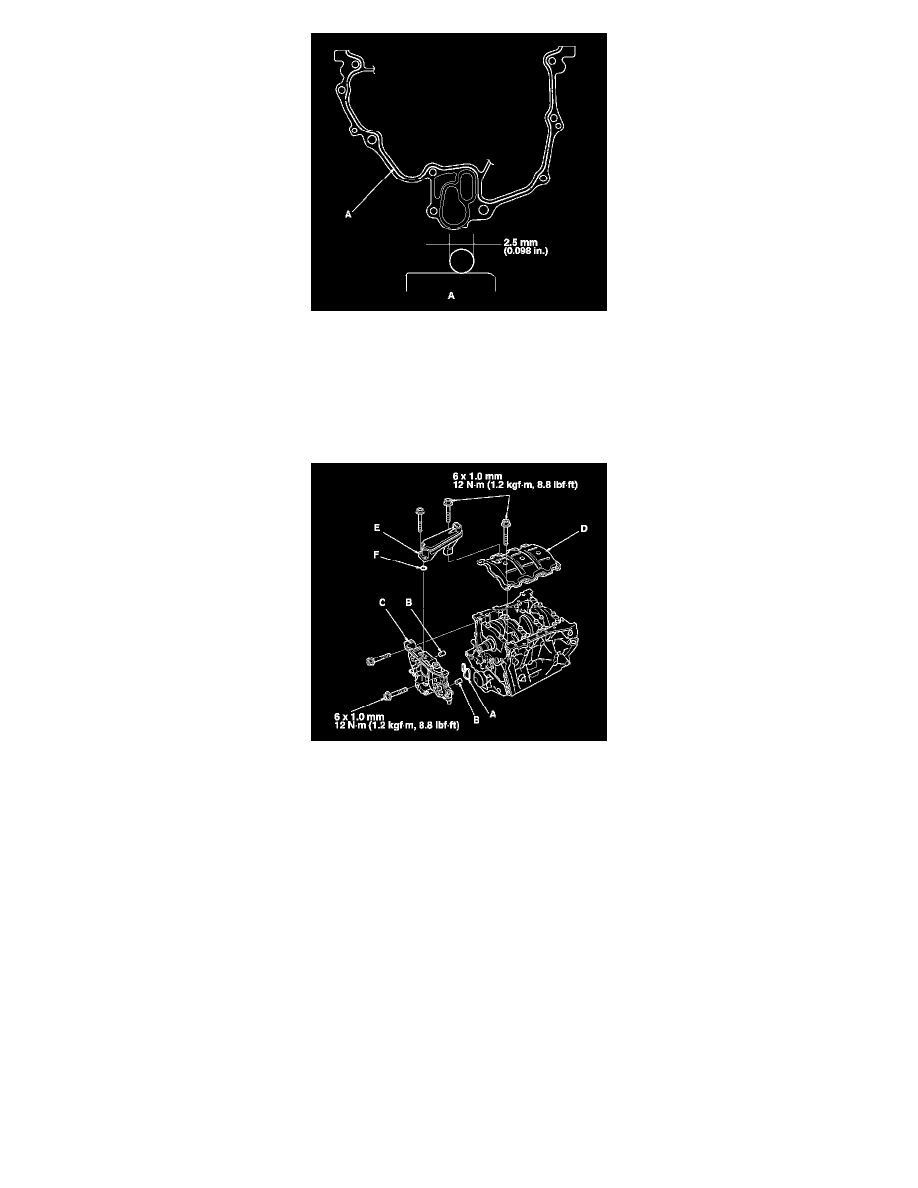
35. Install the dowel pins (B), then align the inner rotor with the crankshaft, and install the oil pump (C).
36. Clean the excess grease off the crankshaft, and check the seal for distortion.
37. Install the baffle plate (D), then install the oil screen (E) with the new O-ring (F).
38. Install the rocker arm oil control solenoid/oil filter assembly (A), with a new rocker arm oil control solenoid filter (B).
39. Install the oil pan. See: Engine Lubrication/Oil Pan/Service and Repair/Engine Oil Pan Installation
40. Install the crankshaft position (CKP) sensor. See: Powertrain Management/Computers and Control Systems/Camshaft Position Sensor/Service and
Repair
41. Install the cylinder heads. See: Cylinder Head Assembly/Service and Repair/Removal and Replacement/Cylinder Head Installation
42. Install the drive plate.
43. Install the transmission. See: Transmission and Drivetrain/Automatic Transmission/Transaxle/Service and Repair/Removal and
Replacement/Automatic Transmission Installation
44. Install the engine assembly. See: Service and Repair/Engine Installation
NOTE: When any crankshaft or connecting rod bearing is replaced, after assembly it is necessary to run the engine at idling speed until it reaches
normal operating temperature, then continue to run it for about 15 minutes.