
RL V6-3.7L (2009)
Evaporator Core: Service and Repair
A/C Evaporator Core Replacement
1. Recover the refrigerant with a recovery/recycling/charging station. See: Service and Repair/A/C Refrigerant Recovery
2. Remove the engine cover. See: Powertrain Management/Ignition System/Ignition Coil/Service and Repair
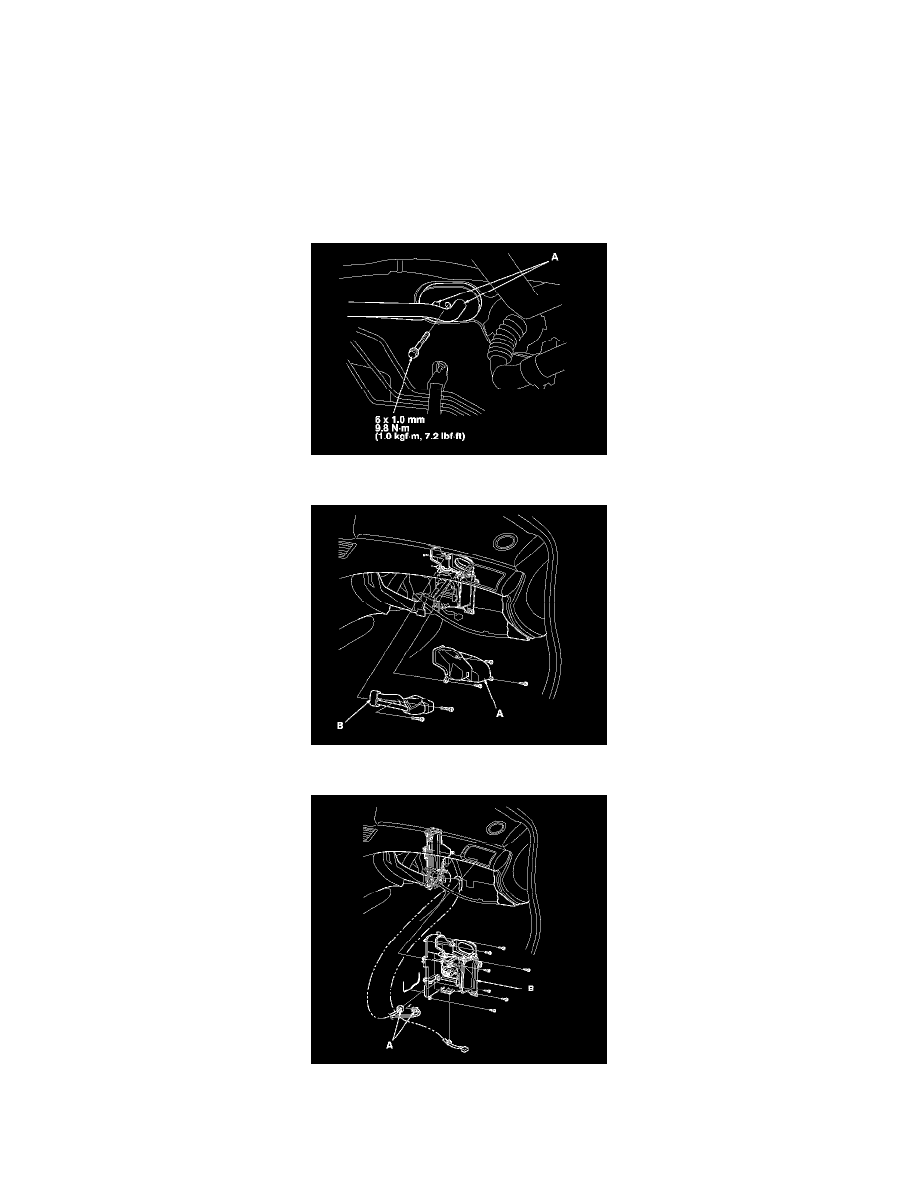
3. Remove the bolt, then disconnect the A/C lines (A) from the evaporator core.
4. Remove the blower unit. See: Blower Motor/Service and Repair/Blower Unit Removal/Installation
5. Remove the self-tapping screws and the expansion valve cover (A), then remove the bolts and the expansion valve (B) without bending the lines.
6. Disconnect the connectors (A) from the power transistor and the control motor relay, then remove the joint duct (B).
7. Carefully pull out the evaporator core (A) and the plate (B).
8. Install the core in the reverse order of removal, and note these items:
-
If you're installing a new evaporator core, add refrigerant oil (DENSO ND-OIL 8). See: Refrigerant Oil/Service and Repair