
RL V6-3.7L (2009)
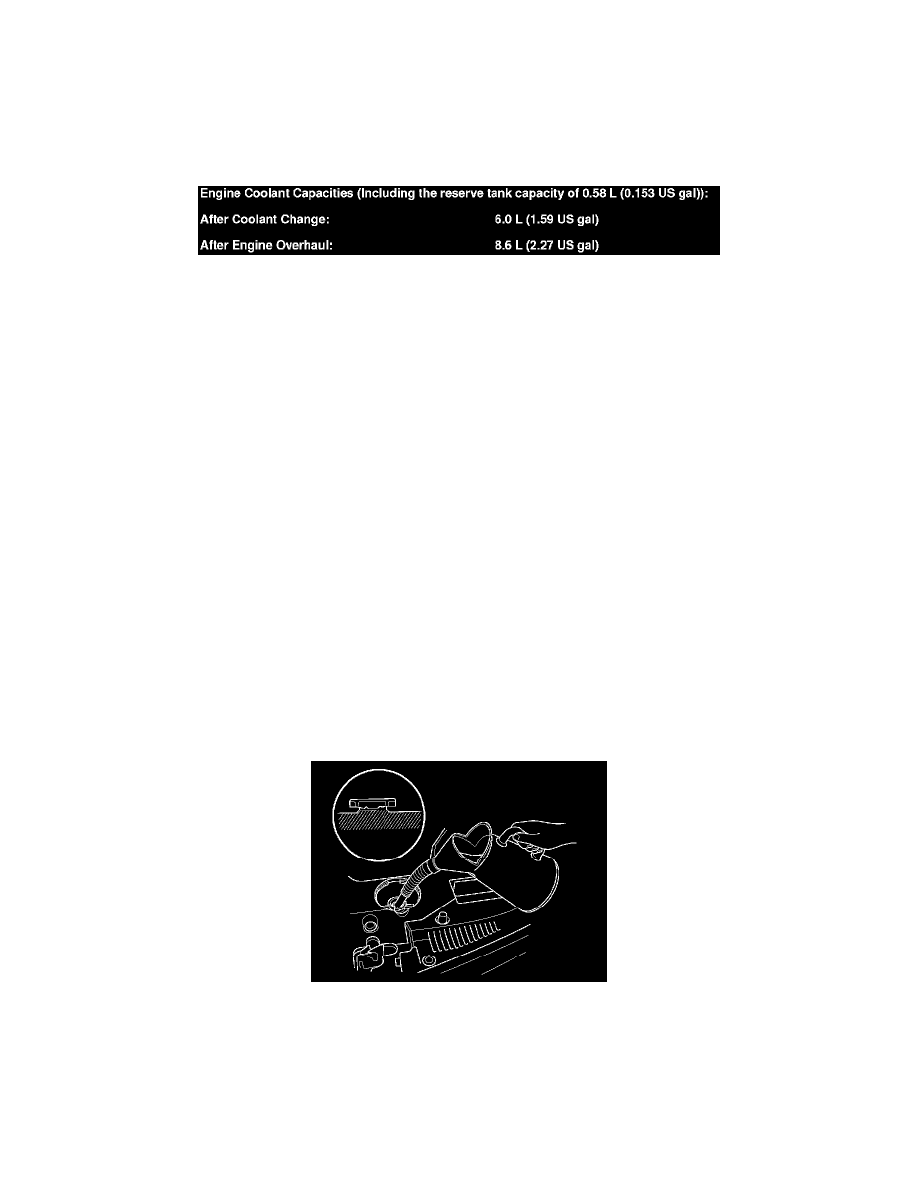
9. Pour Acura Long Life Antifreeze/Coolant Type 2 into the radiator up to the base of the filler neck.
NOTE:
-
Always use Acura Long Life Antifreeze/Coolant Type 2 (P/N OL999-9011A). Using a non-Acura coolant can result in corrosion, causing the
cooling system to malfunction or fail.
-
Acura Long Life Antifreeze/Coolant Type 2 is a mixture of 50 % antifreeze and 50 % water. Do not add water.
10. Install the radiator cap loosely.
11. Start the engine and let it run until it warms up (the radiator fan comes on at least twice).
12. Turn off the engine. Check the level in the radiator and add Acura Long Life Antifreeze/Coolant Type 2, if needed.
NOTE: Removing the radiator cap while the engine is hot can cause the coolant to spray out. Always let the engine and the radiator cool before
removing the cap.
13. Put the radiator cap on tightly, then run the engine again and check for leaks.
14. Clean up any spilled engine coolant.
15. Connect the Honda Diagnostic System (HDS) to the data link connector (DLC). See: Powertrain Management/Computers and Control
Systems/Testing and Inspection/Initial Inspection and Diagnostic Overview
16. Make sure the HDS communicates with the vehicle and the powertrain control module (PCM). If it doesn't communicate, troubleshoot the DLC
circuit. See: Powertrain Management/Computers and Control Systems/Testing and Inspection/Component Tests and General Diagnostics/DLC
Circuit Troubleshooting
17. Turn the ignition switch to ON (II).
18. Select BODY ELECTRICAL with the HDS.
19. Select ADJUSTMENT in the GAUGE MENU with the HDS.
20. Select RESET in the MAINTENANCE MINDER with the HDS.
21. Select MAINTENANCE SUB ITEM 5 RESET with the HDS.