
RL V6-3.7L (2009)
Control Unit: Service and Repair
SH-AWD Control Unit Replacement
NOTE: The SH-AWD control unit must be initialized See: Testing and Inspection/SH-AWD Control Unit Initialization after replacement, otherwise the
SH-AWD system will not function.
1. Remove the rear seat. See: Body and Frame/Seats/Service and Repair/Rear Seat Removal/Installation
2. Remove the trunk front trim panel. See: Body and Frame/Doors, Hood and Trunk/Trunk / Liftgate/Trunk / Liftgate Interior Trim Panel/Service
and Repair/Interior Trim Removal/Installation - Trunk Area
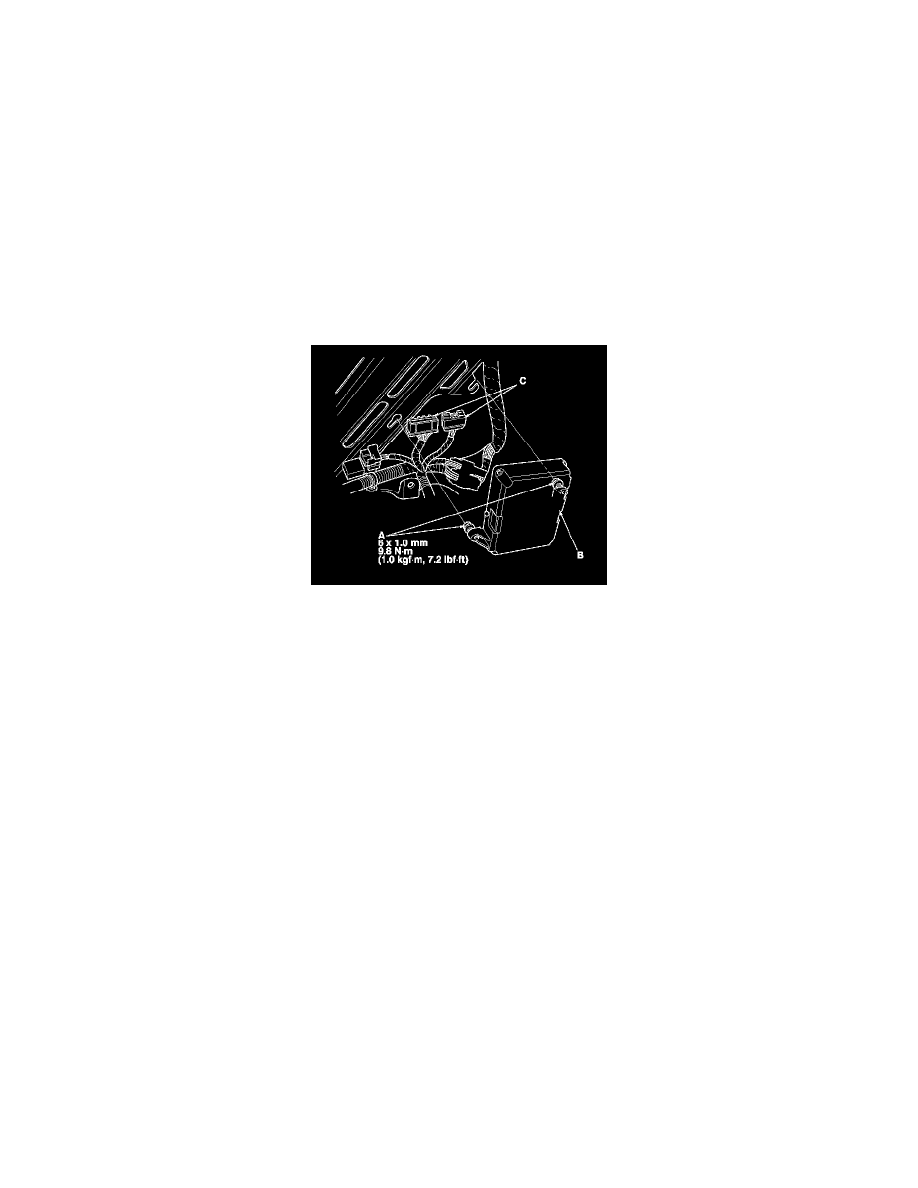
3. Loosen the SH-AWD control unit mounting bolts (A), then remove the SH-AWD control unit (B).
4. Disconnect the SH-AWD control unit connectors (C).
5. Install the SH-AWD control unit in the reverse order of removal.