
RL V6-3.7L (2009)
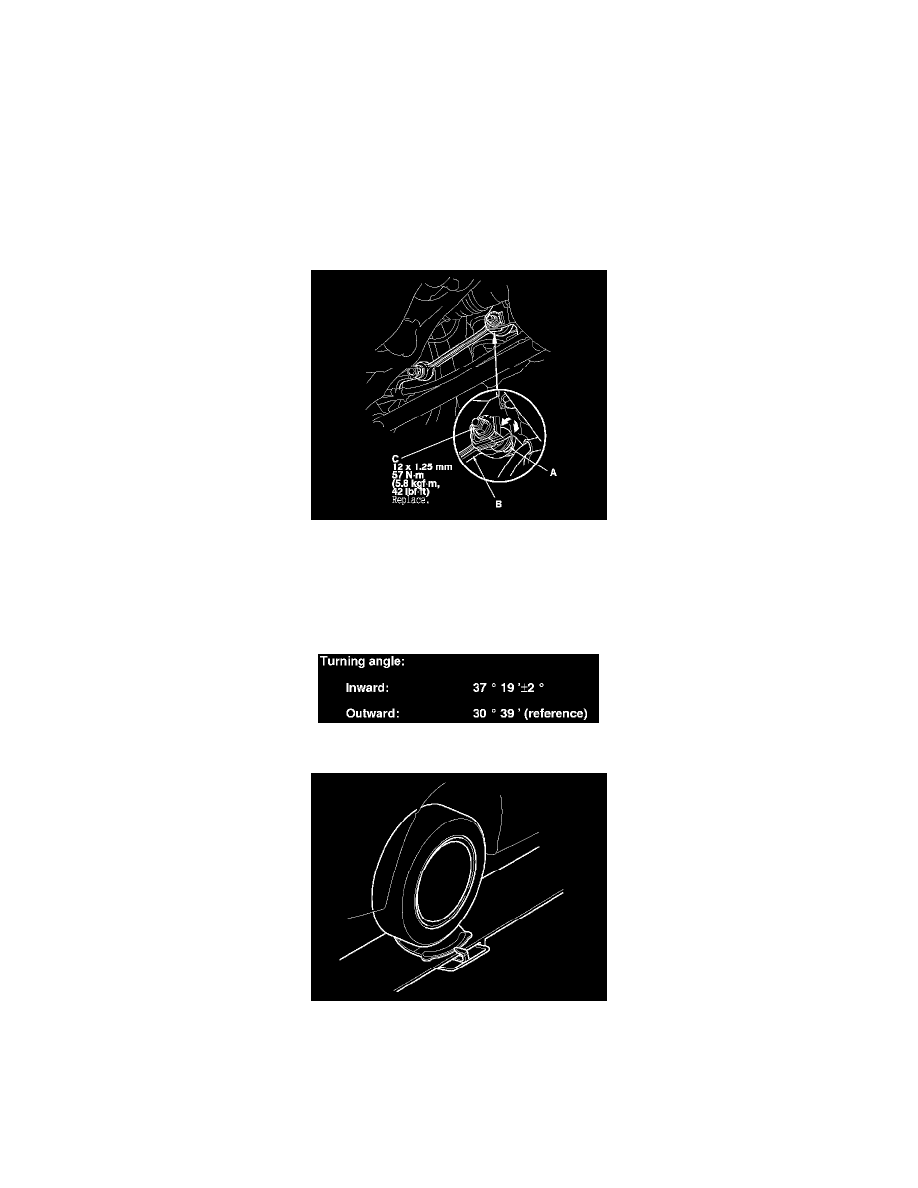
3. Hold the adjusting bolt (A) on the rear control arm (B), and loosen the self-locking nut (C).
4. Replace the self-locking nut with a new one, and lightly tighten it.
NOTE:
-
Always use a new self-locking nut whenever it has been loosened.
-
Assemble the adjusting bolt and cam-plate with the eccentric facing up.
5. Adjust the rear toe by turning the adjusting bolt until the toe is correct.
6. Tighten the self-locking nut to the specified torque while holding the adjusting bolt.
Turning Angle Inspection
Use commercially available computerized four wheel alignment equipment to measure wheel alignment (caster, camber, toe, and turning angle). Follow
the equipment manufacturer's instructions.
1. Turn the wheel right and left while applying the brake, and measure the turning angle of both wheels.
2. If the turning angle is not within the specifications, check for bent or damaged suspension components.