RL V6-3.7L (2009)

Installation
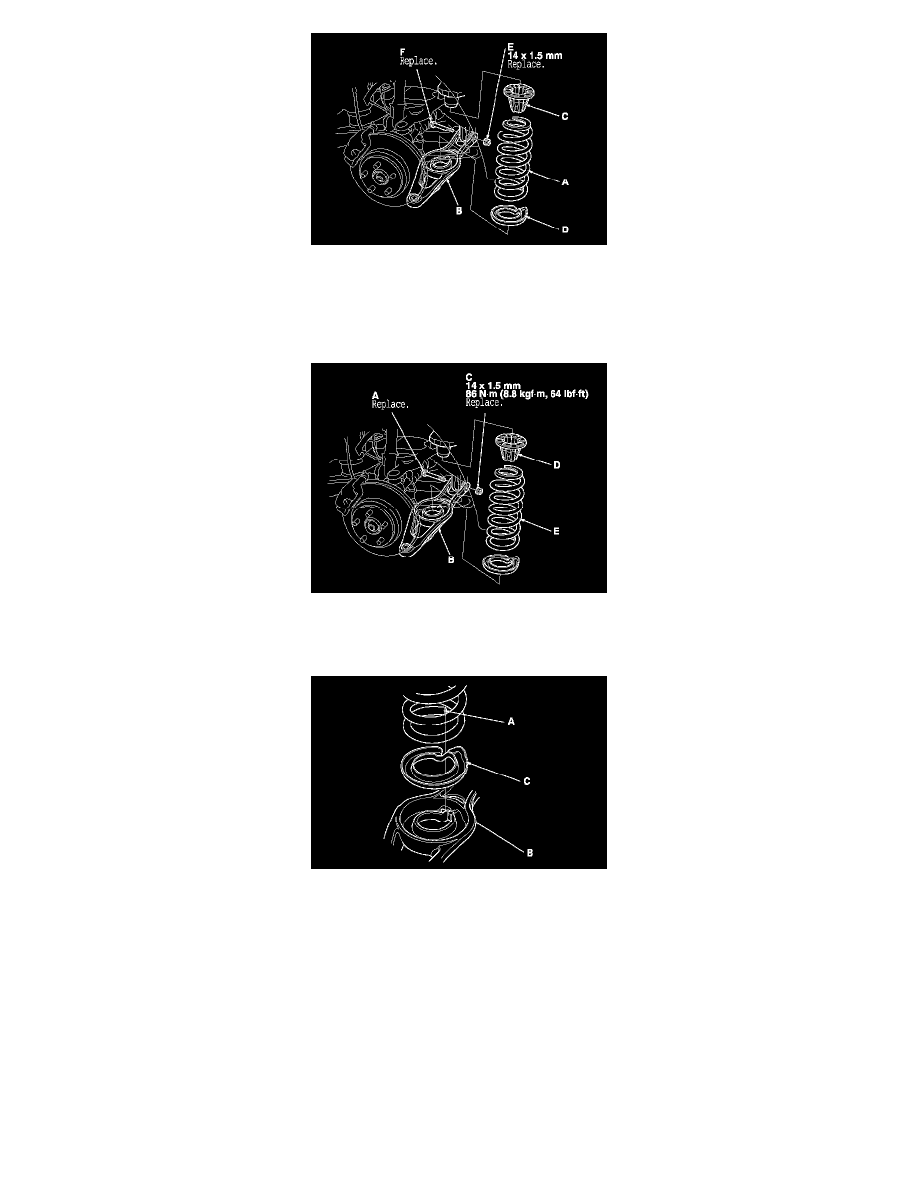
1. Position lower arm B, install a new flange bolt (A), and loosely install a new self-locking nut (C).
2. Install the spring mounting cushion (D) and the spring (E).
3. Align the bottom of the spring (A), the stepped part of the lower spring seat (C) and lower arm B.
4. Place a floor jack at the connecting point of lower arm B and the stabilizer link.
5. Raise the jack slowly until you can align the bolt hole of lower arm B and the knuckle ball joint pin, then loosely install a new castle nut (A).
6. Install the stabilizer link on the lower arm B with the washer and a new self-locking nut, and lightly tighten them.
7. Raise the rear suspension with a floor jack to load it with the vehicle's weight.
8. Tighten the castle nut and the self-locking nut to the specified torque value.
NOTE:
-
Torque the castle nut to the lower torque specification, then tighten it only far enough to align the slot with the ball joint pin hole. Do not align
the castle nut by loosening it.
-
Insert a new cotter pin (C) into the ball joint pin from the rear to the front of the vehicle, and bend its end as shown.
-
Refer to stabilizer Link Replacement to connect the lower arm B and the link. See: Stabilizer Bar/Stabilizer Link/Service and Repair/Rear
