
RL V6-3.7L (2009)
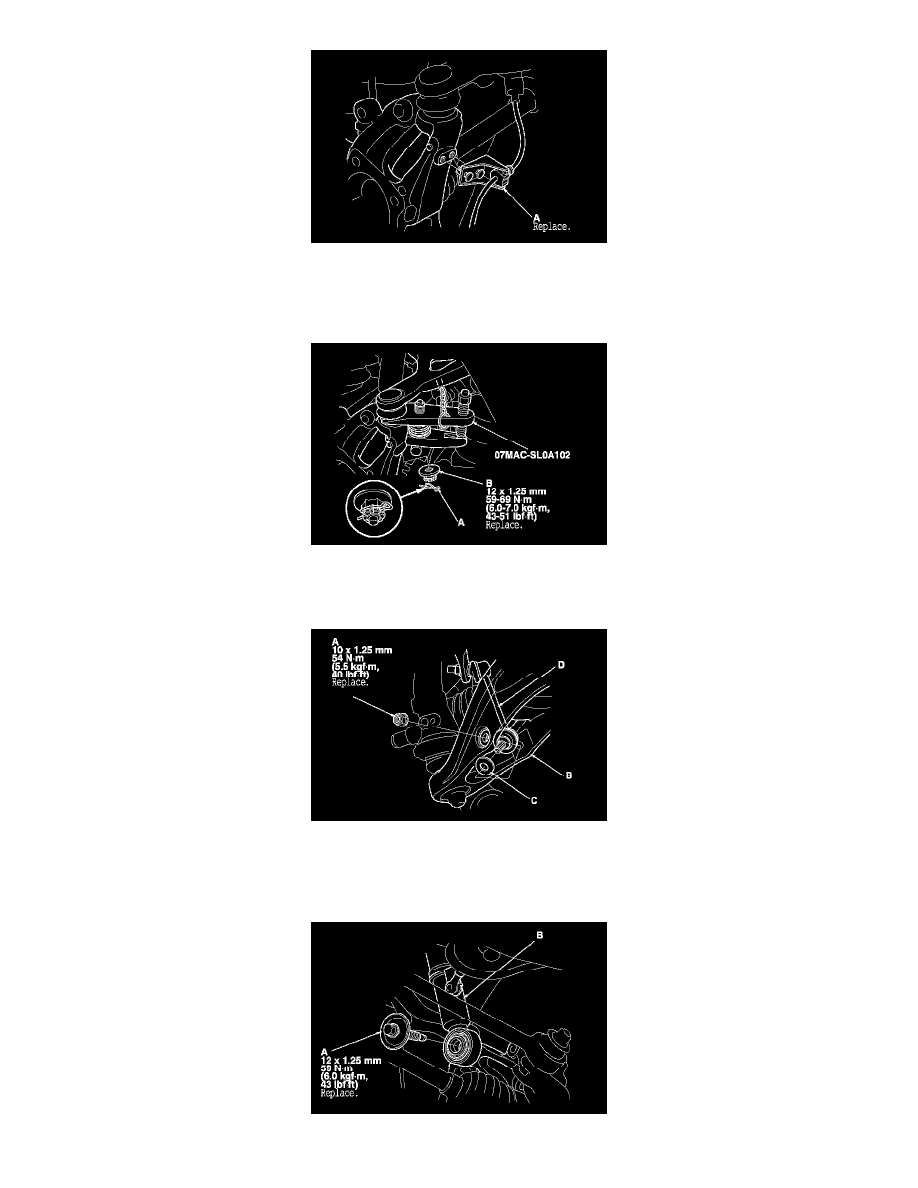
6. Remove the lock pin (A) from the upper arm ball joint, then loosen the nut (B).
NOTE: During installation, install the lock pin as shown after tightening a new castle nut.
7. Disconnect the upper arm ball joint from the knuckle using the ball joint remover. See: Ball Joint/Service and Repair/Ball Joint Removal
8. Remove the self-locking nut (A) and the washer (C), then disconnect the stabilize link (D) from lower arm B. See: Stabilizer Bar/Stabilizer
Link/Service and Repair/Rear Stabilizer Link Removal/Installation
NOTE: Use a new self-locking nut during reassembly.
9. Remove the damper lower mounting bolt (A), and disconnect the damper (B) from the knuckle.
NOTE: Use a new damper lower mounting bolt during reassembly.
10. Place a floor jack at the connecting point of lower arm B and the stabilizer link.
11. Remove the cotter pin (A) from the lower arm B ball joint, and loosen the nut (C).