
RL V6-3.7L (2009)
Shifter A/T: Removal and Replacement
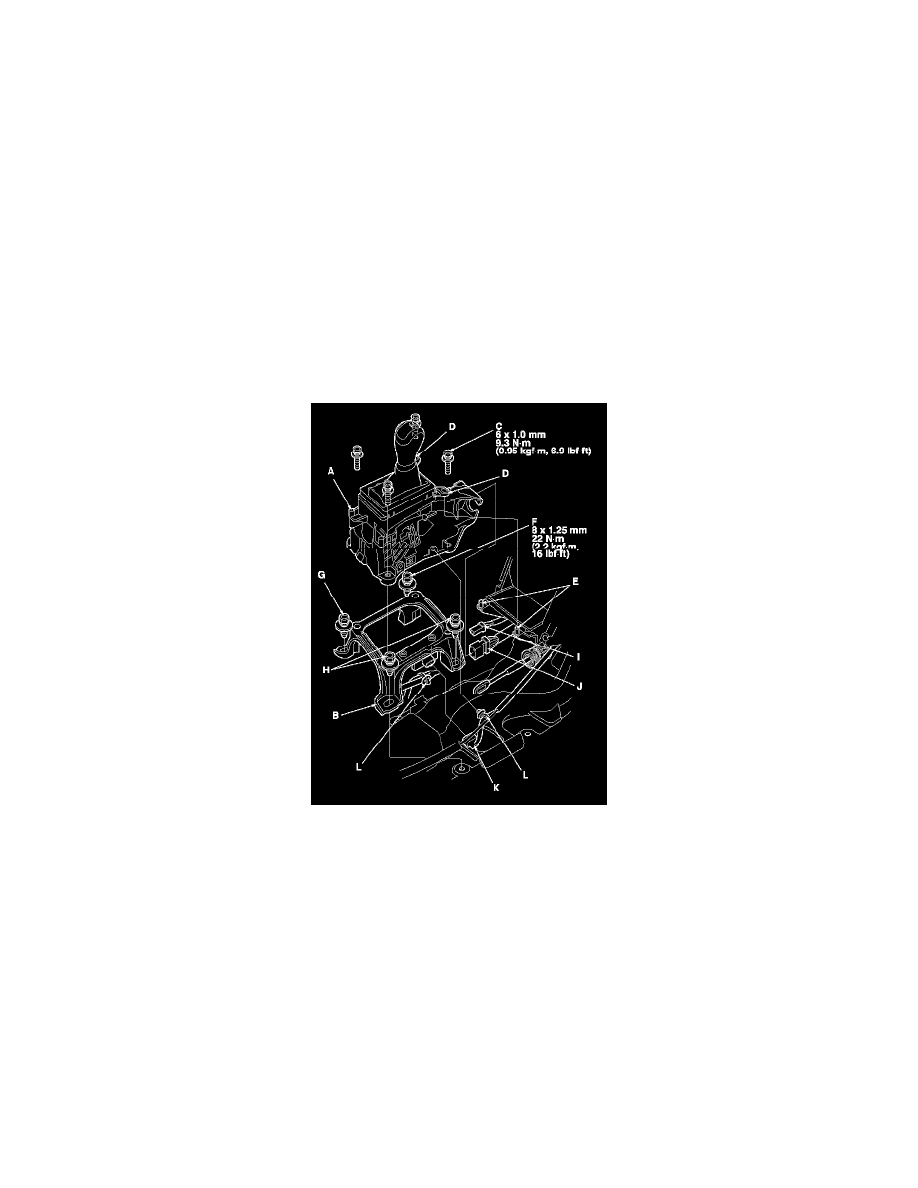
A/T Shift Lever Installation
A/T Shift Lever Installation
1. Install the shift lever bracket (A) on the shift lever bracket base (B) with the four bolts (C).
2. Install the shift lever assembly by aligning the positioning holes (D) with the tips (E) on the console panel.
3. Loosely install the mounting bolt (F) on the left front of the shift lever, then install and tighten the mounting bolt (G) on the left rear to 22 N-m
(2.2 kgf-m, 16 lbf-ft).
4. Install and tighten the mounting bolts (H) on the right side, then tighten the left front bolt to 22 N-m (2.2 kgf-m, 16 lbf-ft).
5. Connect the shift lock solenoid connector (I), park pin switch/A/T gear position indicator panel light connector (J), and the sensor cluster
connector (K).
6. Install the harness clamps (L) on the shift lever bracket.
7. Install the shift cable on the shift lever bracket, and adjust the shift cable. See: Shift Linkage/Shift Cable/Adjustments