
RL V6-3.7L (2009)
Back Window Glass: Service and Repair
Rear Window Replacement
NOTE:
-
Put on gloves to protect your hands.
-
Wear eye protection while cutting the glass adhesive with piano wire.
-
Cover interior surfaces to avoid damaging them.
-
Do not damage the rear window defogger grid lines, window antenna grid lines, and terminals.
1. Remove these items:
-
Trunk lid See: Body and Frame/Doors, Hood and Trunk/Trunk / Liftgate/Adjustments
-
Rear shelf See: Body and Frame/Interior Moulding / Trim/Rear Shelf/Service and Repair
-
High mount brake light See: Lighting and Horns/Center Mounted Brake Lamp/Service and Repair
-
XM antenna module See: Accessories and Optional Equipment/Antenna/Antenna, Radio/Service and Repair/Removal and Replacement
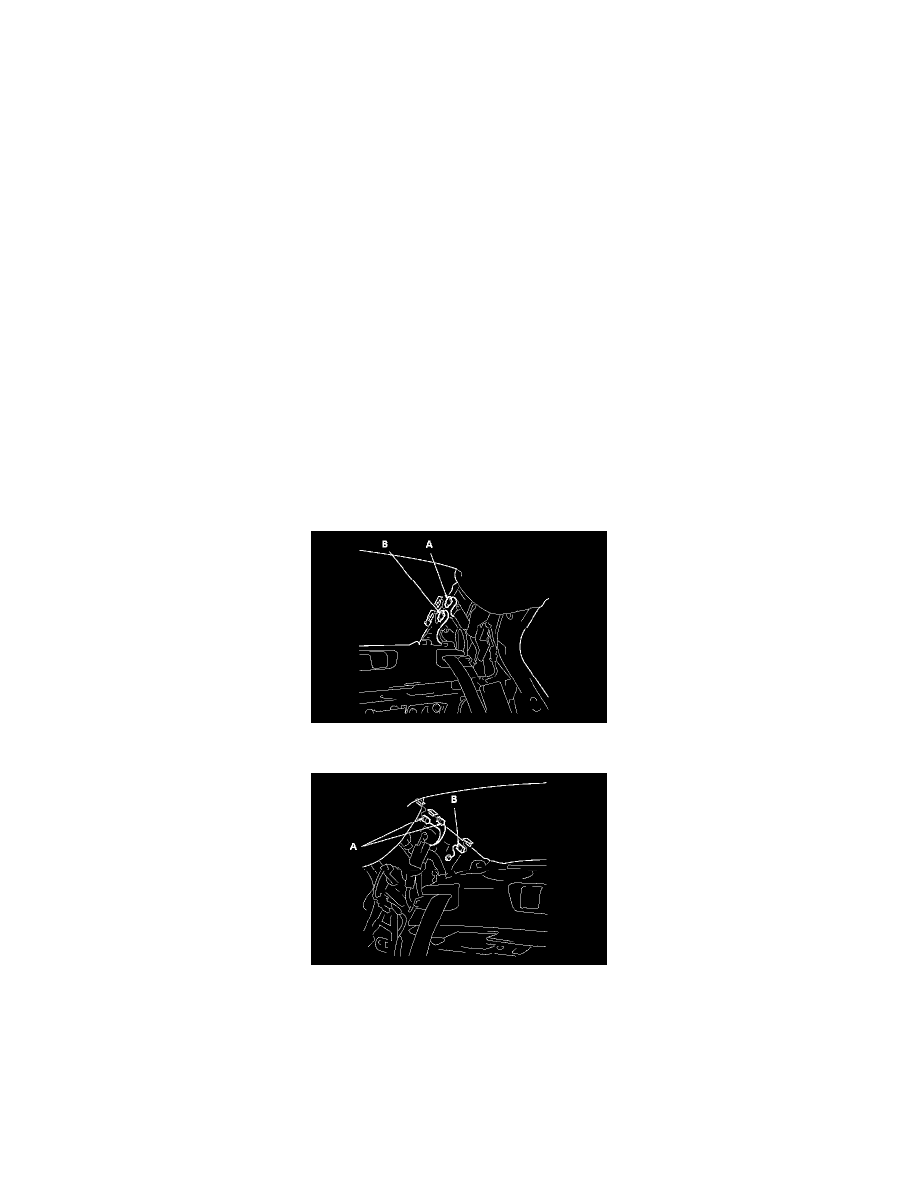
2. Disconnect the window antenna connectors (A) and the rear window defogger connectors (B).
3. If the old rear window will be reinstalled, make alignment marks across the glass and the body with a grease pencil.
Left side
Right side
4. Pull down the rear portion of the headliner (A) by detaching the clips. Take care not to bend the headliner excessively, or you may crease or break
it.
5. Apply protective tape along the inside and outside edges of the body. Using an awl, make a hole through the adhesive from inside the vehicle at
the corner portion of the rear window. Push a piece of piano wire through the hole, and wrap each end around a piece of wood.