
RL V6-3474cc 3.5L (1998)
Oil Pan: Service and Repair
Removal
Engine removal is not required in this procedure.
WARNING:
-
Make sure jacks and safety stands are placed properly.
-
Apply the parking brake and block the rear wheels so the vehicle will not roll off stands while you are working under it.
CAUTION:
-
Use fender covers to avoid damaging painted surfaces.
-
Unplug the wiring connectors carefully while holding the connector portion to avoid damaging.
-
Mark all wiring and hoses to avoid misconnection. Also, be sure that they do not contact other wiring or hoses or interfere with other parts.
1. Loosen the idler pulley center nut and adjusting bolt, then remove the air conditioning (A/C) compressor belt.
2. Disconnect the power steering pressure (PSP) switch connector, then remove the power steering pump belt and pump.
3. Remove the left and right side exhaust manifold covers.
4. Raise the hoist to full height.
5. Remove the front tires/wheels and splash shield.
6. Remove the damper forks.
7. Disconnect the suspension lower arm ball joints with the special tool.
8. Remove the driveshafts and intermediate shaft.
9. Drain the differential oil. Reinstall the drain plug using a new washer.
10. Drain the engine oil. Reinstall the drain bolt using a new washer.
11. Disconnect the vehicle speed sensor (VSS) connector, then remove the VSS/power steering speed sensor. Do not disconnect the fluid hoses.
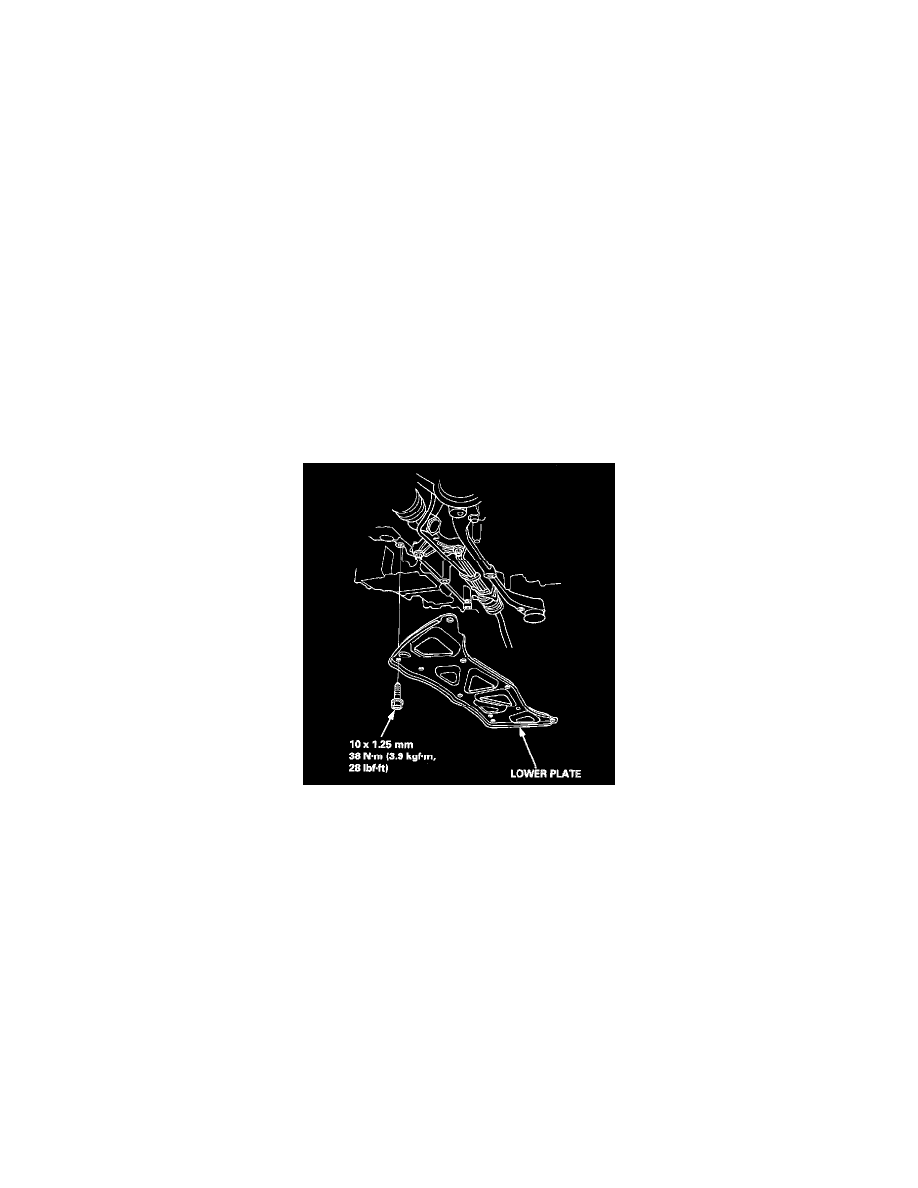
12. Remove the lower plate from the rear beam.
13. Remove the A/C compressor.
14. Attach the chain hoist to the engine.
15. Remove the left engine mount bracket.