
RL V6-3474cc 3.5L (1998)
1. Remove the strut bar.
2. Remove the engine cover.
3. Relieve fuel pressure.
4. Disconnect the connectors from the injectors.
5. Disconnect the PCV valve.
6. Disconnect the vacuum hose and fuel return hose from the fuel pressure regulator.
NOTE: Place a rag or shop towel over the hoses before disconnecting them.
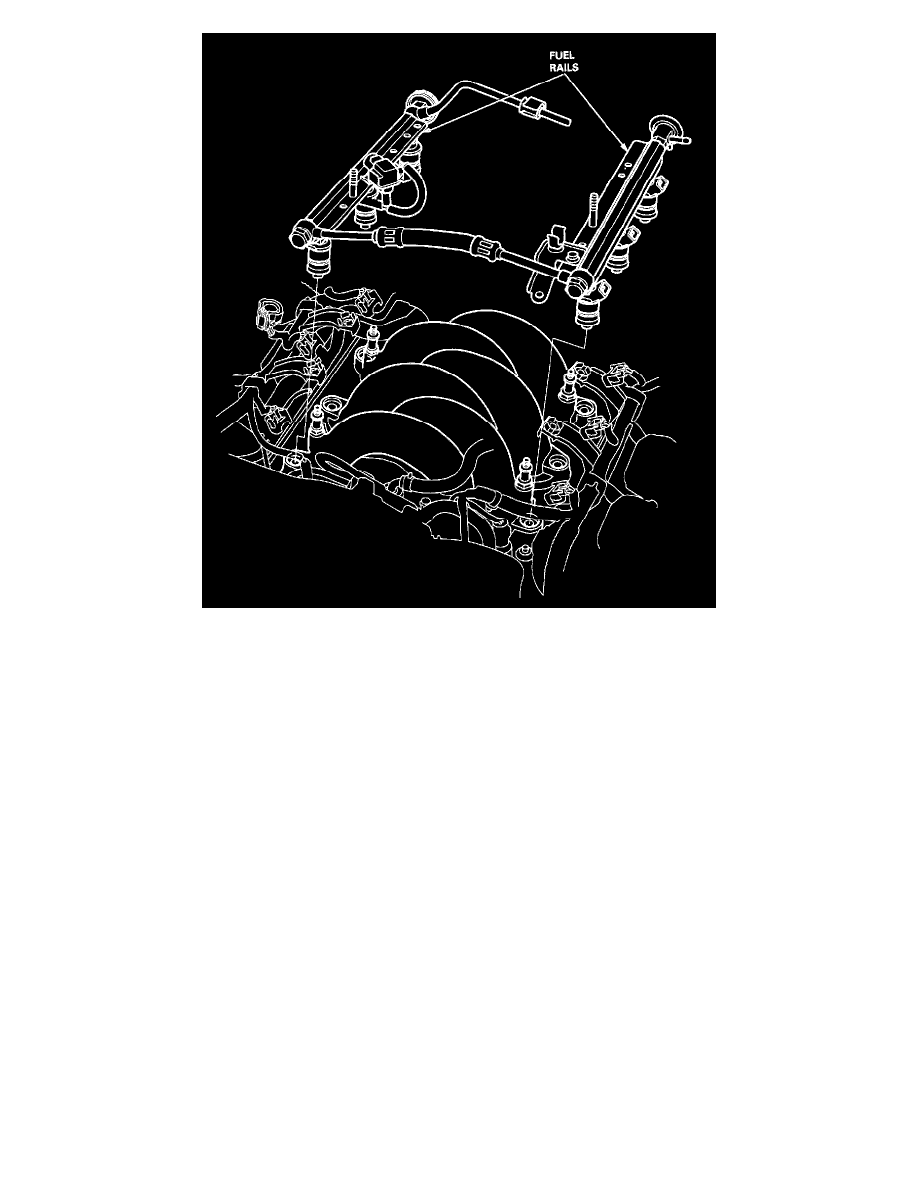
7. Disconnect the fuel hose from the fuel rail.
8. Remove the vacuum pipe.
9. Loosen the retainer nuts on the fuel rail and harness holder.
10. Disconnect the 3P connector from the MAP sensor.
11. Disconnect the fuel rail.
12. Remove the injectors from the intake manifold.
13. Slide new cushion rings onto the injectors.
14. Coat new O-rings with clean engine oil, and put them on the injectors.
15. Insert the injectors into the fuel rail first.
16. Coat new seal rings with clean engine oil and press them into the intake manifold.
17. To prevent damage to the O-ring, install the injectors in the fuel rail first, then install them in the intake manifold.
18. Install and tighten the retainer nuts.
19. Connect the 3P connector to the MAP sensor.
20. Connect the fuel hose to the fuel rail.
21. Connect the vacuum pipe.
22. Connect the vacuum hose and fuel return hose to the fuel pressure regulator.
23. Install the connectors on the injectors.
24. Connect the PCV valve.
25. Turn the ignition switch ON (II), but do not operate the starter. After the fuel pump runs for approximately 2 seconds, the fuel pressure in the fuel
line rises. Repeat this two or three times, then check whether there is any fuel leakage.
26. Install the engine cover.
27. Install the strut bar.