
RSX L4-2.0L (2005)
Air Bag Control Module: Service and Repair
SRS Unit Replacement
SRS Unit Replacement
Removal
1. Disconnect the battery negative cable, and wait at least 3 minutes before beginning work.
2. Disconnect the driver's and front passenger's airbag connectors.
3. Disconnect the side airbag connectors.
4. Disconnect both seat belt tensioner connectors and both seat belt buckle tensioner connectors.
5. Remove the dashboard center lower cover.
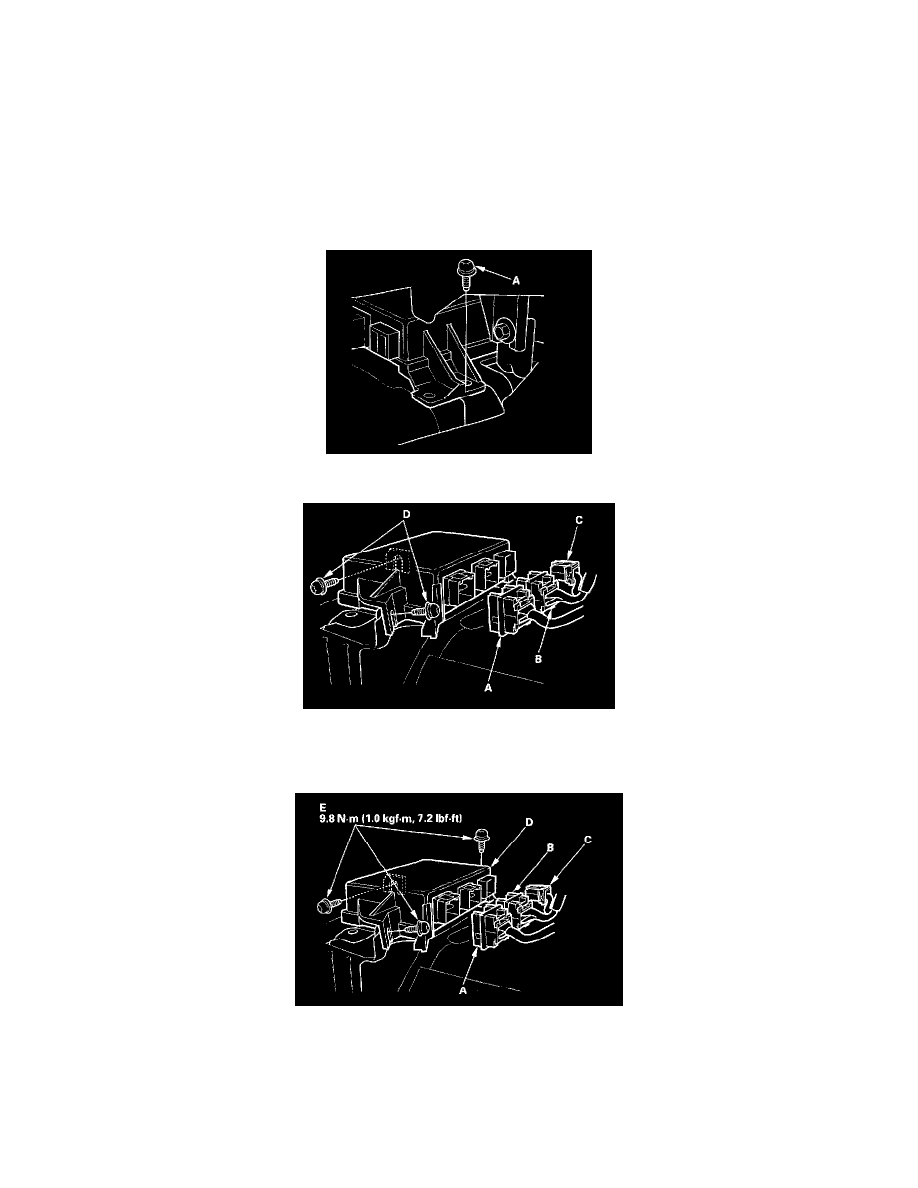
6. Pull down the carpet, then remove the Torx bolt (A) from the SRS unit.
7. Disconnect the connectors A, B, and C and remove the two Torx bolts (D), then pull out the SRS unit.
Installation
1. Install the new SRS unit (D) with Torx bolts (E), then connect the connectors A, B and C to the SRS unit; push them into position until they click.
NOTE: When tightening the Torx bolts to the specified torque after replacement, be careful to turn them in so that their heads rest squarely on the
brackets.
2. Reinstall the dashboard center lower cover.
3. Reconnect the driver's and front passenger's airbag connectors.