
SLX V6-3.2L SOHC (1996)
Fuel Pressure Regulator: Service and Repair
FUEL PRESSURE REGULATOR
Removal Procedure
WARNING: To reduce the risk of fire and personal injury, it is necessary to relieve the fuel system pressure before servicing the fuel
system components.
WARNING: After relieving the system pressure, a small amount of fuel may be released when servicing fuel lines or connections. Reduce
the chance of personal injury by covering the fuel line fittings with a shop towel before disconnecting the fittings. The towels will absorb
any fuel that may leak out. When the disconnect is completed, place the towel in an approved container.
CAUTION: Compressed air must never be used to test or clean a fuel pressure regulator as damage to the fuel pressure regulator may result.
CAUTION: To prevent damage to the fuel pressure regulator, do not immerse the pressure regulator in solvent.
1. Depressurize the fuel system. Refer to Fuel Pressure Relief Procedure.
2. Disconnect the negative battery cable.
3. Remove the fuel pump relay. Refer to Fuel Pump Relay
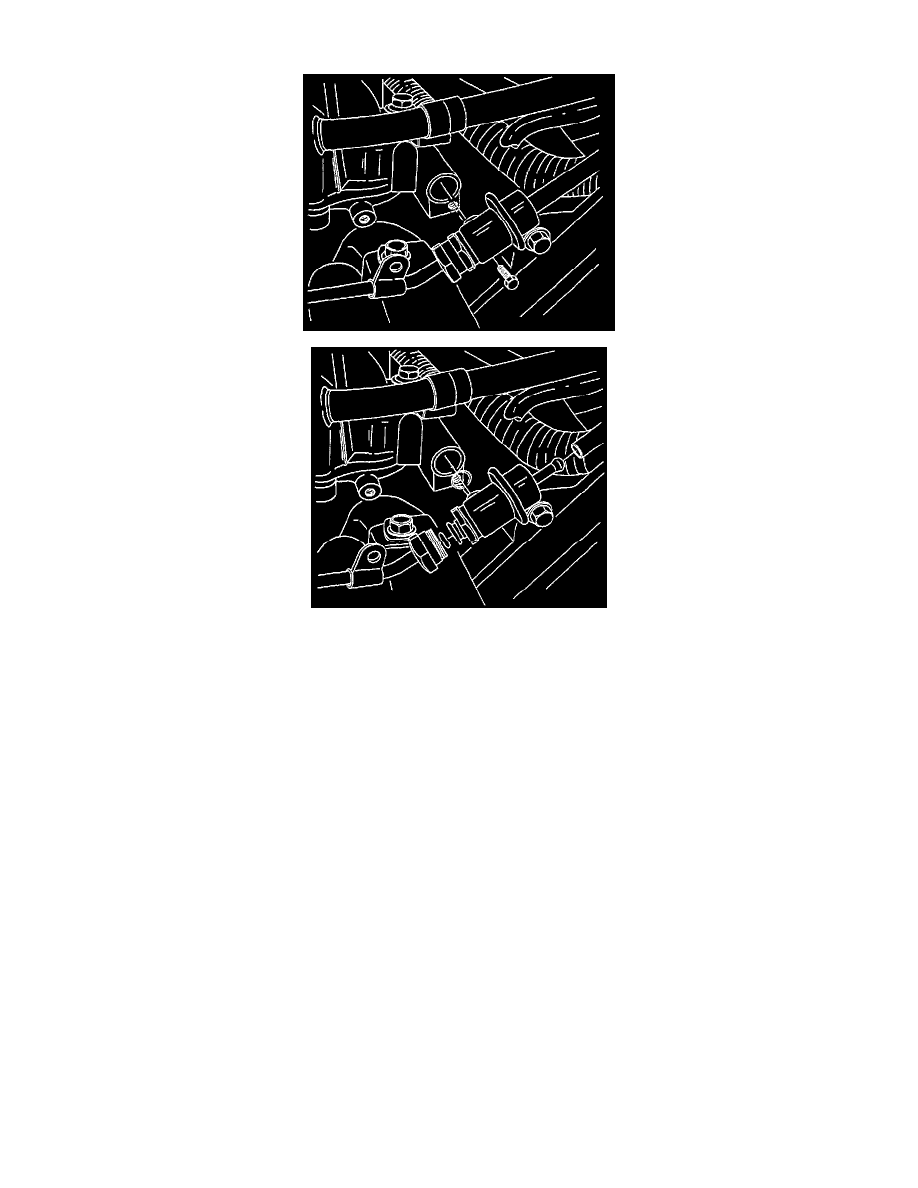
4. Remove the fuel return line support bracket bolt. 5 Remove the fuel return line support bracket.
6. Remove the fuel pressure regulator attaching screw.
7. Remove the fuel pressure regulator from the fuel rail.
Disassembly Procedure
1. Remove the O-ring from the fuel pressure regulator.
2. Loosen the swivel nut.
3. Remove the fuel return line from the fuel pressure regulation
4. Remove the O-ring from the fuel return line.
^
The O-ring may be left inside the fuel pressure regulator instead of on the fuel return line.
Assembly Procedure
1. Install a new O-ring on the fuel return line.