
SLX V6-3.2L SOHC (1996)
4.
Move the selector lever through all shift positions. Then apply the brakes, and move the lever to Park.
5.
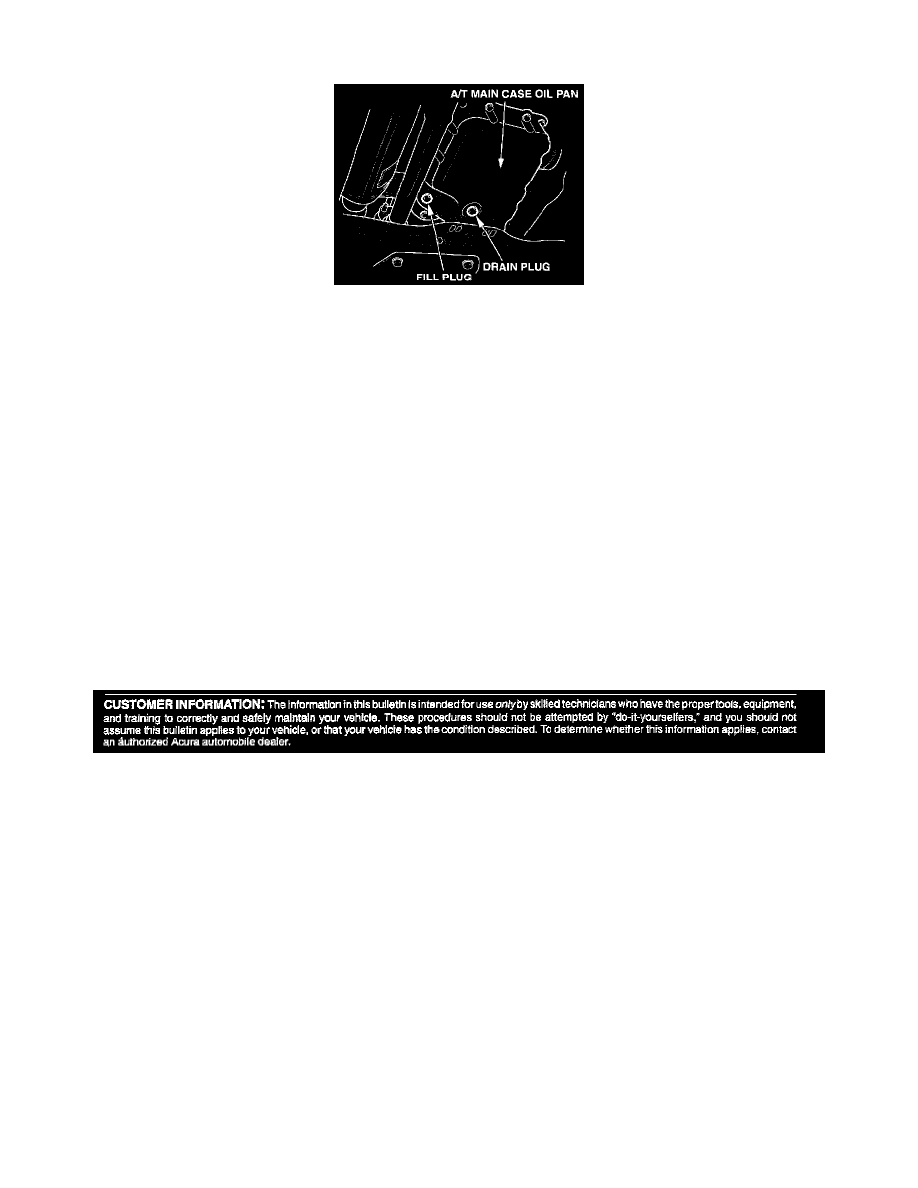
Check the drain plug and fill plug for signs of leakage.
^
If you see signs of leakage, turn off the engine. Remove and discard both plugs and gaskets. Let the oil pan drain completely, then install the
new drain plug. Torque the drain plug to 38 Nm (28 lb-ft). Add DEXRON III ATF until it runs out the fill hole. Install the new fill plug hand
tight. Go to step 6.
^
If you do not see signs of leakage, look for other possible causes of the leak.
6.
Connect the PGM Tester to the 16P data link connector to measure ATF temperature. Start the engine.
7.
Remove the fill plug, and add ATF until it runs Out the fill hole. Reinstall the fill plug.
8.
Move the selector lever through all shift positions. Then apply the brakes, and move the lever to Park.
9.
Remove the fill plug.
10.
Let the engine idle until the ATF temperature is between 90° and 135° F (32° and 57° C). As the temperature increases, ATF drips out the fill hole
until the correct fluid level is reached.
11.
Reinstall the fill plug. Torque the fill plug to 38 Nm (28 lb-ft).
12.
Turn off the engine, and disconnect the PGM Tester. Lower the vehicle.
DISCLAIMER