
TL L5-2451cc 2.5L SOHC MFI (1997)
Brake Master Cylinder: Service and Repair
Installation
CAUTION:
-
When connecting the brake lines, make sure that there is no interference between the brake lines and other parts.
-
Be careful not to bend or damage the brake lines when installing the master cylinder.
NOTE: If replacing the master cylinder or brake booster, check and adjust the pushrod clearance before installing the master cylinder.
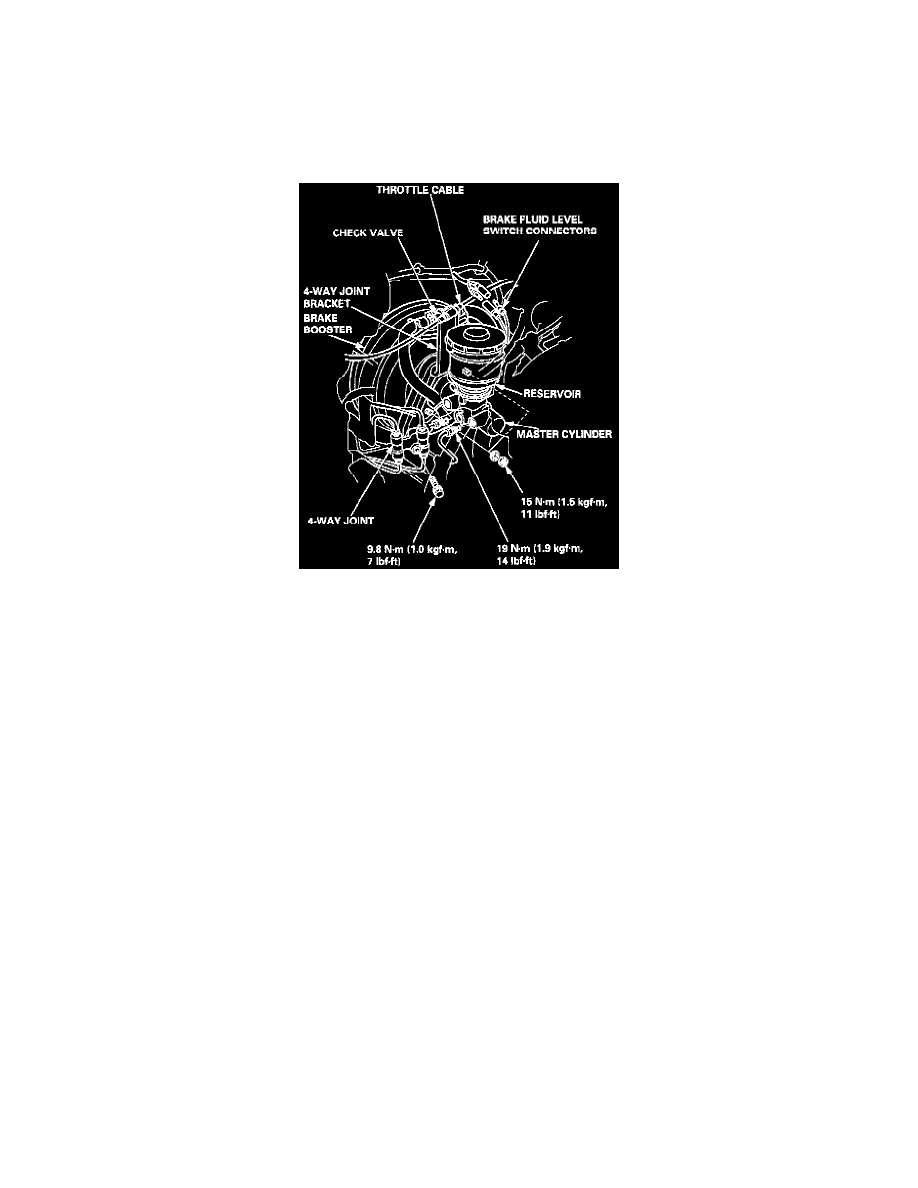
Note: '95 - 96 Model Is Shown.
1. Install the master cylinder and 4-way joint bracket with the mounting nuts and washers.
2. Connect the brake lines to the master cylinder.
3. Install the 4-way joint, check valve and throttle cable to the 4-way joint bracket.
4. Fill the master cylinder reservoir, and bleed the brake system.
5. Install the reservoir cap, and connect the brake fluid level switch connectors.
6. After installation, check the brake pedal height and brake pedal free play and adjust if necessary.