
TL V6-3.2L (2004)
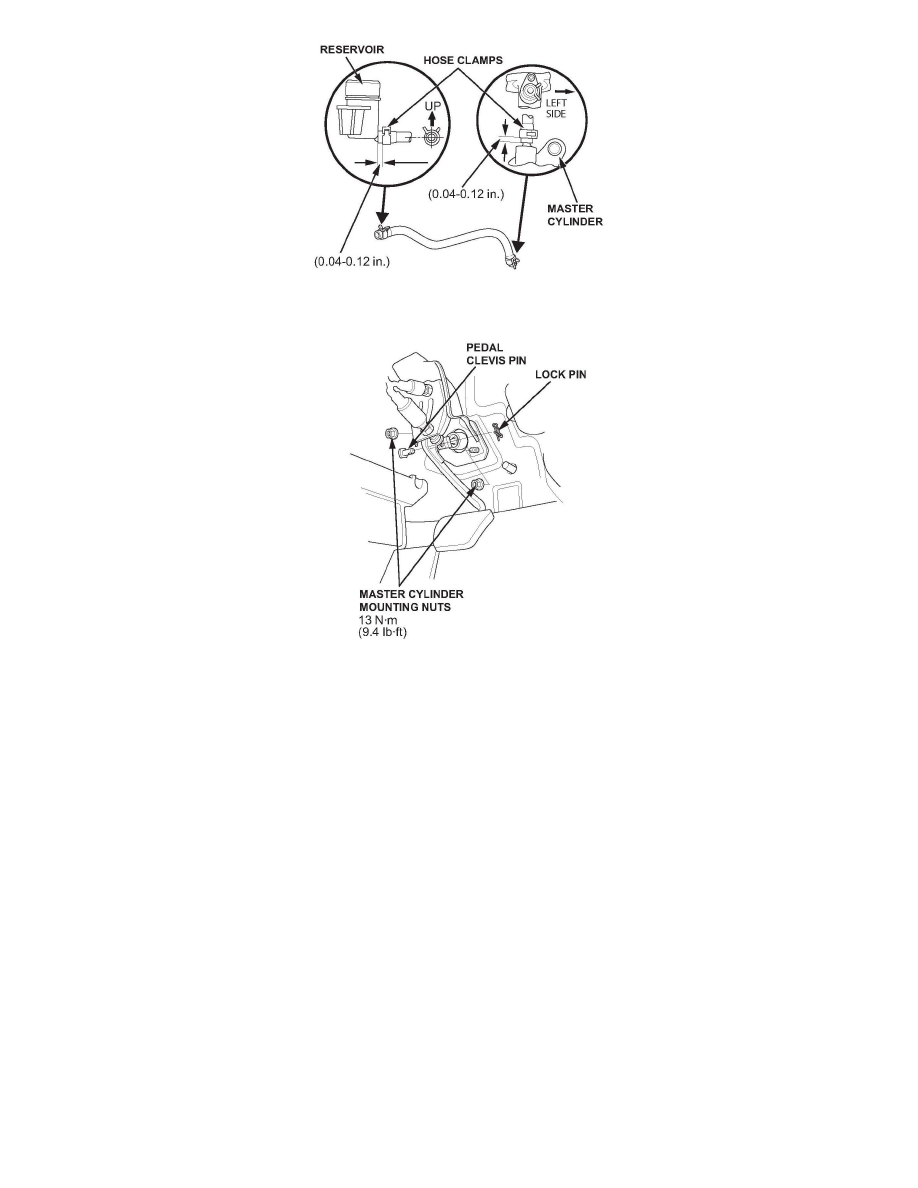
23. Make sure the hose clamps are positioned on the master cylinder and reservoir as shown.
24. Torque the master cylinder mounting nuts to 13 N.m (9.4 lb-ft).
25. Apply grease to the pedal clevis pin, slide it into the yoke, then install a new lock pin.
26. Adjust the clutch pedal, the clutch pedal position switch, and the clutch interlock switch.
27. Bleed the clutch master hydraulic system.
^
Attach a hose to the bleeder screw, and suspend the hose in a container of brake fluid.
^
Use only Acura DOT 3 Brake Fluid, from an unopened container.
^
Make sure there is an adequate supply of brake fluid in the clutch reservoir, then slowly pump the clutch pedal until no more bubbles appear at
the bleeder hose.
^
It may be necessary to limit the movement of the clutch release fork with a block of wood to remove all the air from the system.
^
Tighten the bleeder screw to 8 N.m (5.8 lb-ft) (do not overtighten).