
TL V6-3.2L (2004)
Alignment: Service and Repair
Wheel Alignment
The suspension can be adjusted for front and rear toe.
Pre-Alignment Checks
For proper inspection and adjustment of the wheel alignment, do these checks:
1. Release the parking brake to avoid an incorrect measurement.
2. Make sure the suspension is not modified.
3. Check the tire size and tire pressure.
Tire size:
Front/Rear: P235/45R17 93W
Tire pressure:
Front:
M/T model: 240 kPa (2.4 kgf-cm, 35 psi)
A/T model: 220 kPa (2.2 kgf-cm, 32 psi)
Rear: 220 kPa (2.2 kgf-cm, 32 psi)
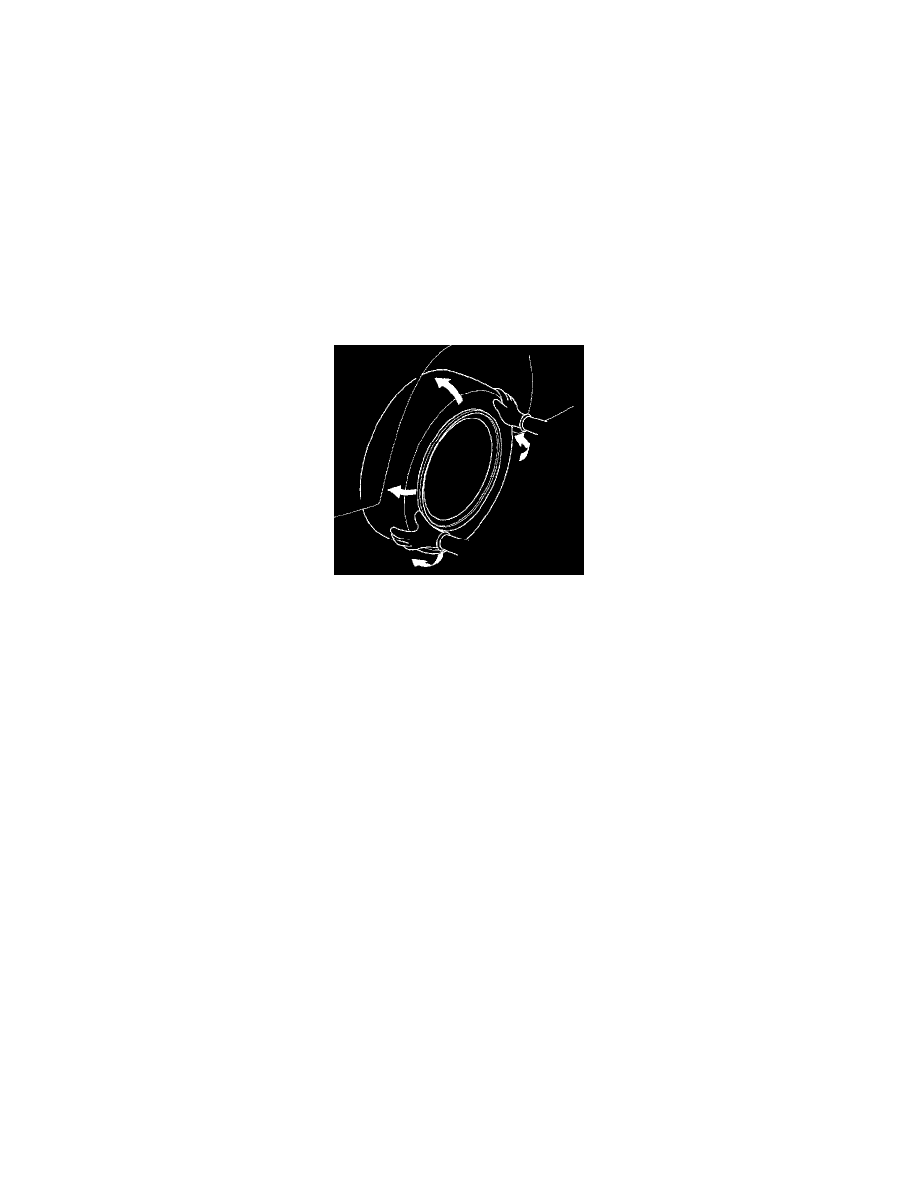
4. Check the runout of the wheels and tires.
5. Check the suspension ball joints. (Hold a wheel with your hands, and move it up and down and right and left to check for wobbling.)
6. Bounce the vehicle up and down several times to stabilize the suspension.
Caster Inspection
Use commercially available computerized four wheel alignment equipment to measure wheel alignment (caster, camber, toe, and turning angle).
Follow the equipment manufacturer's instructions.
1. Check the caster angle.
Caster angle: 3°17' ± 45' (Maximum difference between the right and left side: 0°45'
2. If out of specification, check for bent or damaged suspension components.
Camber Inspection
Use commercially available computerized four wheel alignment equipment to measure wheel alignment (caster, camber, toe, and turning angle).
Follow the equipment manufacturer's instructions.
1. Check the camber angle.
Camber angle:
Front: -0°30' ± 30'
Rear: -1°00' ± 30' (Maximum difference between the right and left side: 0°45')
2. If out of specification, check for bent or damaged suspension components.
Front Toe Inspection/Adjustment
Use commercially available computerized four wheel alignment equipment to measure wheel alignment (caster, camber, toe, and turning angle).
Follow the equipment manufacturer's instructions.
1. Center the steering wheel spokes.
2. Check the toe with the wheels pointed straight ahead.
Front toe-in: 0 ± 2 mm (0 ± 0.08 inch)
^
If no adjustment is required, remove the alignment equipment.
^
If adjustment is required, go to step 3.