TL V6-3.2L (2004)

Stabilizer Link: Service and Repair
Front
Stabilizer Link Replacement
1. Raise the front of the vehicle, and support it with safety stands in the proper locations.
2. Remove the front wheels, taking care not to scratch the calipers on M/T model.
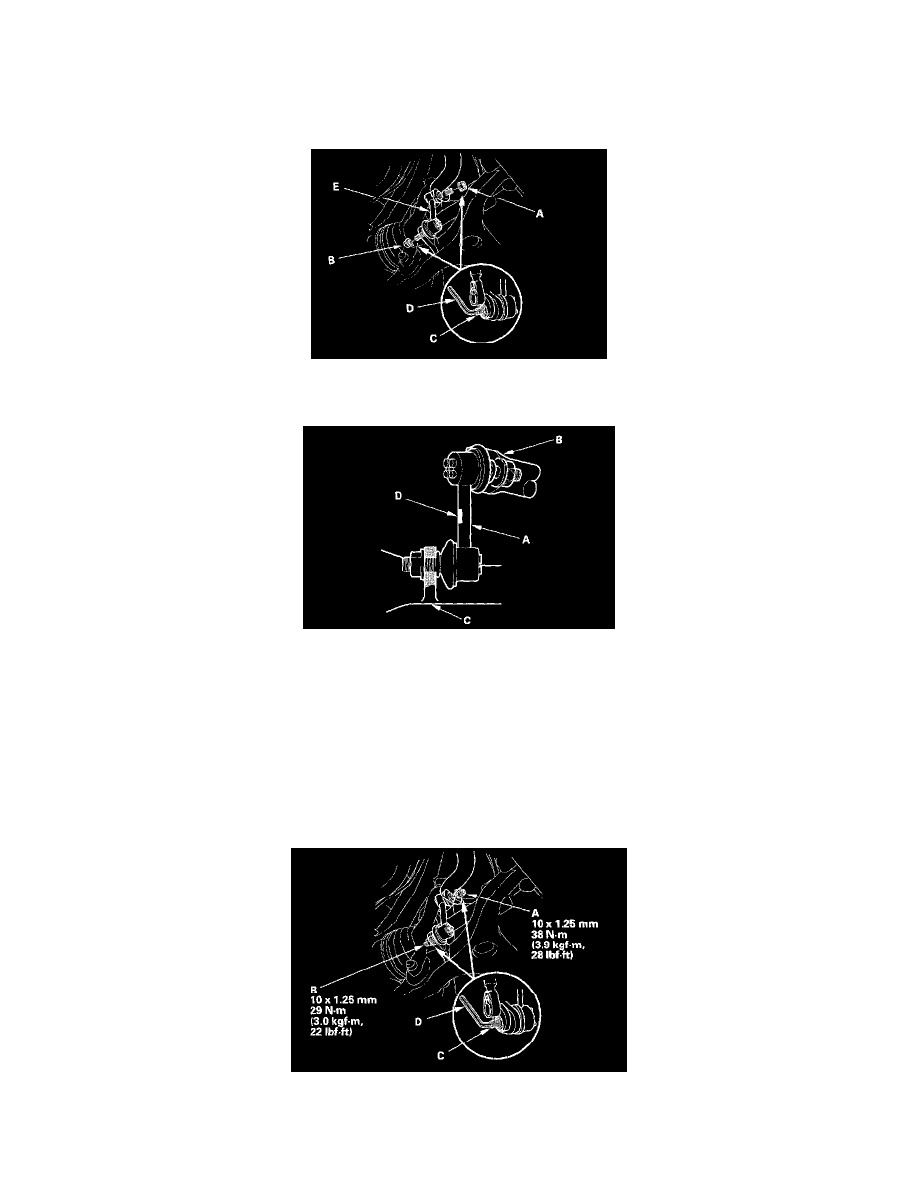
3. Remove the self-locking nut (A) and flange nut (B) while holding the respective joint pin (C) with a hex wrench (D), then remove the stabilizer
link (E).
4. Install the stabilizer link (A) on the stabilizer bar (B) and lower arm (C) with the joint pins set at the center of their range of the movement.
NOTE: The left stabilizer link has a yellow paint mark (D), while the right stabilizer link has a white paint mark.
5. Install a new self-locking nut and flange nut, and lightly tighten them.
NOTE: Use a new self-locking nut on reassembly.
6. Place the floor jack under the lower arm, and raise the suspension to load it with the vehicle's weight.
NOTICE: Do not place the jack against the ball joint pin of the knuckle.
7. Tighten the new self-locking nut (A) and flange nut (B) to the specified torque values while holding the respective joint pins (C) with a hex wrench
(D).
8. Reinstall all removed parts and test drive the vehicle.
