
TL V6-3.2L (2004)
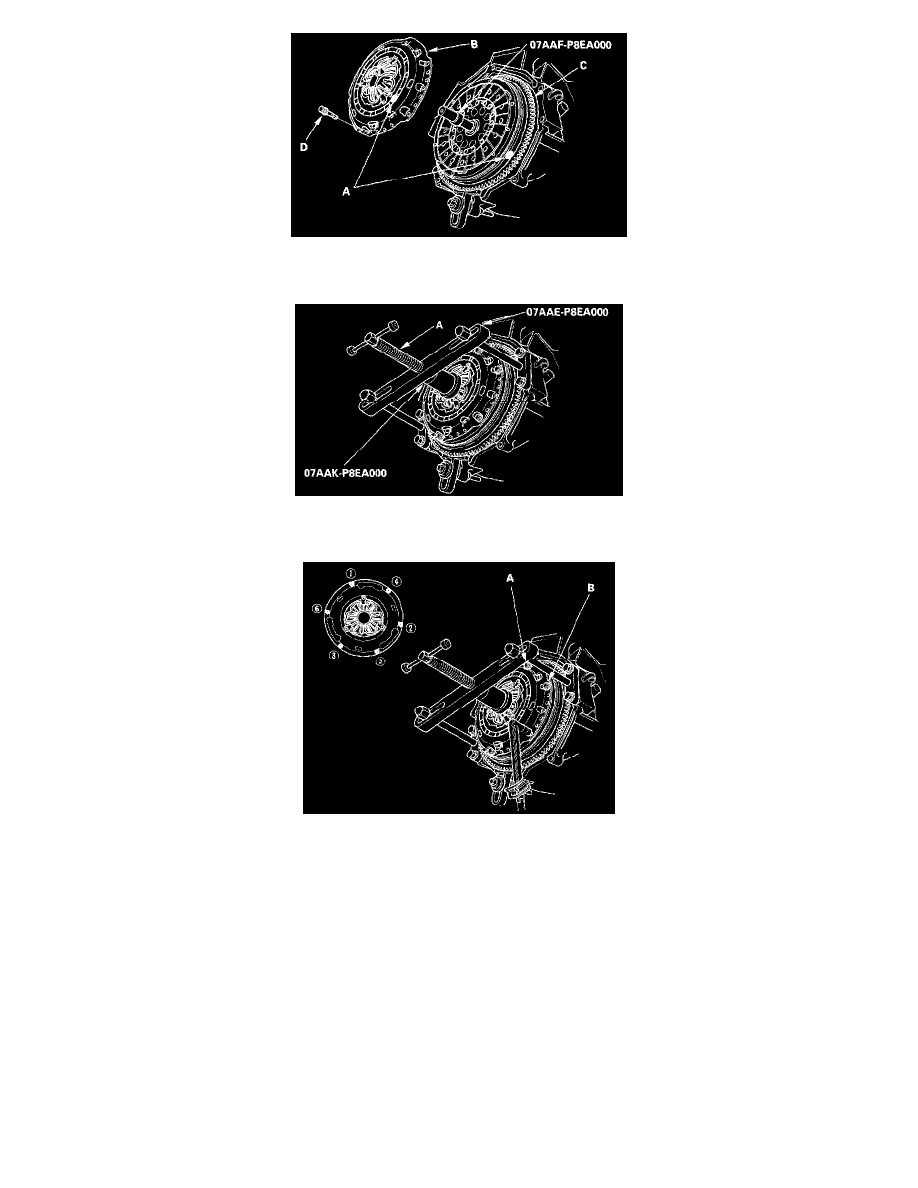
4. Align a point mark (A) across the pressure plate (B) and flywheel (C).
5. Install the pressure plate and the mounting bolts (D), finger-tight.
6. Install the special tools.
7. Turn the center screw (A) clockwise by hand to apply pressure on the diaphragm spring. Continue turning the center screw until it stops.
8. Be careful not to damage the pressure plate (A). Tighten (180° apart) the pressure plate mountings bolts (B) in a star pattern in several steps.
PRESSURE PLATE MOUNTING BOLT TORQUE: 25 Nm (2.6 kgf-cm, 19 ft. lbs.)
9. Turn the center screw on the pressure plate compressor counterclockwise by hand to release the pressure, then remove the special tools.
10. Make sure the diaphragm spring fingers are all the same height.
Release Bearing Replacement