
TL V6-3.5L (2007)
Engine Control Module: Removal and Replacement
ECM/PCM Replacement
NOTE:
-
Make sure the HDS is loaded with the latest software version.
-
If you are replacing the ECM/PCM after substituting a known-good ECM/PCM, reinstall the original ECM/PCM, then do this procedure.
-
During the procedure, if any READ DATA, WRITE DATA, or other data checks fail, note the failure, then continue.
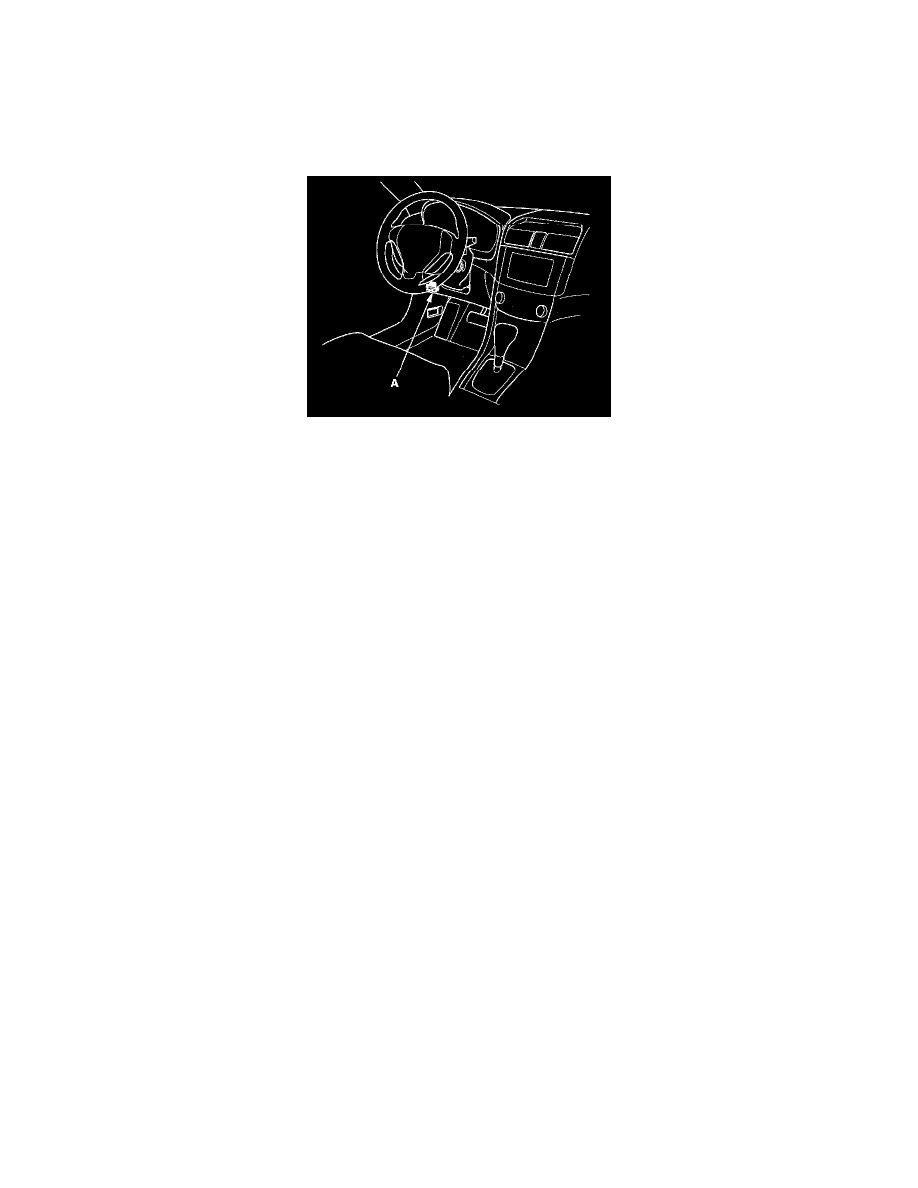
1. Connect the HDS to the data link connector (DLC) (A) located under the driver's side of the dashboard.
2. Turn the ignition switch ON (II).
3. Make sure the HDS communicates with the ECM/PCM and other vehicle systems. If it does not, go to the DLC circuit troubleshooting. See:
Testing and Inspection/Component Tests and General Diagnostics/DLC Circuit Troubleshooting If you are returning from DLC circuit
troubleshooting, skip steps 4 through 7 and 18 through 20, and do the following procedure after replacing the ECM/PCM.
-
Replace the engine oil, and the engine oil filter.
-
Clean the throttle body.
4. Select the PGM-FI system with the HDS.
5. Select the INSPECTION MENU with the HDS.
6. Select the ETCS TEST, then select the TP POSITION CHECK, and follow the screen prompts.
NOTE: If the TP POSITION CHECK indicates FAILED, continue with this procedure.
7. Select the REPLACE ECM/PCM MENU, then READ DATA, and follow the screen prompts.
NOTE:
-
Doing this step copies (READS) the engine oil life data from the original ECM/PCM so you can later download (WRITES) it into the new
ECM/PCM.
-
If READ DATA indicates FAILED, continue with this procedure.
8. Turn the ignition switch OFF.
9. Jump the SCS line with the HDS.
10. Pull back the carpet.