
TL AWD V6-3.7L (2010)
Accessory Control Display: Service and Repair
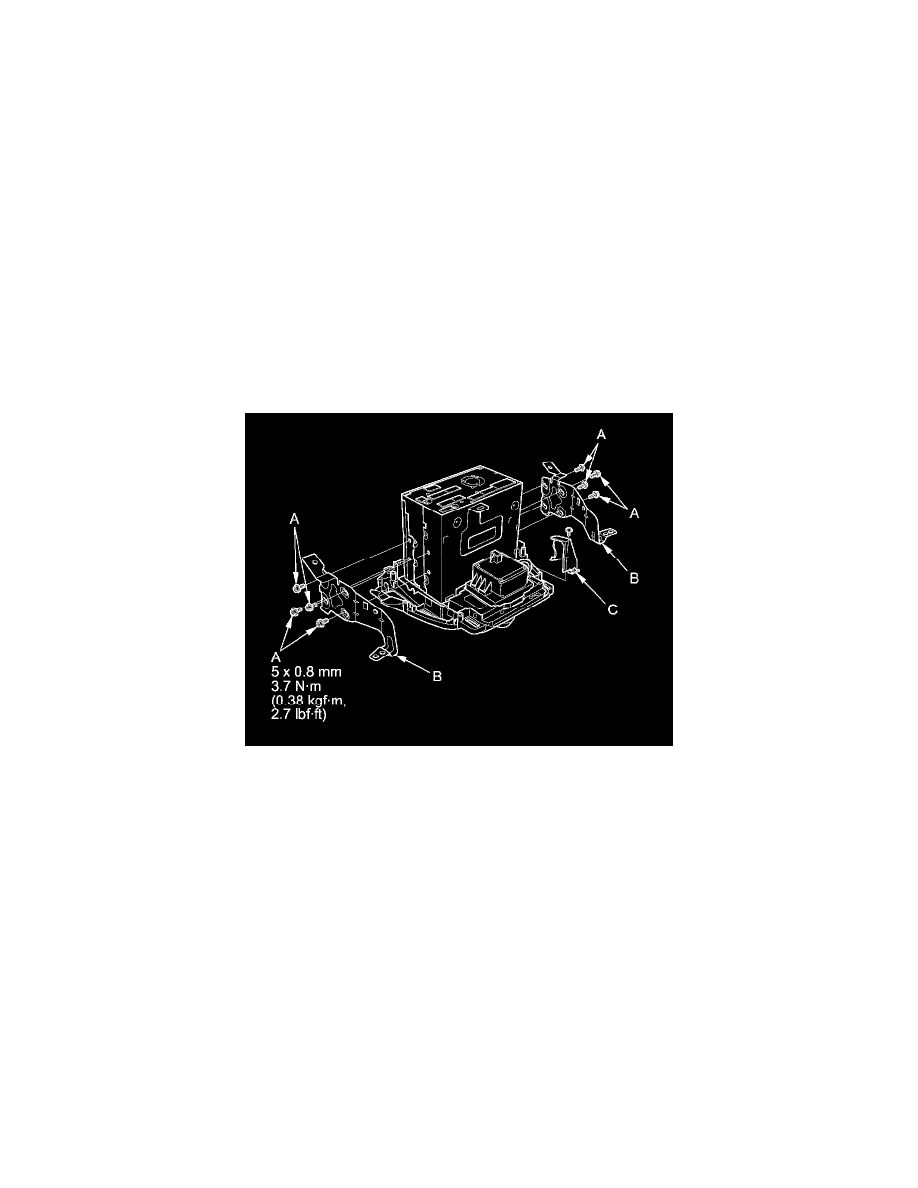
Interface Dial Removal/Installation
SRS components are located in this area. Review the SRS component locations See: Restraint Systems/Air Bag Systems/Locations, and the precautions
and procedures See: Body and Frame/Interior Moulding / Trim/Dashboard / Instrument Panel/Air Bag(s) Arming and Disarming/Service and Repair
before doing repairs or service.
NOTE:
-
Put on gloves to protect your hands.
-
Take care not to scratch the dashboard and related parts.
-
Lay a shop towel under the parts when working on them to protect the face panel from scratches or other damage.
-
Eject the disc before removing the audio-navigation unit to prevent damaging the CD/DVD player's load mechanism.
-
If the audio-navigation unit is replaced or disconnected, a Map Matching must be done See: Navigation System/Testing and Inspection/Reading
and Clearing Diagnostic Trouble Codes.
1. Remove the audio-navigation switch panel See: Radio, Stereo, and Compact Disc/Service and Repair/Audio-Navigation Switch Panel
Removal/Installation.
2. Remove the bolts (A) and stays (B).
3. Remove the screw and harness cover (C).
4. Disconnect the interface dial 13P connector (A).