
TL AWD V6-3.7L (2010)
Hydraulic Control Assembly - Antilock Brakes: Service and Repair
VSA Modulator-Control Unit Removal and Installation
NOTE:
-
Do not spill brake fluid on the vehicle; it may damage the paint. If brake fluid gets on the paint, wash it off immediately with water.
-
Be careful not to damage or deform the brake lines during removal and installation.
-
After removal, plug the ends of the hoses and the joints to prevent spilling brake fluid.
Removal
1. Turn the ignition switch to LOCK (0), or press the engine start/stop button to select the OFF mode.
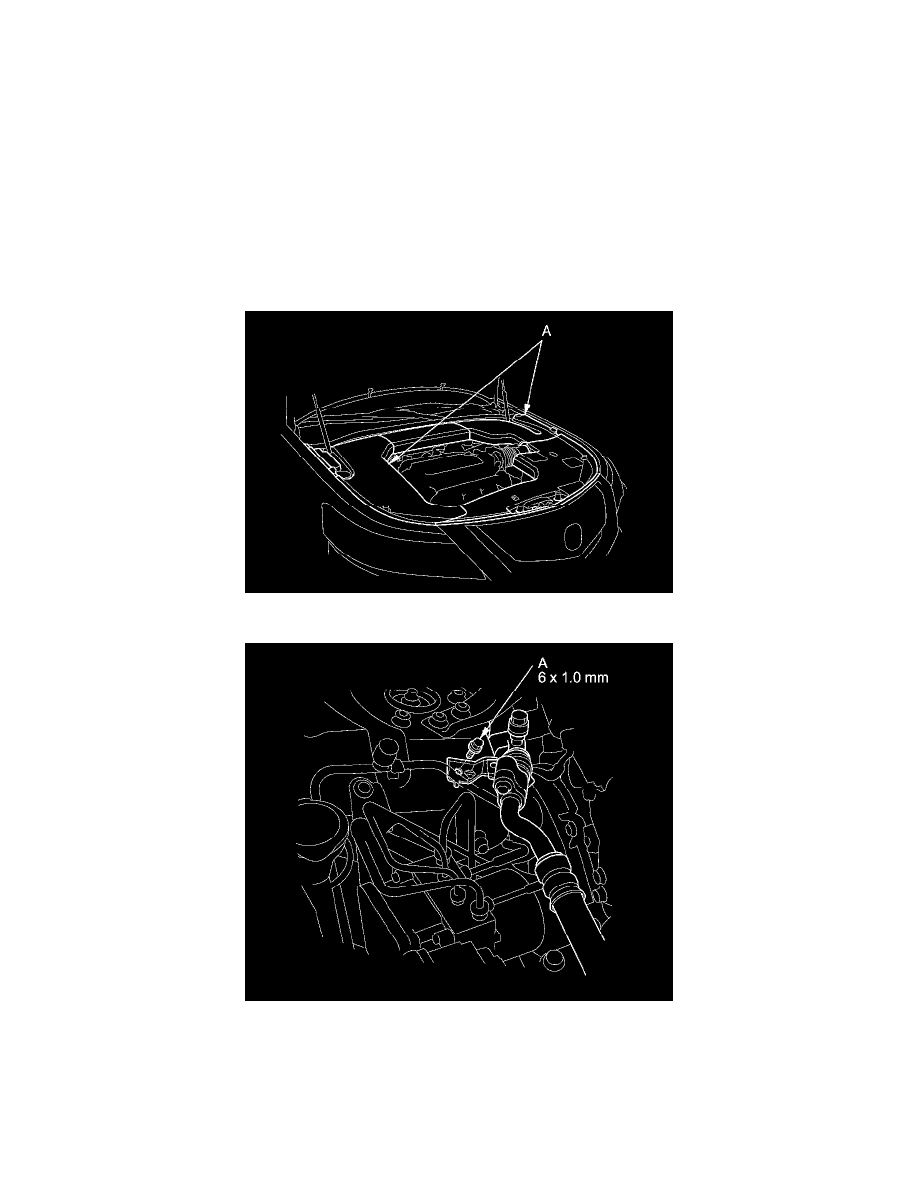
2. Remove the left and right engine compartment covers (A) See: Body and Frame/Access Cover/Service and Repair.
3. Remove the suction line mounting bolt (A) from the bracket.
4. Disconnect the 10 mm brake lines (A) and the 12 mm brake lines (B) from the VSA modulator-control unit (C).