
TL AWD V6-3.7L (2010)
NOTE: The compression pressure should not exceed 9,800 N (1,000 kgf, 2,200 lbf).
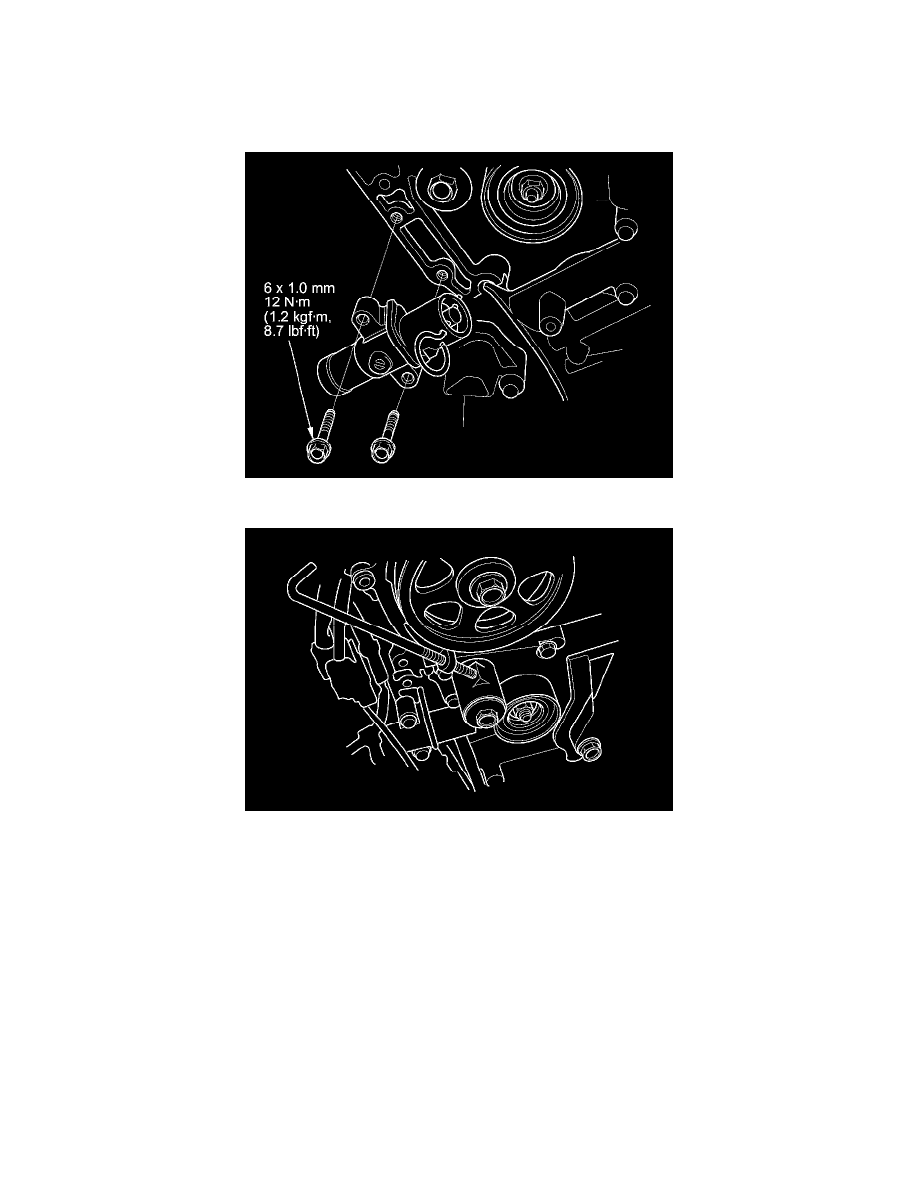
9. Install the auto-tensioner.
NOTE: Make sure the pin stays in place.
10. Thread the battery clamp bolt in as shown to hold the timing belt adjuster. Tighten it by hand, do not use a wrench.
11. Loosely install the idler pulley with a new idler pulley bolt so the pulley can move but does not come off.
12. Install the timing belt in a counterclockwise sequence starting with the drive pulley.
1. Drive pulley (A)
2. Idler pulley (B)
3. Front camshaft pulley (C)
4. Water pump pulley (D)
5. Rear camshaft pulley (E)
6. Adjusting pulley (F)