TL AWD V6-3.7L (2010)

Ignition Timing: Testing and Inspection
Ignition Timing Inspection
1. Remove the engine compartment covers See: Body and Frame/Access Cover/Service and Repair.
2. Connect the Honda Diagnostic System (HDS) to the data link connector (DLC) See: Powertrain Management/Computers and Control
Systems/Testing and Inspection/Initial Inspection and Diagnostic Overview.
3. Turn the ignition switch to ON (II), or press the engine start/stop button to select the ON mode.
4. Make sure the HDS communicates with the vehicle and the engine control module (ECM)/powertrain control module (PCM). If it does not
communicate, troubleshoot the DLC circuit See: Powertrain Management/Computers and Control Systems/Testing and Inspection/Component
Tests and General Diagnostics/DLC Circuit Troubleshooting.
5. Check for DTCs See: Powertrain Management/Computers and Control Systems/Testing and Inspection/Initial Inspection and Diagnostic
Overview. If a DTC is present, diagnose and repair the cause before continuing with this test.
6. Start the engine. Hold the engine speed at 3,000 rpm with no load (in neutral (M/T model) or N or P (A/T model)) until the radiator fan comes
on, then let it idle.
7. Check the idle speed See: Idle Speed/Testing and Inspection.
8. Jump the SCS line with the HDS.
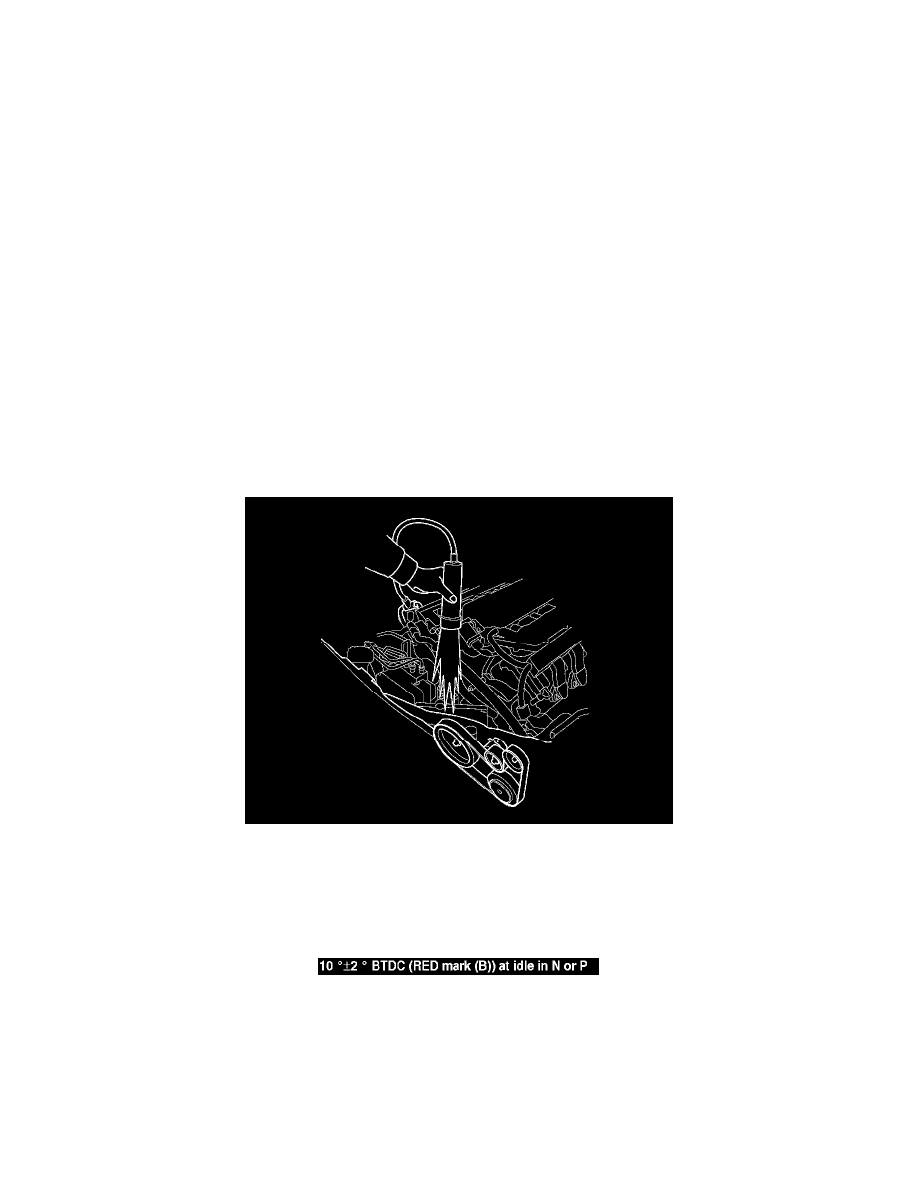
9. Connect the timing light to the No. 1 ignition coil harness.
10. Aim the light toward the pointer (A) on the timing belt cover. Check the ignition timing under a no load condition (headlights, blower fan, rear
window defogger, and air conditioner are turned off).
NOTE: The other pointer (C) is not used.
Ignition Timing
