
TL AWD V6-3.7L (2010)
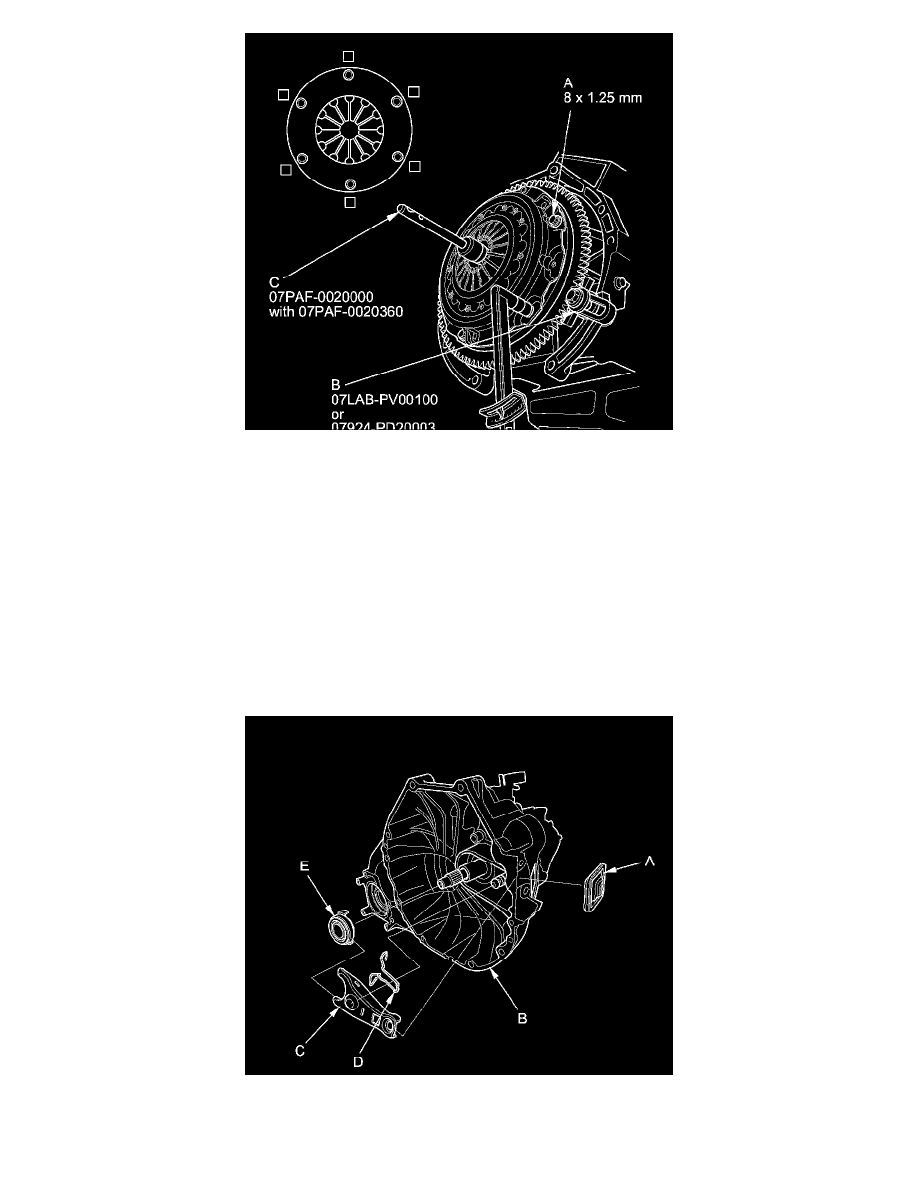
28. Remove the ring gear holder (B), the clutch alignment tool set (C), and the 20 mm clutch alignment pilot.
29. Make sure the diaphragm spring fingers are all the same height.
30. Do the release bearing inspection, and replace it if necessary.
31. Install the transmission See: Manual Transmission/Transaxle/Service and Repair/Removal and Replacement/Manual Transmission Installation.
Transmission Side
Release Bearing Removal
1. Remove the transmission See: Manual Transmission/Transaxle/Service and Repair/Removal and Replacement/Manual Transmission Removal.
2. Remove the release fork boot (A) from the clutch housing (B).
3. Remove the release fork (C) from the clutch housing by squeezing the release fork set spring (D). Remove the release bearing (E).
Release Bearing Inspection