
TL AWD V6-3.7L (2010)
Gear Lockout Solenoid: Service and Repair
M/T Reverse Lockout Solenoid Disassembly/Reassembly
NOTE: Use fender covers to avoid damaging painted surfaces.
1. Do the battery removal procedure See: Starting and Charging/Battery/Service and Repair/Removal and Replacement.
2. Remove the air cleaner assembly See: Engine, Cooling and Exhaust/Engine/Tune-up and Engine Performance Checks/Air Cleaner
Housing/Service and Repair.
3. Remove the front splash shield See: Body and Frame/Splash Guard/Service and Repair/Front Splash Shield Replacement.
4. Support the under engine/transmission with a floor jack.
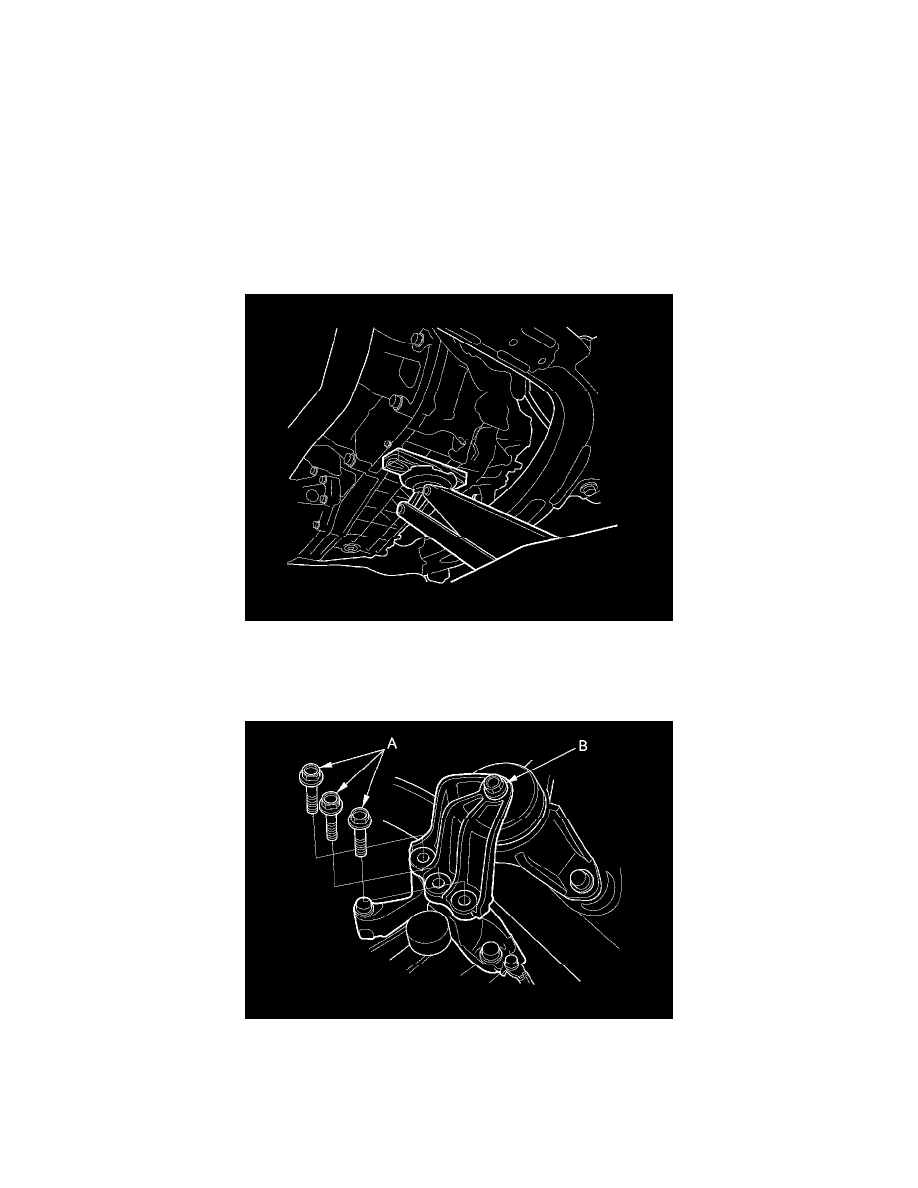
5. Remove the upper transmission mount bracket bolts (A).
NOTE: Do not remove the bolt (B) from the upper transmission mount. If the bolt is removed, the upper transmission mount must be replaced as an
assembly.
6. Disconnect the ground cable (A), then remove the upper transmission mount bracket (B).