
TL AWD V6-3.7L (2010)
Shift Interlock Solenoid: Testing and Inspection
Shift Solenoid Valve Test, Replacement, and Shift Solenoid Wire Harness Replacement
Shift Solenoid Valve Test, Replacement, and Shift Solenoid Wire Harness Replacement
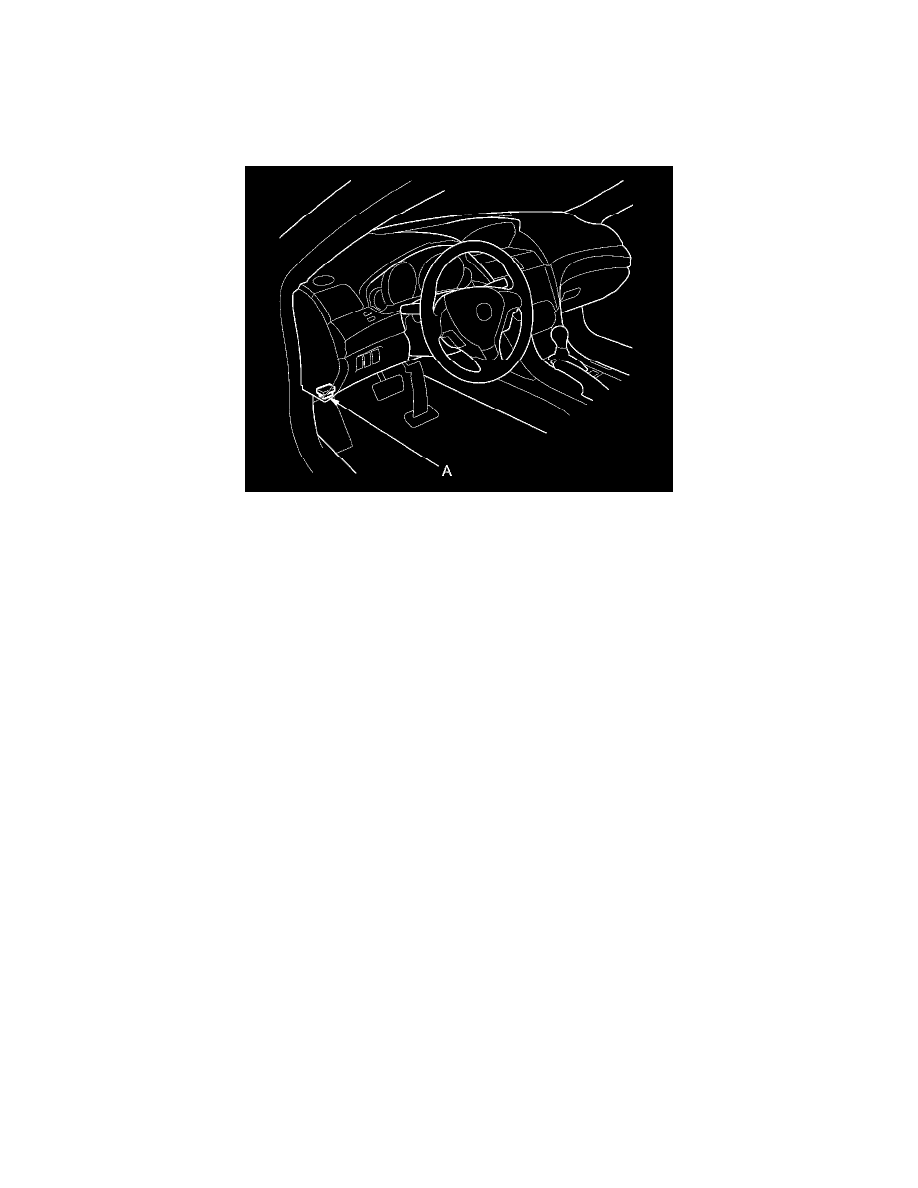
1. Connect the HDS to the DLC (A) located under the driver's side of the dashboard.
2. Turn the ignition switch to ON (II), or press the engine start/stop button to select the ON mode. Make sure the HDS communicates with the PCM.
If it does not, go to the DLC circuit troubleshooting See: Powertrain Management/Computers and Control Systems/Testing and
Inspection/Component Tests and General Diagnostics/DLC Circuit Troubleshooting.
3. Select Shift Solenoid Valves A, B, C, and D in the Miscellaneous Test Menu with the HDS.
4. Check that shift solenoid valves A, B, C, and D operate with the HDS. A clicking sound should be heard.
-
If a clicking sound is heard, the valves are OK. The test is complete, disconnect the HDS.
-
If no clicking sound is heard, go to step 5, and test the solenoid valves.
5. Do the battery removal procedure See: Starting and Charging/Battery/Service and Repair/Removal and Replacement.
6. Remove the air cleaner housing See: Engine, Cooling and Exhaust/Engine/Tune-up and Engine Performance Checks/Air Cleaner Housing/Service
and Repair.
7. Remove the battery base See: Automatic Transmission/Transaxle/Service and Repair/Removal and Replacement/Automatic Transmission
Removal.
8. Remove the nuts securing the shift cable bracket (A).