
TL FWD V6-3.5L (2009)
Hood Latch Release: Service and Repair
Hood Opener Cable Replacement
Hood Opener Cable Replacement
NOTE:
-
Put on gloves to protect your hands.
-
Take care not to scratch the body and the related parts.
1. Remove these items:
-
Front bulkhead cover See: Access Cover/Service and Repair
-
Front inner fender, driver's side as needed See: Fender/Front Fender/Front Fender Liner/Service and Repair/Front Inner Fender Replacement
-
Kick panel, driver's side See: Interior Moulding / Trim/Scuff Plate/Service and Repair/Interior Trim Removal/Installation - Front Door Sill
Area
-
Front bulkhead center cover See: Hood Latch/Service and Repair
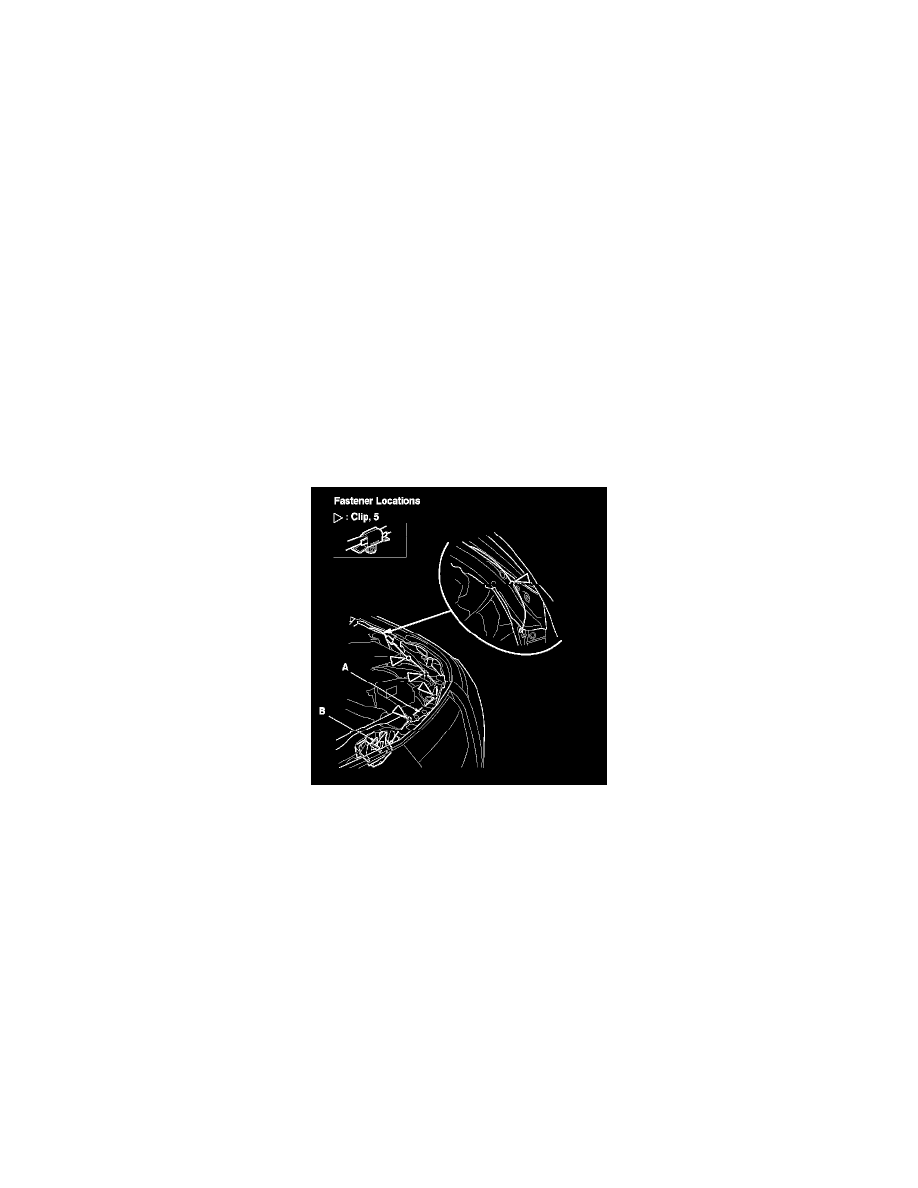
2. Disconnect the hood opener cable (A) from the hood latch (B). See: Hood Latch/Service and Repair Take care not to kink the cable.
3. Detach the clips with a clip remover, and remove the grommet (C) from the body, then remove the hood opener cable from the vehicle. Take care
not to kink the cable.
4. Install the cable in the reverse order of removal, and note these items:
-
If the clips are damaged or stress-whitened, replace them with new ones.
-
Make sure the tape (A) is set to the front side of the clip (B).
-
Make sure the foam pad (C) is set properly.