TL FWD V6-3.5L (2009)

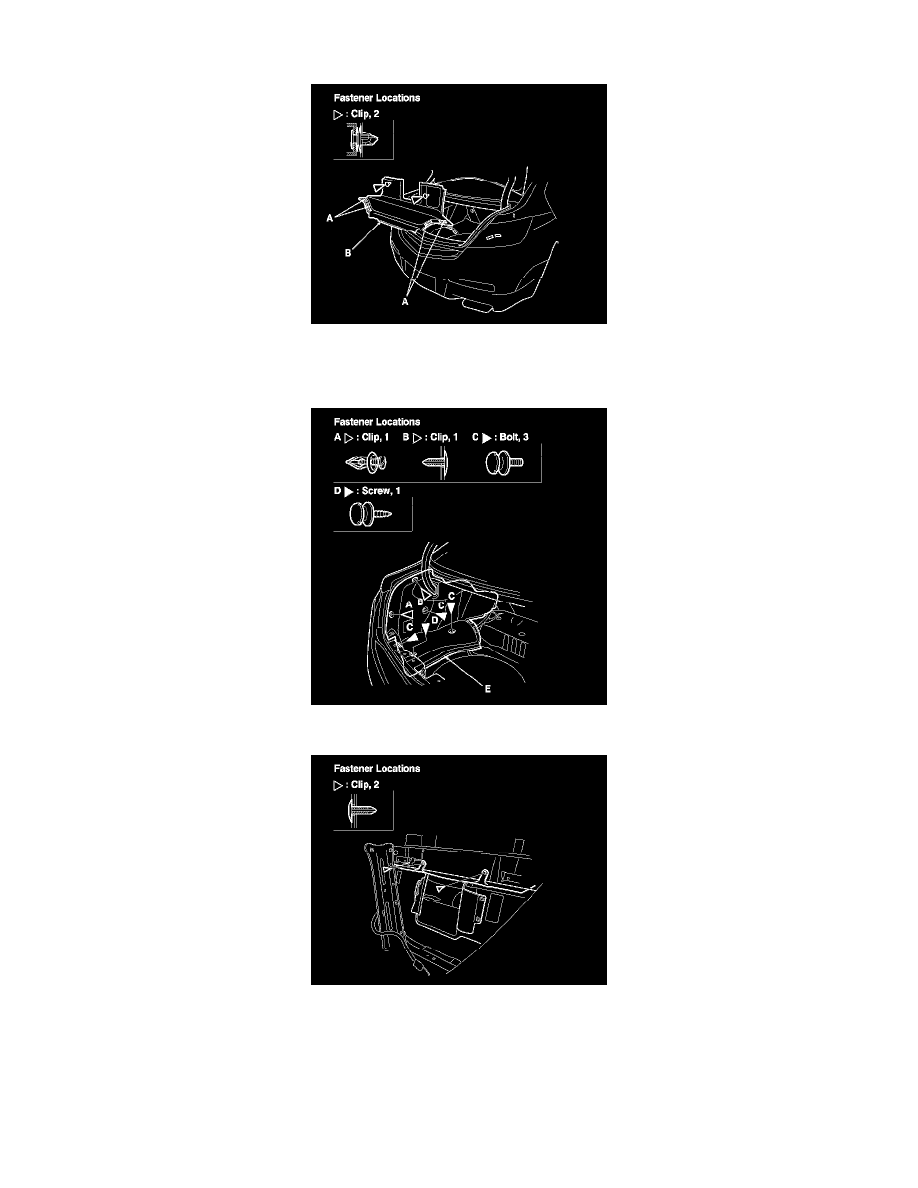
5. Release the clips and the Velcro fasteners (A), then remove the trunk front trim panel (B).
6. Release the clips (A, B) and the cargo hook buttons (C, D), then remove the trunk side trim panel (E).
7. Remove the rear seat-back. See: Seats/Service and Repair/Rear Seat Removal/Installation
8. Remove the clips.
9. Lower the trunk upper trim panel (A) to detach the clips, then remove the panel from the trunk compartment.
10. Install the trim in the reverse order of removal, and note these items:
-
If the clips are damaged or stress-whitened, replace them with new ones.
-
Push the clips and the hooks into place securely.
