
TL FWD V6-3.5L (2009)
Trunk / Liftgate Interior Trim Panel: Service and Repair
Interior Trim Removal/Installation - Trunk Lid Hinge Trim
Interior Trim Removal/Installation - Trunk Lid Hinge Trim
Special Tools Required
-
KTC trim tool set SOJATP2014*
*Available through the Acura Tool and Equipment Program.
Trunk Lid Hinge Trim
NOTE:
-
Put on gloves to protect your hands.
-
Take care not to bend or scratch the panel.
-
Use the appropriate tool from the KTC trim tool set to avoid damage when removing components.
1. Remove the trunk side trim panel, as needed. See: Interior Trim Removal/Installation - Trunk Area
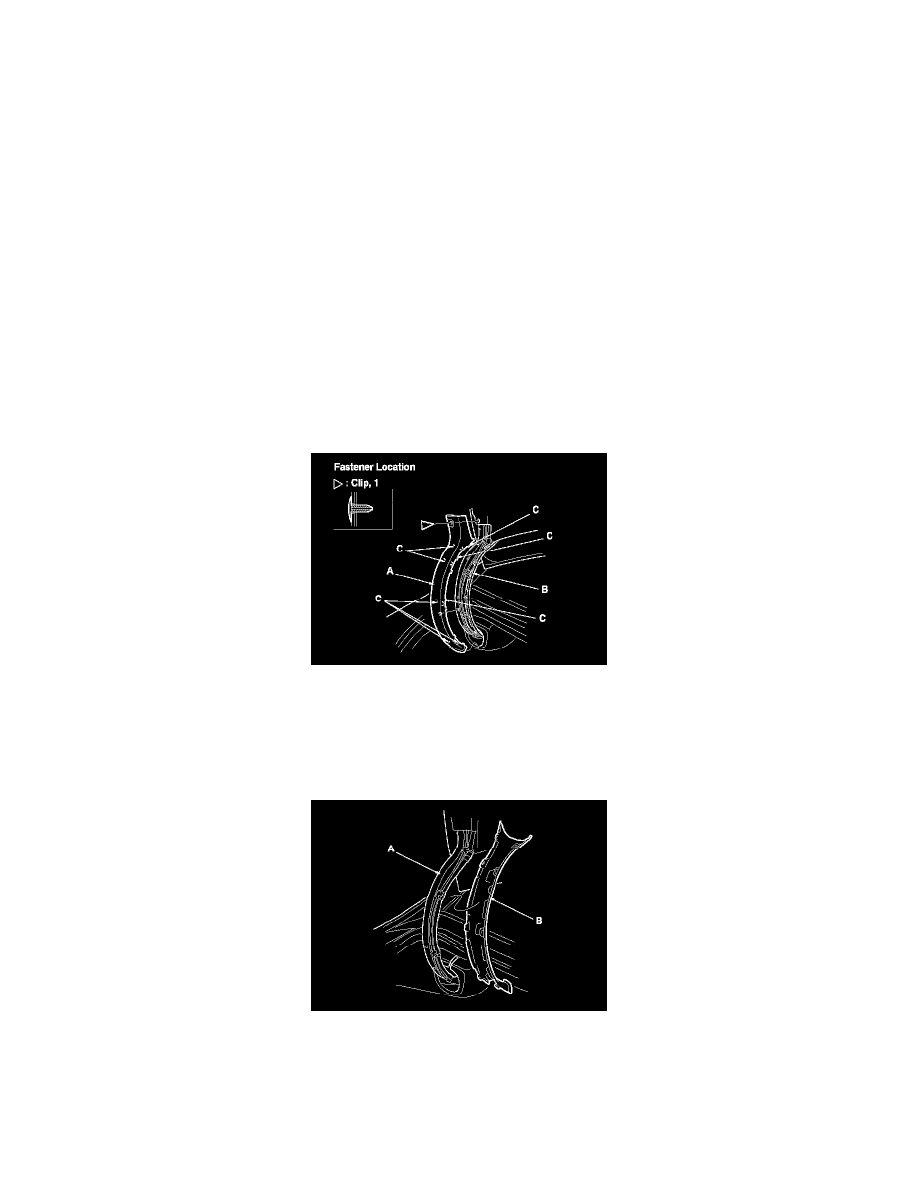
2. Detach the clips, and remove trunk lid hinge trim A by detaching the hooks (C) from the trunk lid hinge trim B.
3. Remove the trunk lid hinge trim B from the trunk lid hinge (A).
4. Install the trim in the reverse order of removal, and note these items:
-
If the clip is damaged or stress-whitened, replace it with a new one.
-
Push the clip and the hooks into place securely.