
TL FWD V6-3.5L (2009)
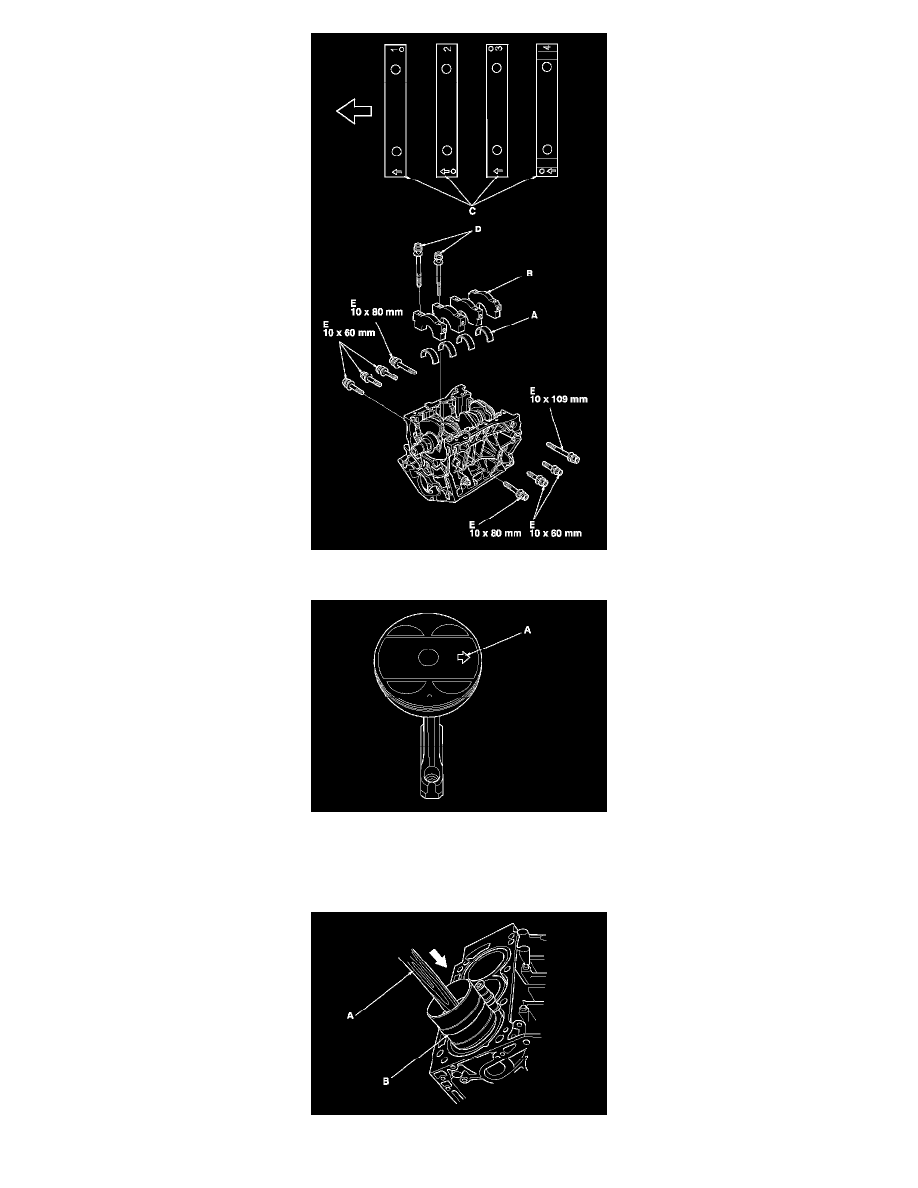
13. Position the piston/connecting rod assembly with the arrow (A) facing the timing belt side of the engine block.
14. Position the piston/connecting rod assembly in the cylinder, and tap it in using the wooden handle of a hammer (A). Maintain downward force on
the ring compressor (B) to prevent the rings from expanding before entering the cylinder bore.
15. Stop after the ring compressor pops free, and check the connecting rod-to-rod journal alignment before pushing the piston into place.
16. Measure the diameter of each connecting rod bolt at point A and point B.