
TL FWD V6-3.5L (2009)
Evaporator Core: Service and Repair
A/C Evaporator Core Replacement
1. Recover the refrigerant with a recovery/recycling/charging station. See: Service and Repair/A/C Refrigerant Recovery
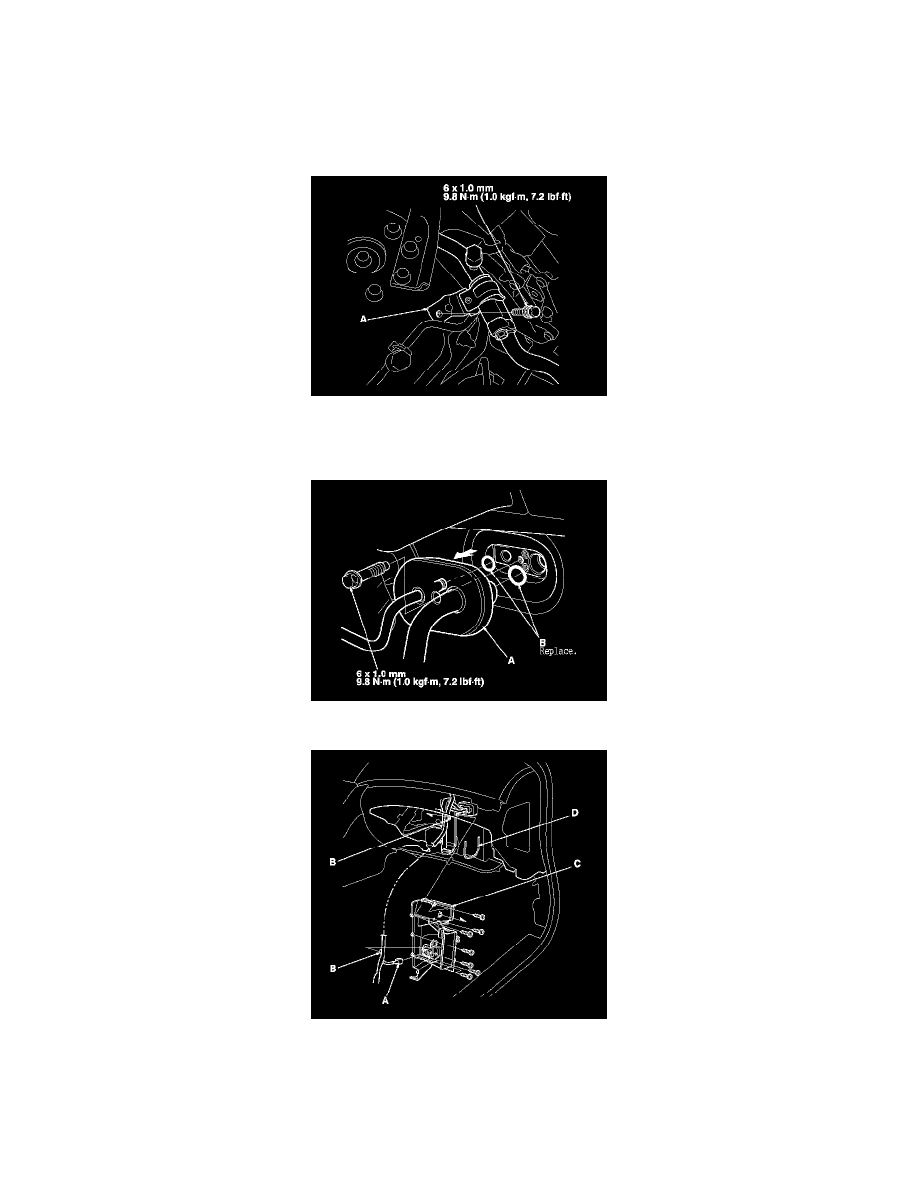
2. Remove the bolt from the A/C line clamp (A).
3. Remove the bolt, then disconnect the A/C line (A) from the evaporator core. Replace the O-rings (B).
4. Remove the blower unit. See: Blower Motor/Service and Repair/Blower Unit Removal/Installation
5. Disconnect the power transistor connector (A). Detach the harness clip (B). Remove the self-tapping screws, the joint duct (C), and the seal (D).
6. Carefully pull out the evaporator core (A) without bending the lines, then remove the plate (B).
NOTE: Be careful not to damage the wire harness.
7. Install the core in the reverse order of removal, and note these items:
-
If you're installing a new evaporator core, add refrigerant oil (DENSO ND-OIL 8). See: Refrigerant Oil/Service and Repair