
TL FWD V6-3.5L (2009)
1. Remove the driver's dashboard undercover. See: Body and Frame/Interior Moulding / Trim/Dashboard / Instrument Panel/Service and
Repair/Driver's Dashboard Undercover Removal/Installation
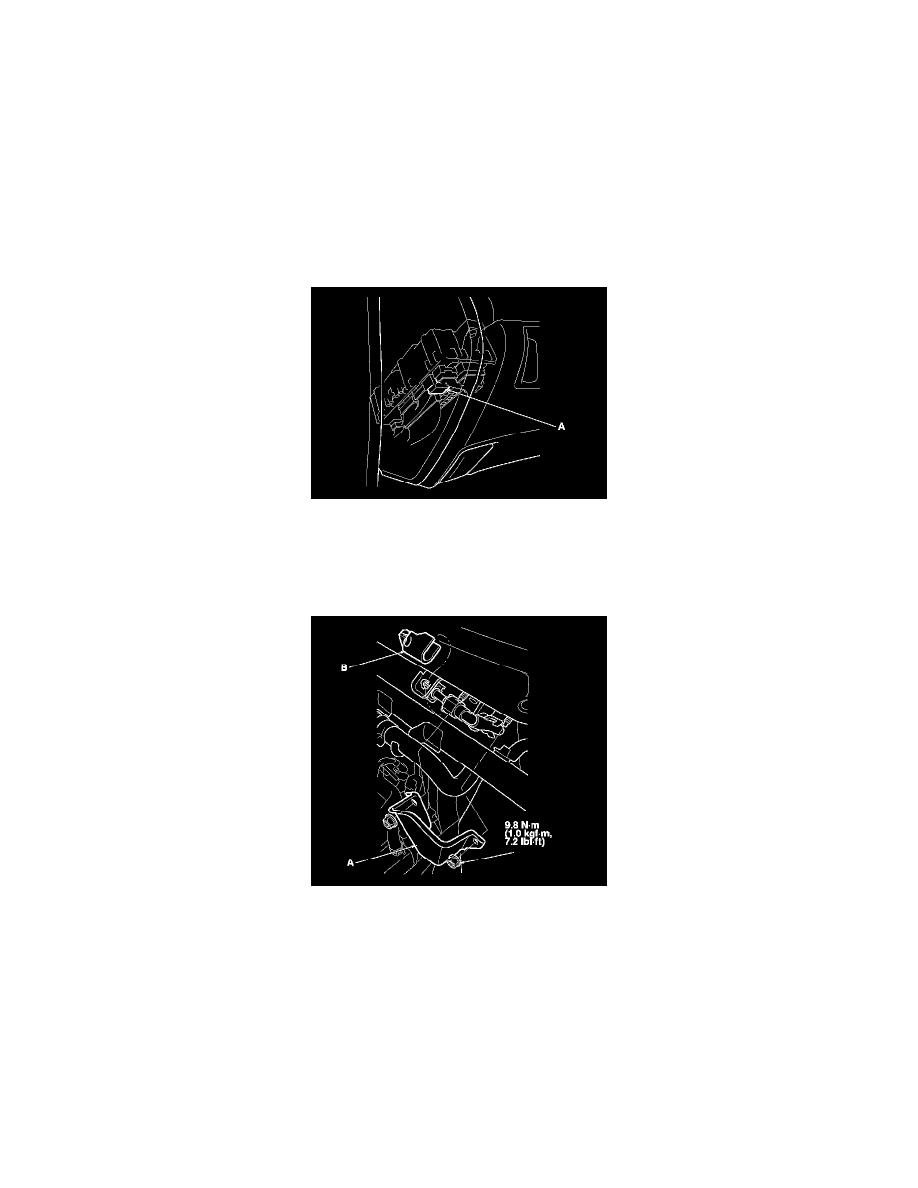
2. Remove PGM-FI main relay 2 (A) from the driver's under-dash fuse/relay box.
3. Start the engine, and let it idle until it stalls.
NOTE: If any DTCs are stored, clear and ignore them.
4. Turn the ignition switch to LOCK (0), or press the engine start/stop button to select the OFF mode.
5. Remove the fuel fill cap to relieve the pressure in the fuel tank.
6. Do the battery terminal disconnection procedure. See: Starting and Charging/Battery/Service and Repair/Procedures
7. Remove the cover (A) and the quick-connect fitting cover (B); without SH-AWD system, See: Fuel Delivery and Air Induction/Fuel Line
Coupler/Service and Repair/Fuel Line/Quick-Connect Fitting Removal with SH-AWD system. See: Fuel Delivery and Air Induction/Fuel Line
Coupler/Service and Repair/Fuel Line/Quick-Connect Fitting Removal
8. Check the quick-connect fitting for dirt, and clean it if needed.
9. Place a rag or a shop towel over the quick-connect fitting (A).