TL FWD V6-3.5L (2009)

-
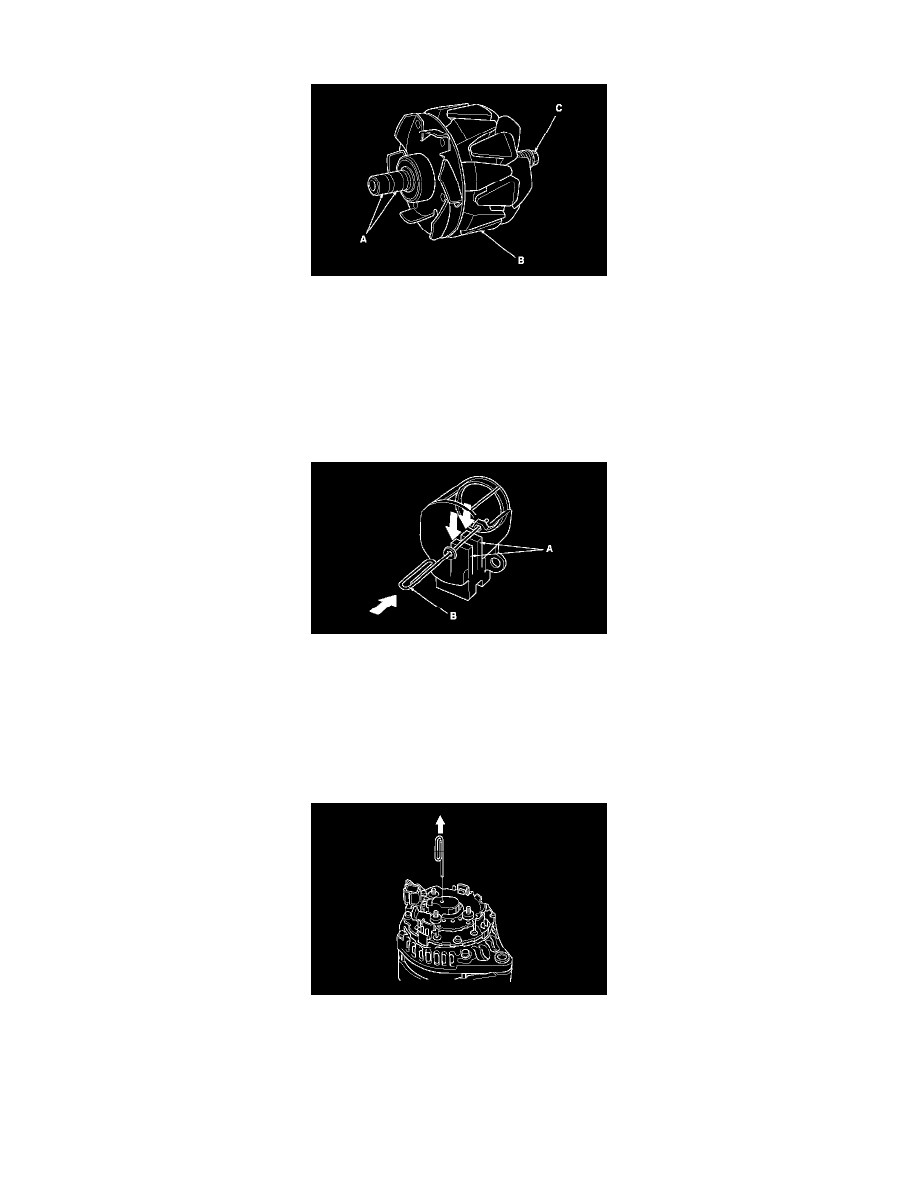
If there is continuity, replace the rotor assembly.
Alternator Reassembly
16. If you removed the pulley, put the rotor in the drive-end housing, then tighten its locknut to 110 N-m (11.2 kgf-m, 81.0 lbf-ft).
17. Remove any grease or any oil from the slip rings.
18. Put the rear housing assembly and the drive-end housing/rotor assembly together, tighten the four through bolts.
19. Push the brushes (A) in, then insert a pin or drill bit (B) (about 1.6 mm (0.06 in.) diameter) to hold them there.
20. Install the brush holder assembly, and pull out the pin or drill bit.
21. Install the end cover.
22. After assembling the alternator, turn the pulley by hand to make sure the rotor turns smoothly and without noise.
23. Install the alternator See: Removal and Replacement and the drive belt. See: Engine, Cooling and Exhaust/Engine/Drive Belts, Mounts, Brackets
and Accessories/Drive Belt/Service and Repair
