
TSX L4-2.4L (2005)
Headliner: Service and Repair
Headliner Removal/Installation
Special Tools Required
KTC trim tool set SOJATP2014 *
* Available through the American Honda Tool and Equipment Program.
SRS components are located in this area. Review the SRS component locations and the precautions and procedures before performing repairs or service.
NOTE:
-
Use the appropriate tool from the KTC trim tool set to avoid damage when prying components.
-
When prying with a flat-tip screwdriver, wrap it with protective tape to prevent damage.
-
Take care not to bend or scratch the headliner.
-
Be careful not to damage the dashboard and other interior trim.
1. Remove these items:
-
A-pillar trim, both sides.
-
Ceiling light.
-
Front seat belt upper anchor, both sides.
-
B-pillar lower trim.
-
B-pillar upper trim.
-
C-pillar trim, both sides.
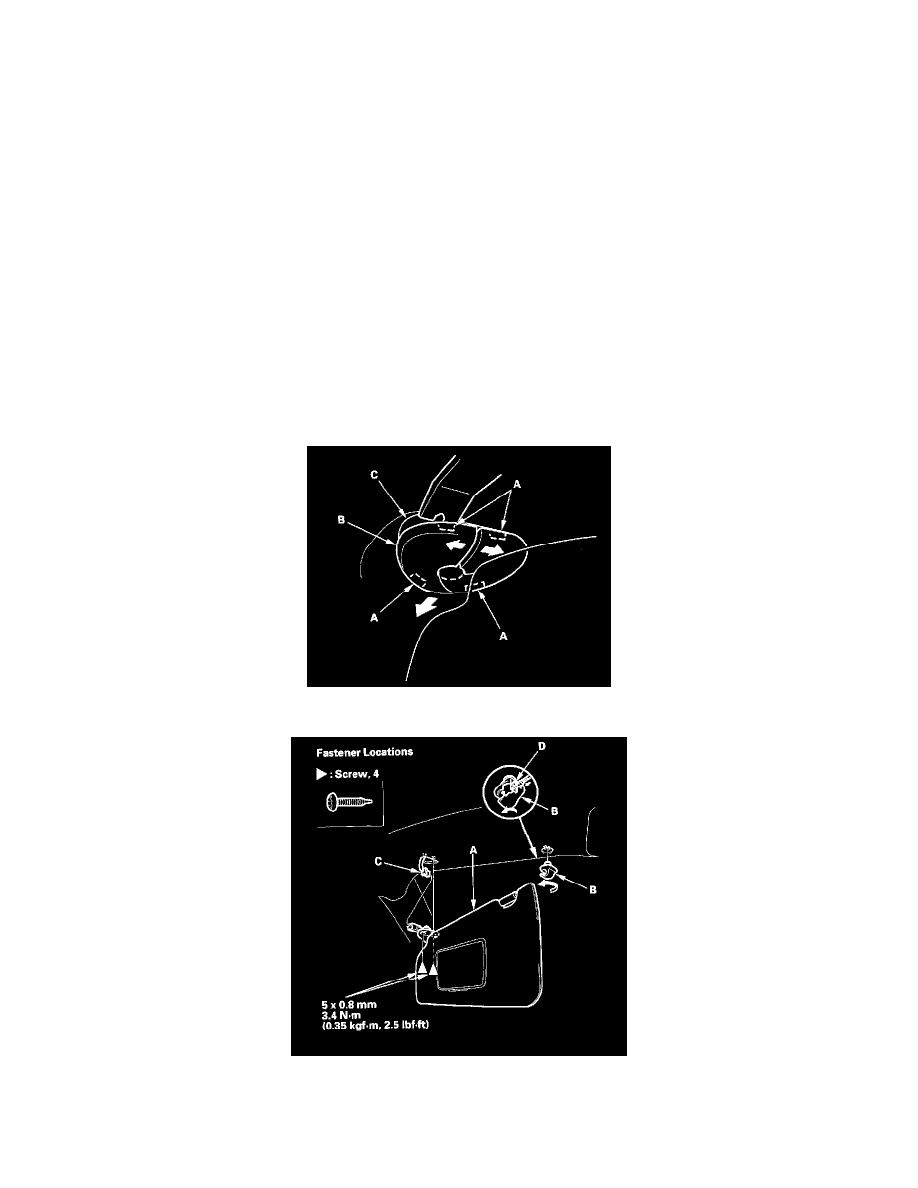
2. From both sides, using a trim tool, release the tabs (A), then remove the sunvisor cap (B) from the bracket (C). Turn the cap, and remove it.
3. From both sides, remove the sunvisor (A) and holder (B).
1. Remove the self-tapping ET screws.
2. Remove the sunvisor from the body and holder.
3. Disconnect the vanity mirror light connector (C).