
TSX L4-2.4L (2005)
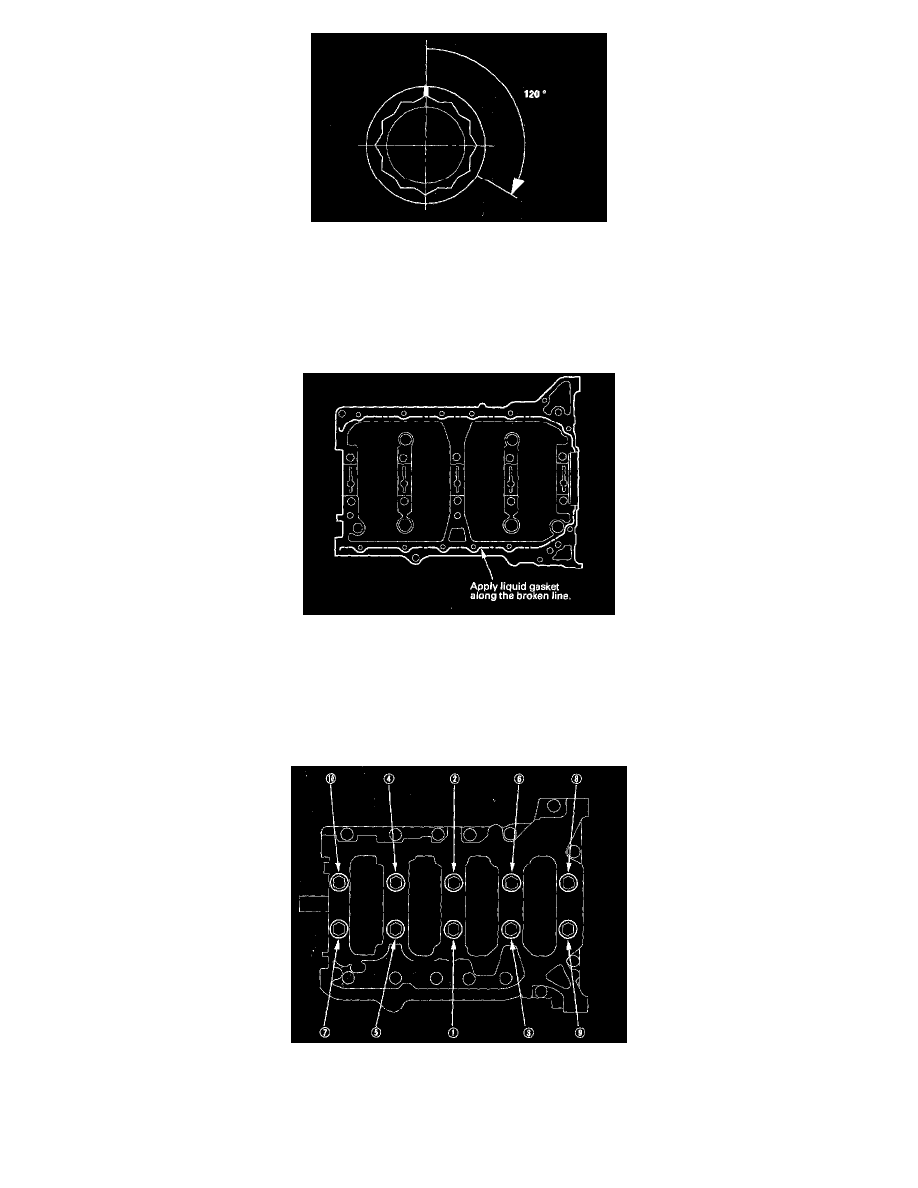
13. Tighten the connecting rod bolts an additional 120°.
NOTE: Remove the connecting rod bolt if you tightened it beyond the specified angle, and go back to step 8 of the procedure. Do not loosen it
back to the specified angle.
14. Remove all of the old liquid gasket from the lower block mating surfaces, bolts, and bolt holes.
15. Clean and dry the lower block mating surfaces.
16. Apply liquid gasket, P/N 08717-0004, 08718-0001, 08718-0003, or 08718-0009, evenly to the engine block mating surface of the lower block and
to the bolt threads.
NOTE: Do not install the parts if 4 minutes or more have elapsed since applying liquid gasket. Instead, reapply liquid gasket after removing the
old residue.
17. Put the lower block on the engine block.
18. Tighten the bearing cap bolts in sequence to 29 Nm (3.0 kgf-m, 22 ft. lbs.).