
TSX L4-2.4L (2005)
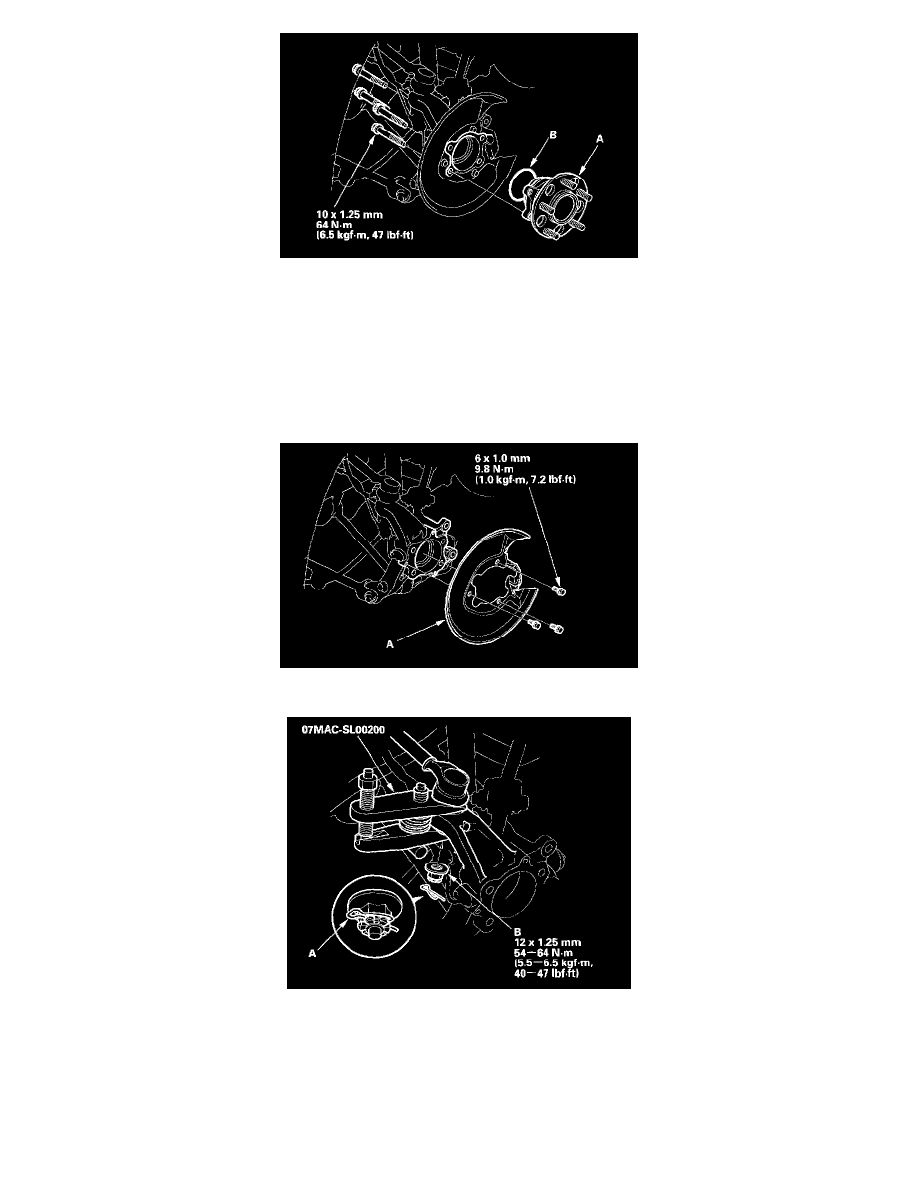
9. Remove the hub bearing unit (A) and O-ring (B).
10. Install the hub bearing unit in the reverse order of removal, and note these items:
^
Use a new O-ring on reassembly.
^
Tighten all mounting hardware to the specified torque values. Before installing the brake disc, clean the matching surfaces of the hub bearing
unit and brake disc.
^
Before installing the wheel, clean the mating surfaces of the brake disc and the inside of the wheel.
Knuckle Replacement
1. Remove the hub bearing unit.
2. Remove the splash guard (A).
3. Remove the clip (A) from the upper arm ball joint, and loosen the nut (B).
NOTE: During installation, install the new clip after tightening the nut as shown.
4. Disconnect the upper arm ball joint from the knuckle using the special tool.