
TSX L4-2.4L (2005)
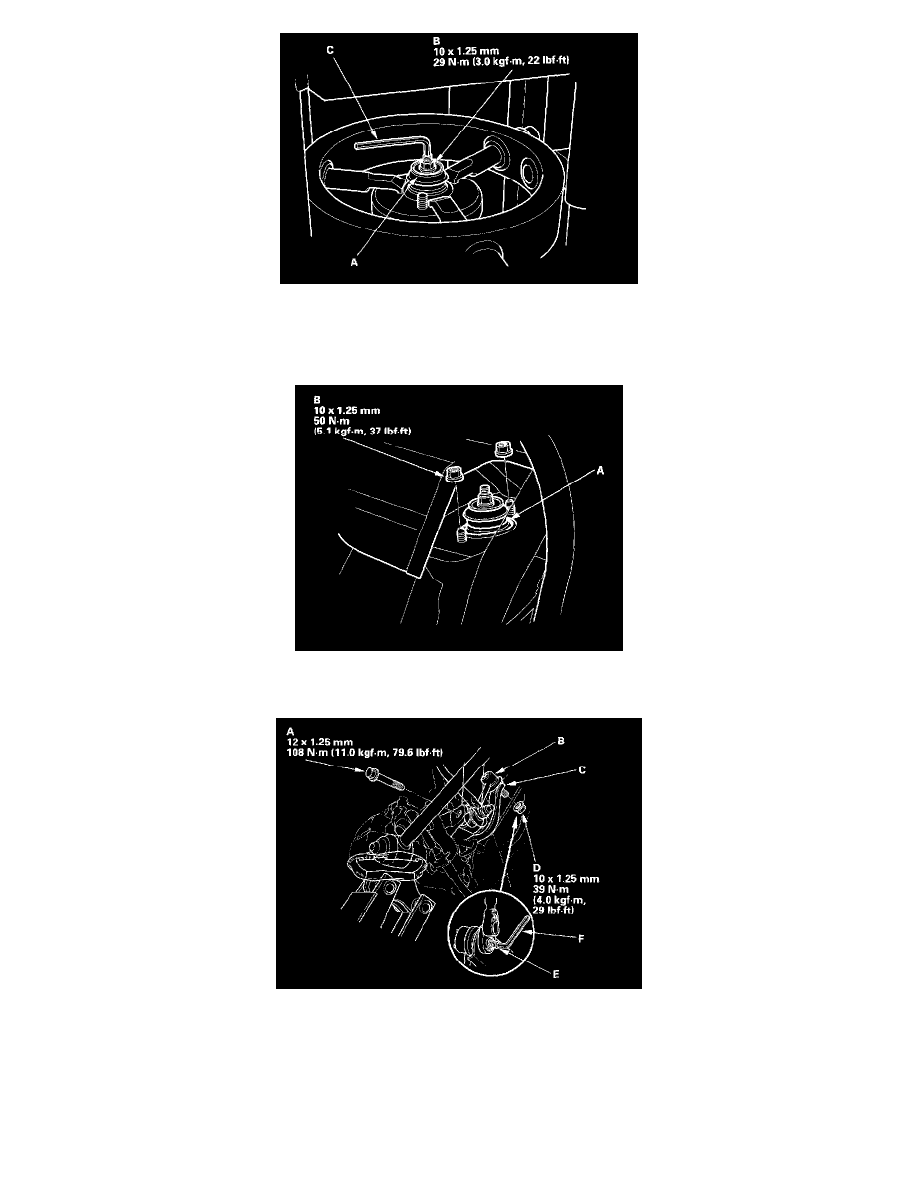
4. Install the washer (A), and loosely install a new self-locking nut (B).
5. Hold the damper shaft with a hex wrench (C), and tighten the self-locking nut to the specified torque.
Installation
1. Lower the rear suspension, and position the damper (A) in the body.
2. Loosely install the flange nuts (B) onto the top of the damper.
3. Loosely install the flange bolt (A) on the bottom of the damper. Connect the stabilizer link (B) on the bracket (C), and loosely install the flange nut
(D).
4. Raise the rear suspension with a floor jack load the vehicle's weight, and tighten the flange bolt to the specified torque.
5. Tighten the flange nut while holding the joint pin (E) with a hex wrench (F).
6. Tighten the two flange nuts on top of the damper to the specified torque.
7. Install the seat side bolster.
8. Install the rear shelf cover.
9. Clean the mating surface of the brake disc and the inside of the wheel, then install the rear wheel.