
TSX L4-2.4L (2005)
Shift Solenoid: Service and Repair
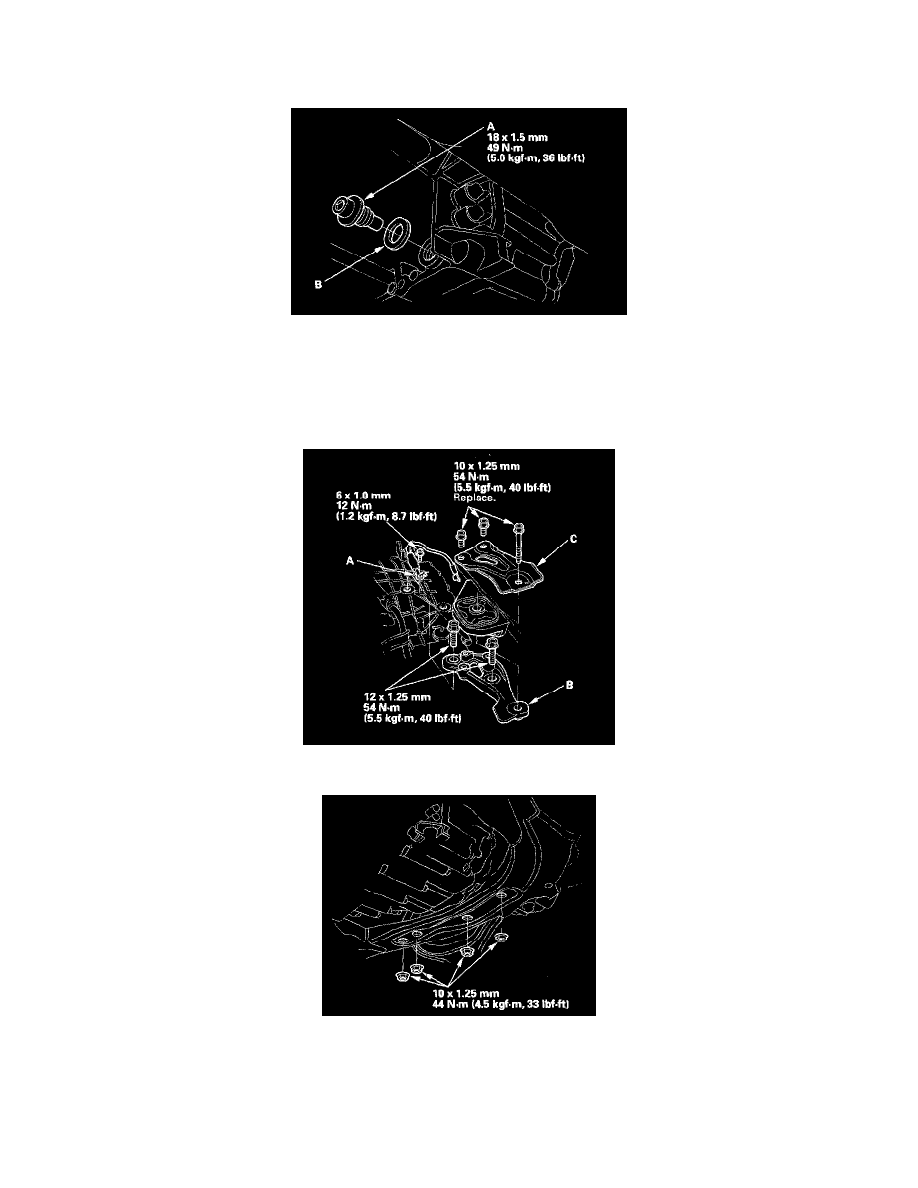
Shift Solenoid Valve Replacement
1. Remove the splash shield.
2. Remove the drain plug (A), and drain the automatic transmission fluid (ATF). Then reinstall the drain plug with a new sealing washer (B).
3. Disconnect the battery negative terminal, then disconnect the battery positive terminal.
4. Remove the battery hold-down bracket, then remove the battery cover, battery, and battery tray.
5. Remove the intake air duct and air cleaner housing.
6. Loosen the two bolts securing the battery base from under the vehicle, and remove the two bolts securing the battery base in the engine
compartment, then remove the battery base.
7. Remove the ground cable (A), transmission upper mount bracket (B), and bracket plate (C).
8. Place the transmission jack under the transmission, and remove the transmission lower mount nuts.
9. Lift the transmission up to create clearance between the transmission and front subframe with the jack.