TSX L4-2.4L (2005)

Fluid Pressure Sensor/Switch: Service and Repair
3RD Clutch Pressure Switch Replacement
3rd Clutch Transmission Fluid Pressure Switch Replacement
1. Disconnect the battery negative terminal, then disconnect the battery positive terminal.
2. Remove the battery hold-down bracket, then remove the battery cover, battery, and battery tray.
3. Remove the intake air duct and air cleaner housing.
4. Loosen the two bolts securing the battery base from under the vehicle, and remove the two bolts securing the battery base in the engine
compartment, then remove the battery base.
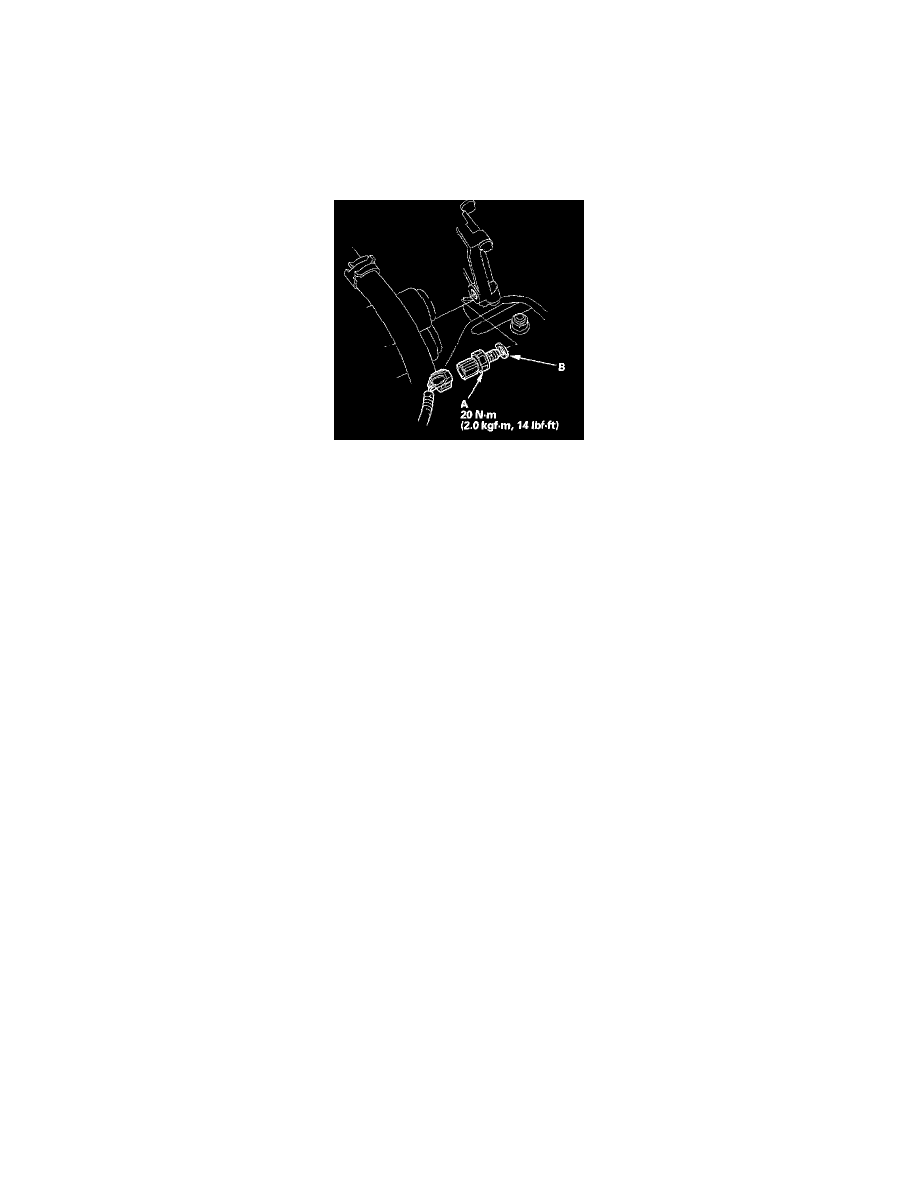
5. Disconnect the connector from the 3rd clutch transmission fluid pressure switch (A), then remove the switch.
6. Make sure there is no water, oil, dust, or foreign particles inside the connector.
7. Install the 3rd clutch new transmission fluid pressure switch with a new sealing washer (B), and tighten the switch to the specified torque.
8. Connect the connector securely.
9. Install the battery base, then install the air cleaner housing and intake air duct.
10. Install the battery tray, battery, and battery cover then secure the battery with its hold-down bracket. Connect the battery terminals.
11. Do the power window control unit reset procedure.
