
ZDX V6-3.7L (2010)
Body Emblem: Service and Repair
Emblem/Sticker Replacement
Special Tools Required
-
KTC Trim Tool Set SOJATP2014
*Available through the Acura Tool and Equipment Program; call 888-424-6857
NOTE:
-
When removing the emblems, take care not to scratch the body or the lower rear window.
-
Use the appropriate tool from the KTC trim tool set to avoid damage when removing components.
-
Do not use any metallic tools to remove the rear "A" emblem.
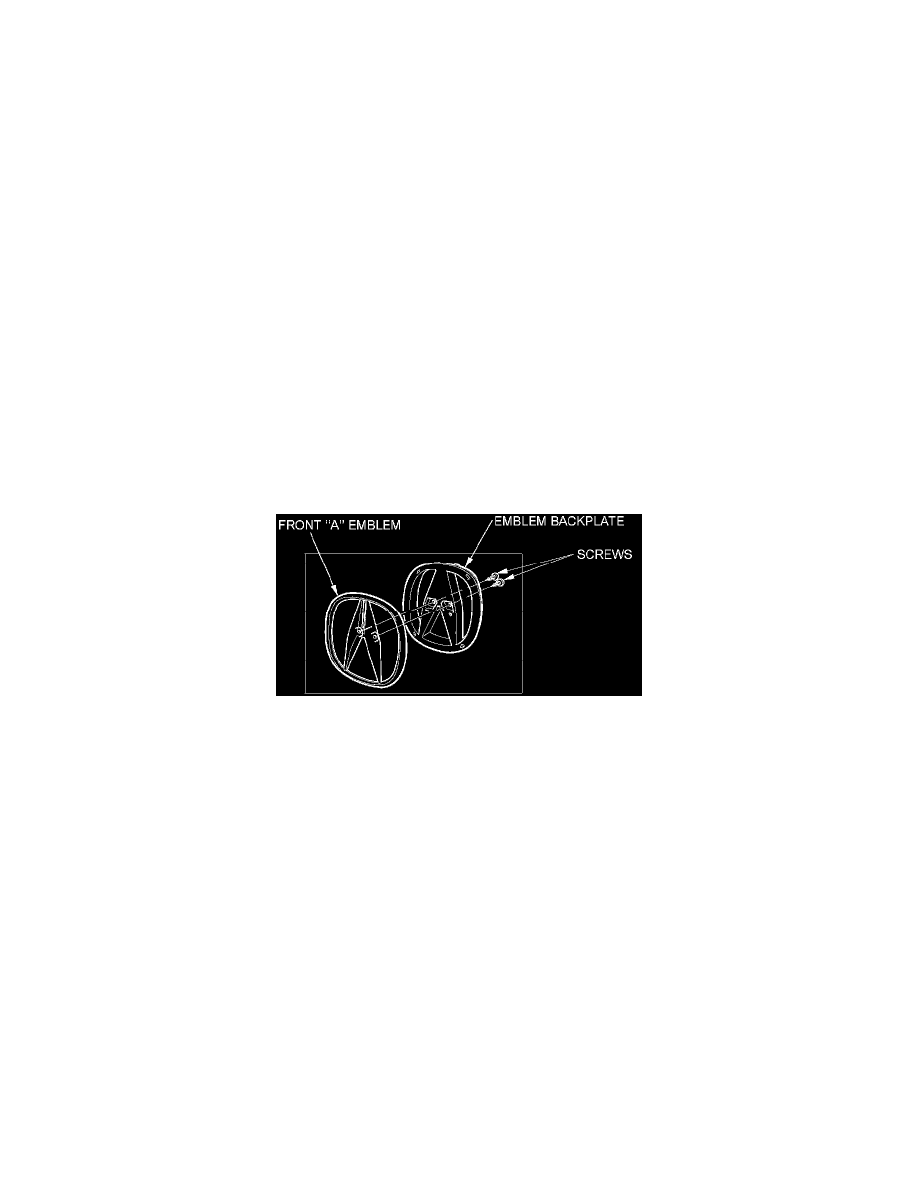
1. To remove the front "A" emblem, remove the front grille emblem base See: Grille/Service and Repair/Front Grille Replacement.
2. Clean the body surfaces or the lower rear window surface where emblems are applied with a shop towel dampened in isopropyl alcohol. After
cleaning, keep oil, grease, and water from getting on the surface.
3. Before applying the rear "A" emblem to the lower rear window, apply glass primer to the double-sided adhesive tape on the emblem and leave the
emblem for at least 10 minutes at 73°F +/- 2°F (23°C +/- 2°C) and 65%rh (+/- 15%rh) condition, then apply the emblem to the window in less than
12 hours.
4. Before applying the rear "A" emblem to the lower rear window, keep the window temperature over 59°F (15°C) for at least an hour.
5. Apply the emblems where shown. Push on the emblems to make the adhesive stick securely.