
ZDX V6-3.7L (2010)
10. Connect a jumper wire from the negative battery terminal to shift solenoid valve C connector terminal No. 1, and connect another jumper wire
from the positive battery terminal to connector terminal No. 2.
-
If a clicking sound is heard, go to step 11.
-
If no clicking sound is heard, go to step 13 and replace the shift solenoid valve.
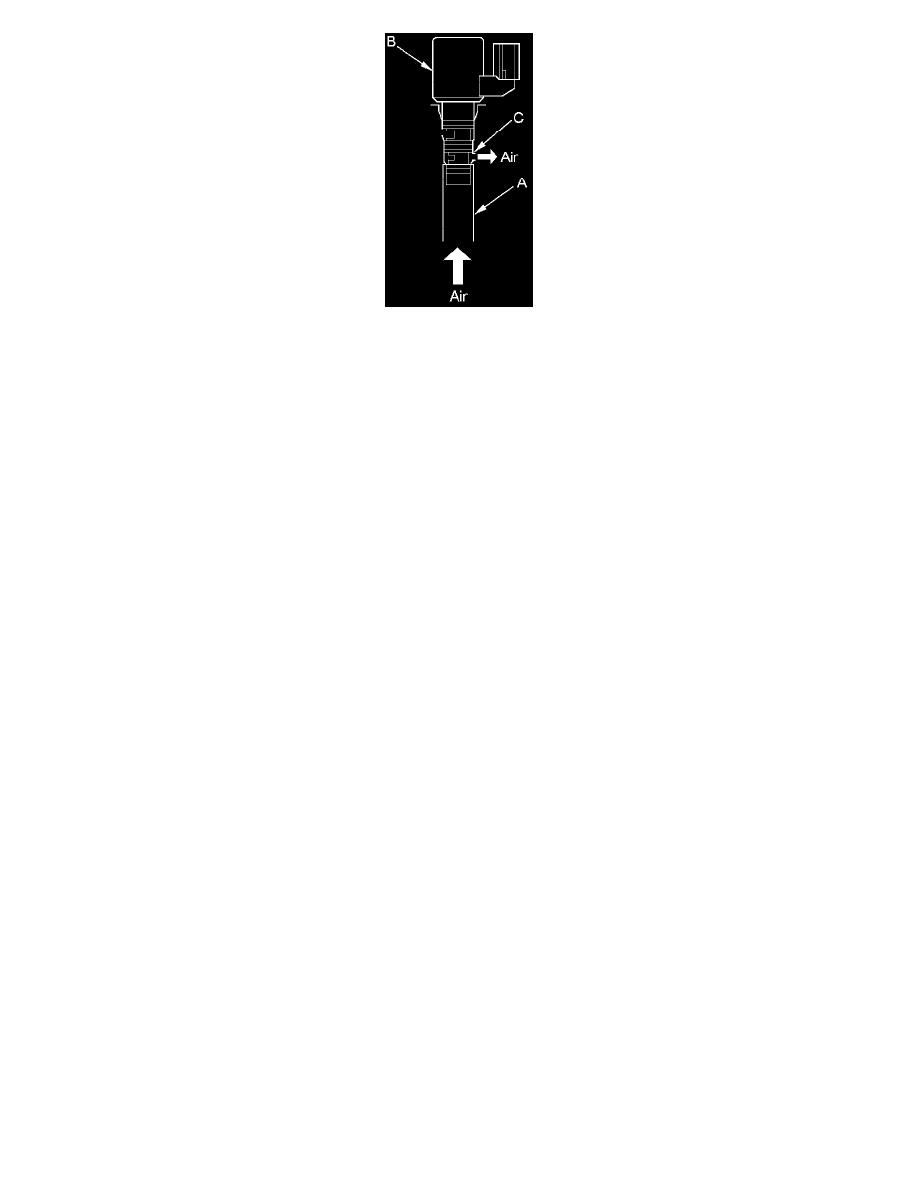
11. Connect a jumper wire from the negative battery terminal to shift solenoid valve C connector terminal No. 1, and connect another jumper wire
from the positive battery terminal to connector terminal No. 2. Blow the air to the tube.
-
If the air goes out of the port (C), go to step 12.
-
If the air does not go out of the port (C), go to step 13 and replace the shift solenoid valve.
12. Disconnect the jumper wires from the shift solenoid valve C connector. Blow the air to the tube.
-
If the air goes out of the port (C), go to step 13 and replace shift solenoid valve C.
-
If the air does not go out of the port (C), repair the wire between the PCM connector terminal and shift solenoid valve C.
13. Install new O-rings (three O-rings per solenoid valve) on the solenoid valve.
NOTE: A new solenoid valve comes with new O-rings. If you install a new solenoid valve, use the O-rings provided with it.
14. Install shift solenoid valve C, and connect the shift solenoid valve C connector.
15. Install the engine undercover and the front splash shield.