
A1
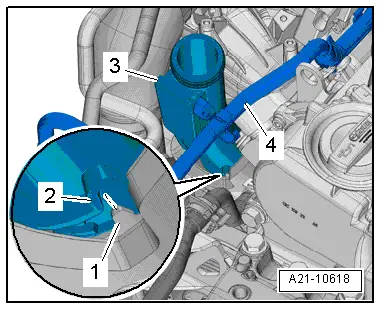
| Supercharger - exploded view |

| 1 - | Air pipe |
| q | Installation position → Fig. |
| 2 - | Seals |
| q | Renew |
| q | Lubricate lightly with engine oil before fitting |
| 3 - | Noise insulation |
| 4 - | Bolt |
| q | Renew |
| q | 40 Nm + turn 90° further |
| 5 - | Poly V-belt pulley |
| 6 - | Supercharger |
| q | Removing and installing → Chapter |
| 7 - | Bolt |
| q | 25 Nm |
| 8 - | Noise insulation |
| 9 - | Cover |
| q | For noise insulation |
| 10 - | Gasket |
| q | Renew |
| 11 - | Dowel sleeve |
| q | 2x |
| 12 - | Noise insulation (bottom rear) |
| 13 - | Noise insulation (top rear) |
| 14 - | Gasket |
| q | Renew |
| 15 - | Air pipe |
| 16 - | Intake resonator |
| 17 - | Grommet |
| 18 - | Bolt |
| q | 7 Nm |
| 19 - | Noise insulation (top front) |
| 20 - | Sleeve |
| 21 - | Noise insulation (bottom front) |
| 22 - | Bolt |
| q | 7 Nm |
| 23 - | Sleeve |
| 24 - | Grommet |
| 25 - | Dowel sleeve |
| q | 2x |
| 26 - | Cover |
| q | For noise insulation |
| 27 - | Noise insulation |
| 28 - | Bolt |
| q | 7 Nm |
| 29 - | Noise insulation |
| 30 - | Seal |
| q | Renew |
| q | Lubricate lightly with engine oil before fitting |
|
|